In the context of application development, Maven allows you to extend your applicaitons by referencing and utilizing resources from local and remote repositories.
Covered in this reference guide is how to create Maven projects and modules, and how to add Maven functionality to an existing project or application.
This guide does not cover how to setup a Maven repository. For information on how to setup a Maven repository consult the documentation associated with your application server or framework kit.
To create a new Maven Project, from your workspace navigate to → → and from the wizard selection screen select → .

The first screen of the wizard will ask you if you wish to create a simple project (selecting this will skip the ability to select an arhetype), to select a location for the project and if any projects should be added to the working set.
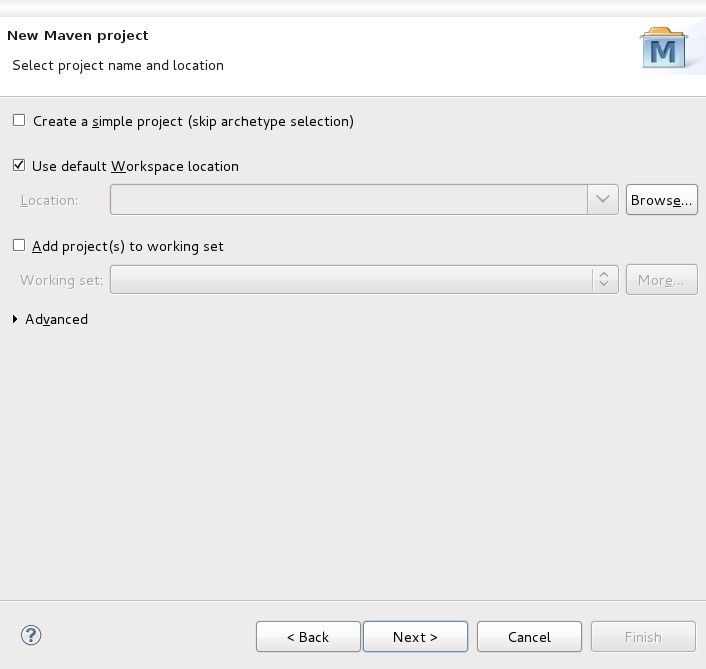
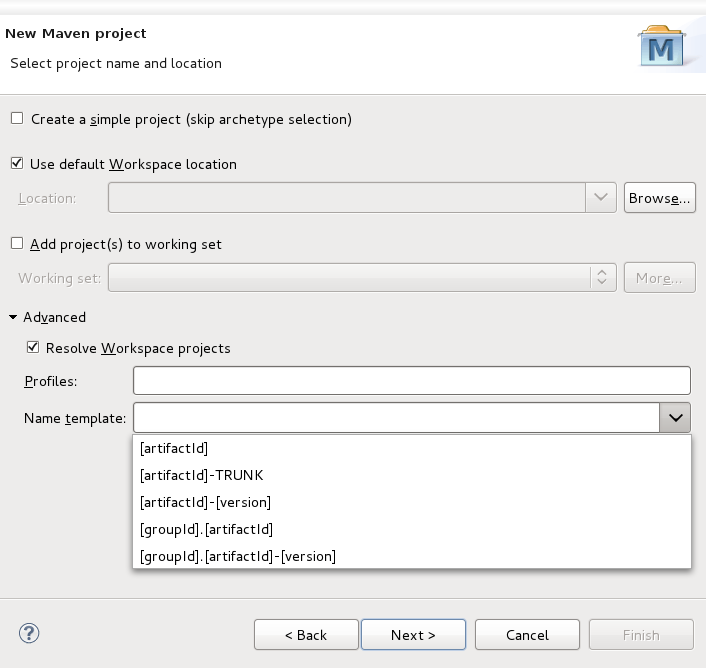
You can also select Advanced options concerning existing workspace projects and the naming convention to use.
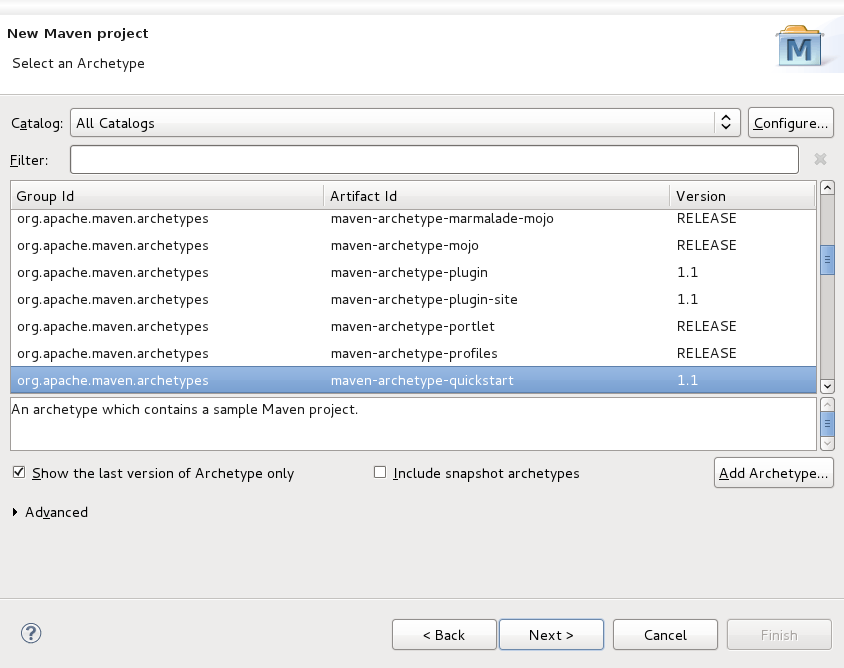
The following screen is the Archetype selection screen, and will only appear when you have not selected to create a simple project on the previous screen.
Select an archetype based on the purpose of the project you are creating.
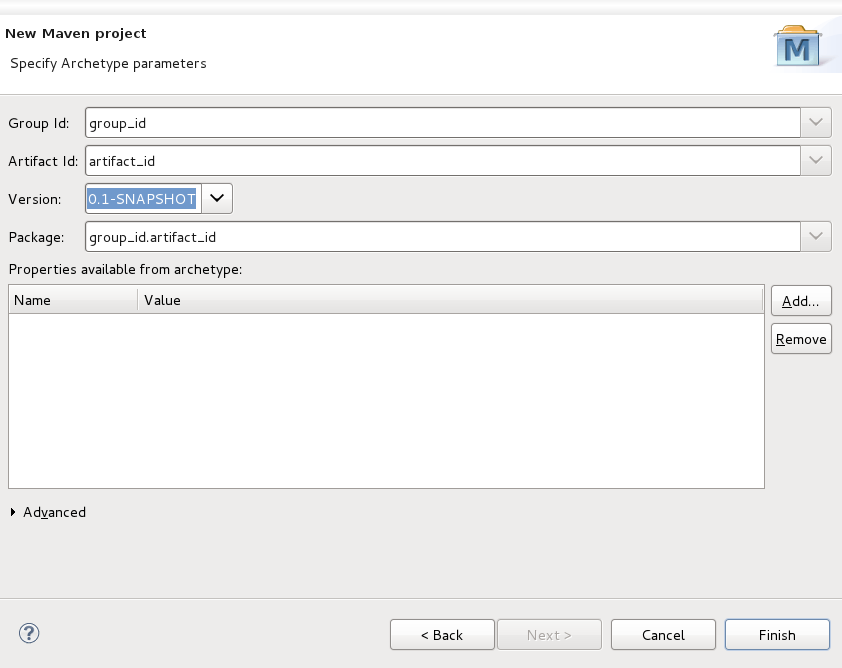
The final screen of the wizard is where you will set the Group Id, Artifact Id and project Version. The Package name will be created based on the Group Id and Artifact Id values.
You can also add specific properties associated with the chosen archetype, to the project.
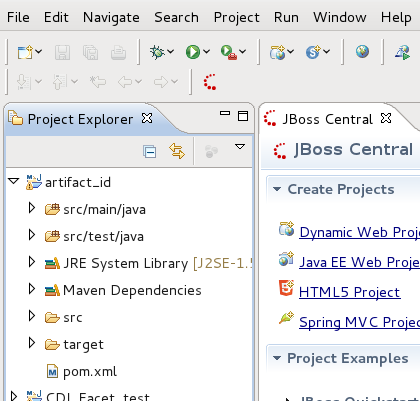
Clicking will bring you back to the workbench and your Maven project will appear in the Project Explorer.
A Maven module is a sub-project. To create a Maven module you will need to already have a Maven project available.
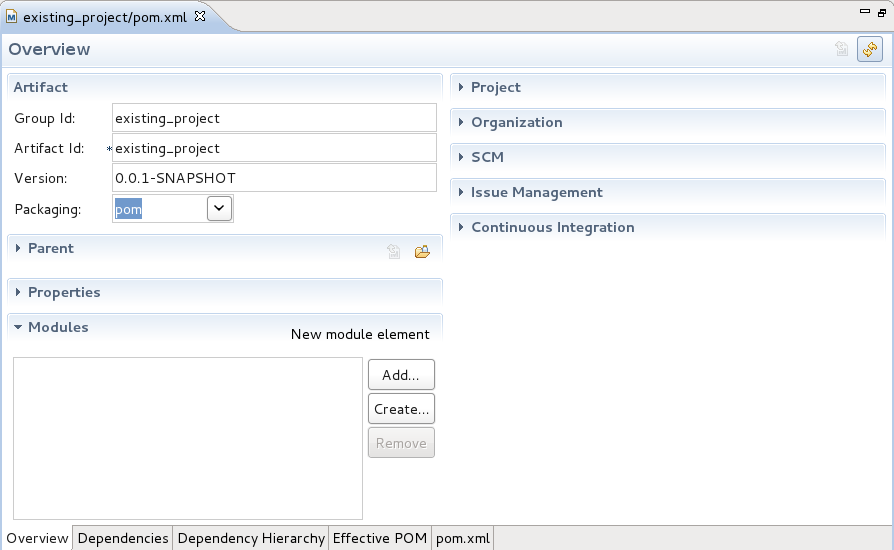
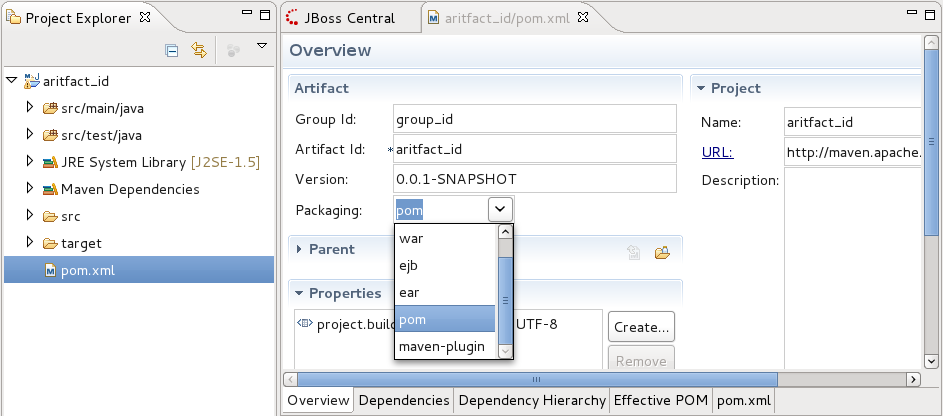
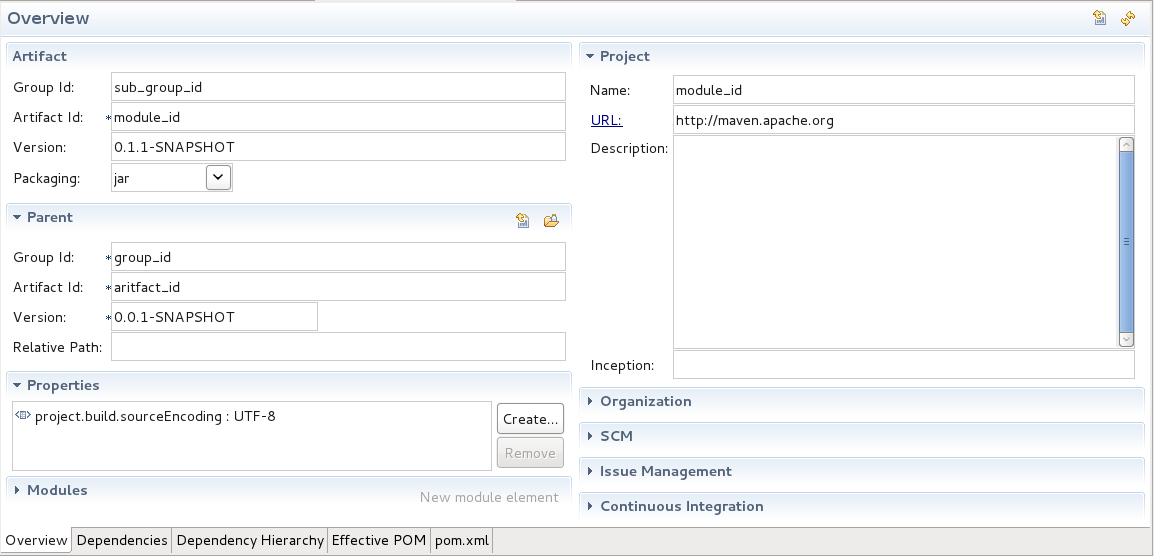
The parent project must have its Packaging option be pre-configured to , for a module to be created and associated with it. To ensure your parent project has this option set correctly before proceeding, double-click on the pom.xml file of your parent project in the Project Explorer.
In the Overview settings page that is now displayed in your workbench, confirm that the option is set to . If it is not, select from the list menu and save the changes to your pom.xml file.
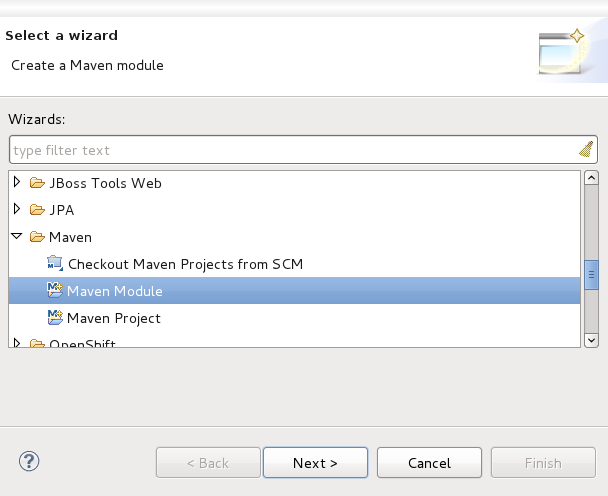
From your workspace navigate to → → and from the wizard selection screen select → .
Type a name for the module in the Module Name field.
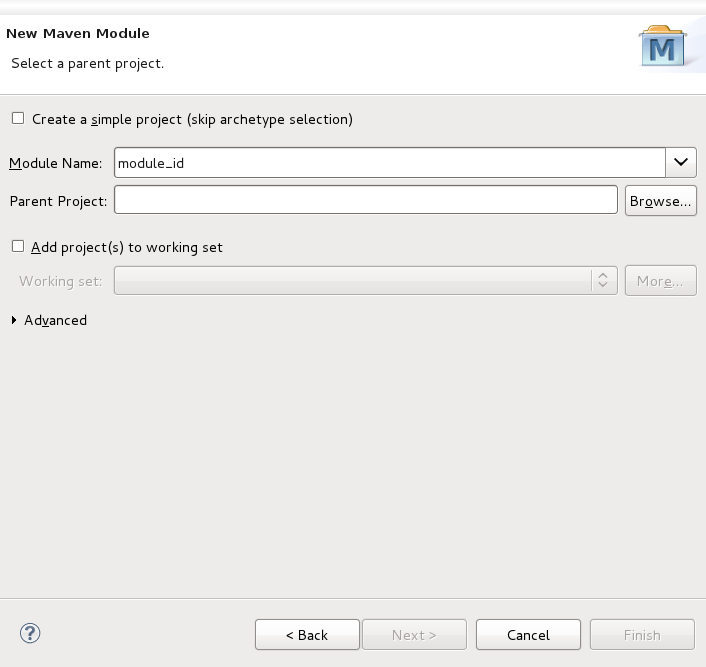
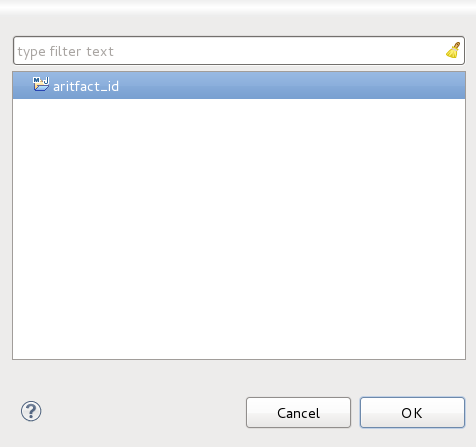
Click the button beside the Parent Project field. This will launch a project selection box.
Select the project to be used as the parent project of the module you are creating, and click .
You will be returned to the Select a parent project screen and the Parent Project field will contain the name of the project you selected.
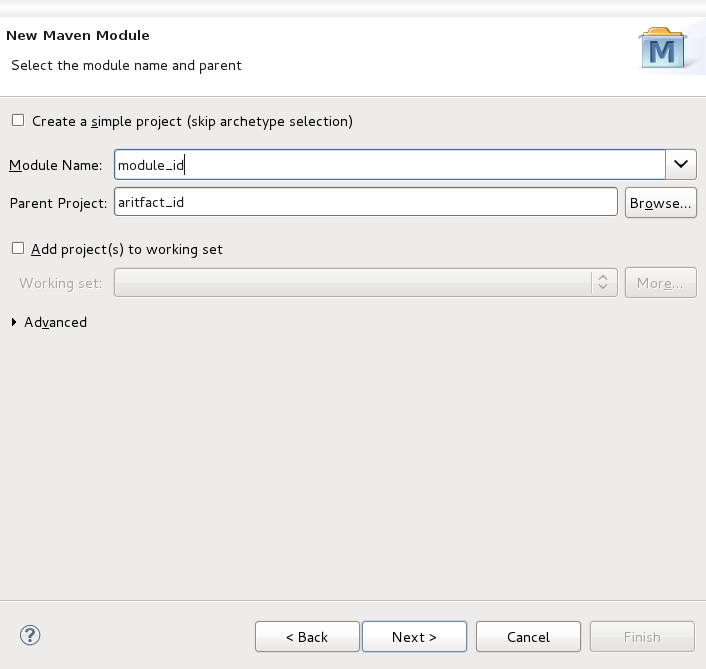
Click the button.
Select an archetype available in the list displayed. For the purposes of this example the is selected.
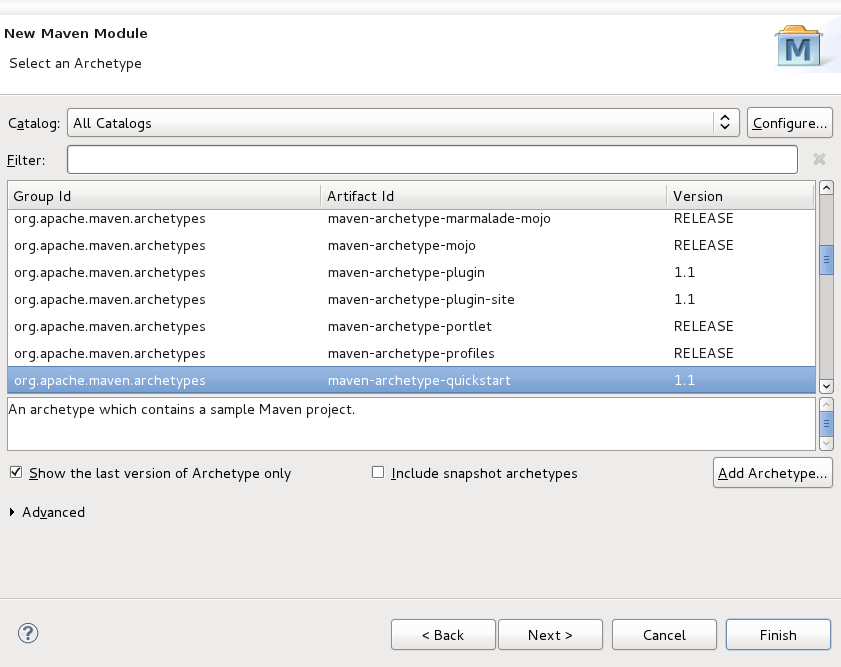
Click the button.
Specify archetype parameters Group Id and Version. Ensure that the values you specify for these fields are unique from those set in the parent project.
In this example, the Group Id and Version settings of the parent project used are set to group_id and 0.0.1-SNAPSHOT respectively. For the module, Group Id and Version settings are being specified as sub_group_id and 0.1.1-SNAPSHOT respectively, to avoid conflict.
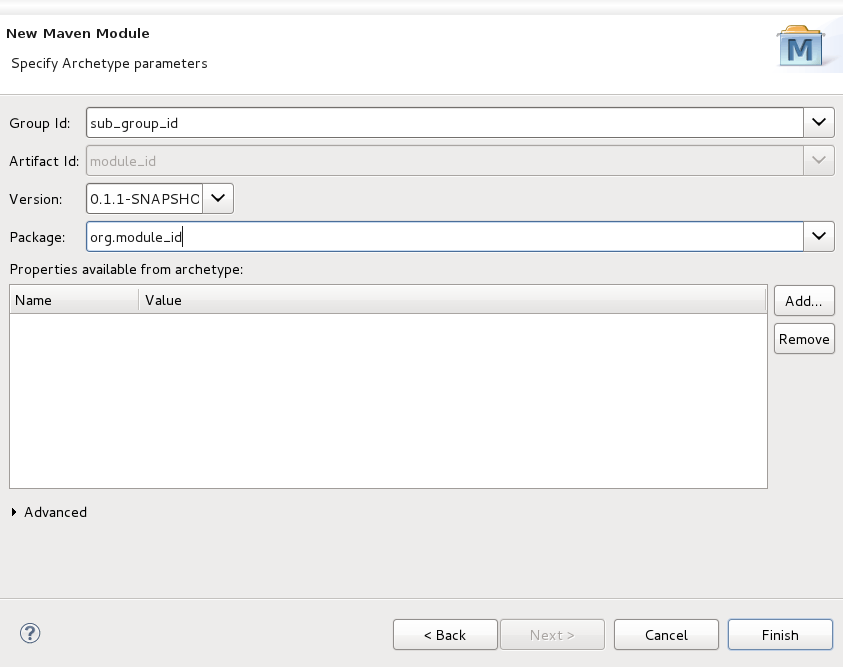
Click the button.
The module will now be created and appear in your Project Explorer.
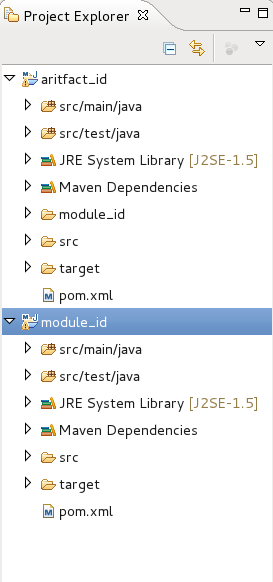
You can view and change settings associated with the module by selecting the module's pom.xml file from the Project Explorer and double-clicking on it. This will launch an Overview screen containing the module settings.
Select the project that Maven support will be added to from the Project Explorer.
Right-click on the project to bring up the context menu.
From the context menu navigate to → .
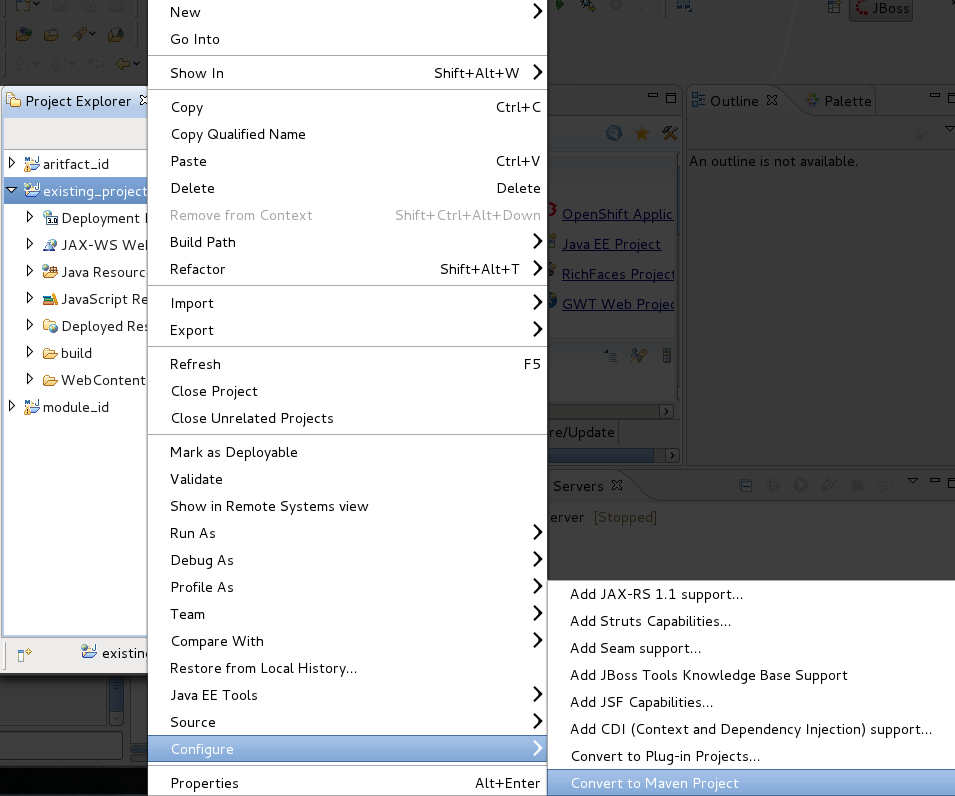
Click on the menu option.
A Maven POM wizard will launch. The wizard will create a pom.xml file for your project. This file will contain the projects Maven settings. All necessary fields of the wizard will be automatically filled.
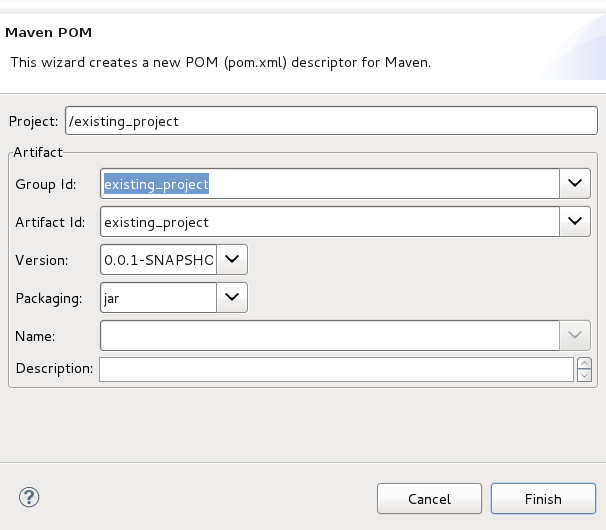
It is recommended that you change the Packaging option to to avoid any issues in expansion of the project with Maven modules in the future.
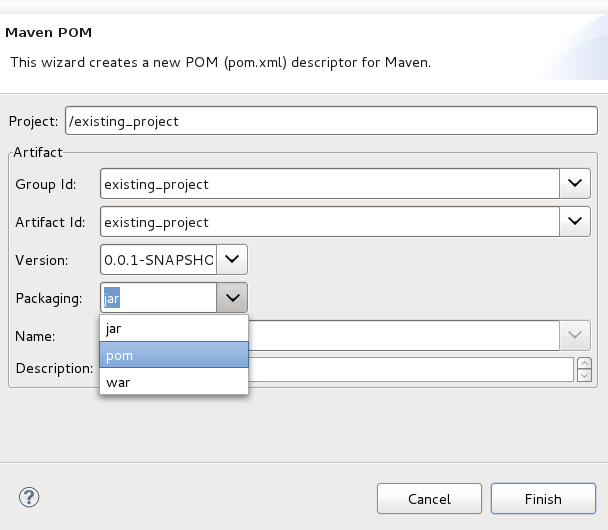
Click .
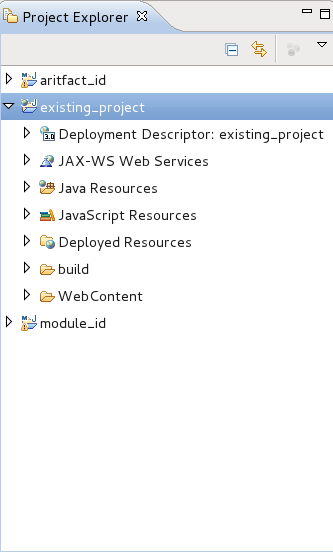
Once Maven support has been added to the project, a new pom.xml file will appear in the list of files for the project. This can be viewed in the Project Explorer.
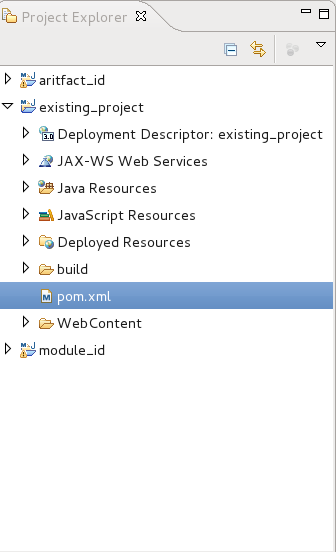
Double-click on the pom.xml file to view the settings associated with it. The settings here were set in the Maven POM wizard and can be edited from this Overview screen.