The OpenShift Application creation wizard is accessed through JBoss Central or by navigating to → → .
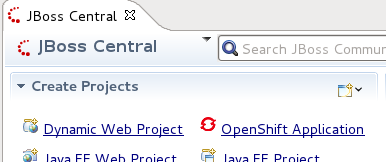
After clicking on the OpenShift Application link, the creation wizard will launch.
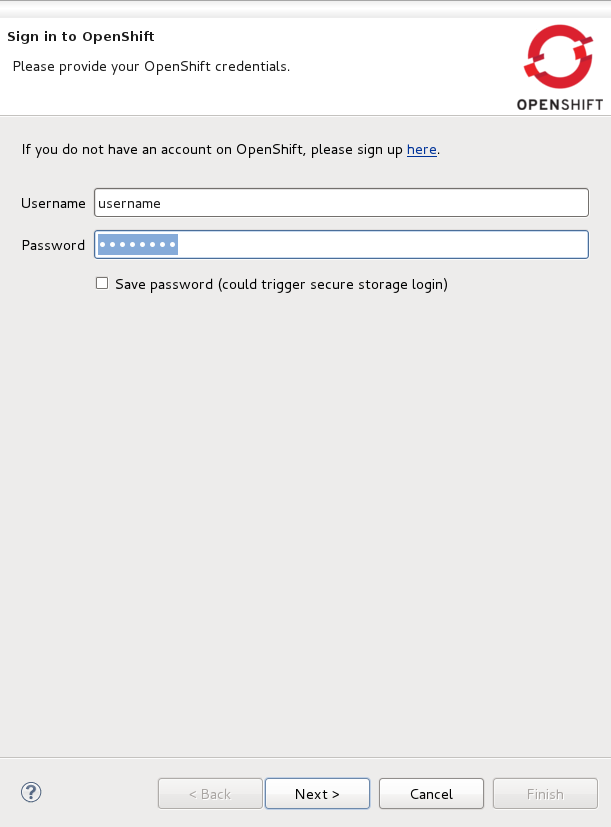
If you have already signed up for an OpenShift account then you can input your Username and Password here and click the button. If validation is successful you will see the Setup OpenShift Application screen.
If you do not have an OpenShift account, you can create one through the link at the top of the wizard screen. This will open the OpenShift sign-up page within your workbench. Once you have created an account you will need to relaunch the OpenShift Application wizard and input your new username and password.
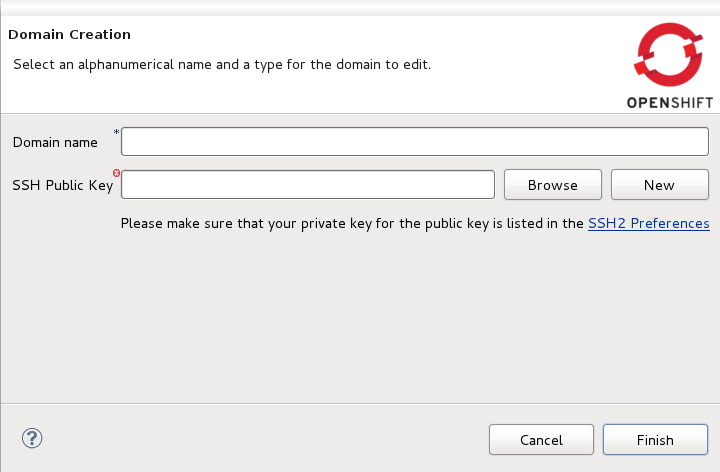
If you need to create a domain, type the name you wish to have into the Domain name field. You will also need to provide your public SSH key. Ensure that the paired private key is listed within the SSH2 Preferences. If you are unsure, click the SSH2 Preferences link. Click to complete domain creation.
If you already have a domain name then you will not see the Domain Creation screen.
Note
If you ever wish to rename your domain, this can be done through the OpenShift Explorer.
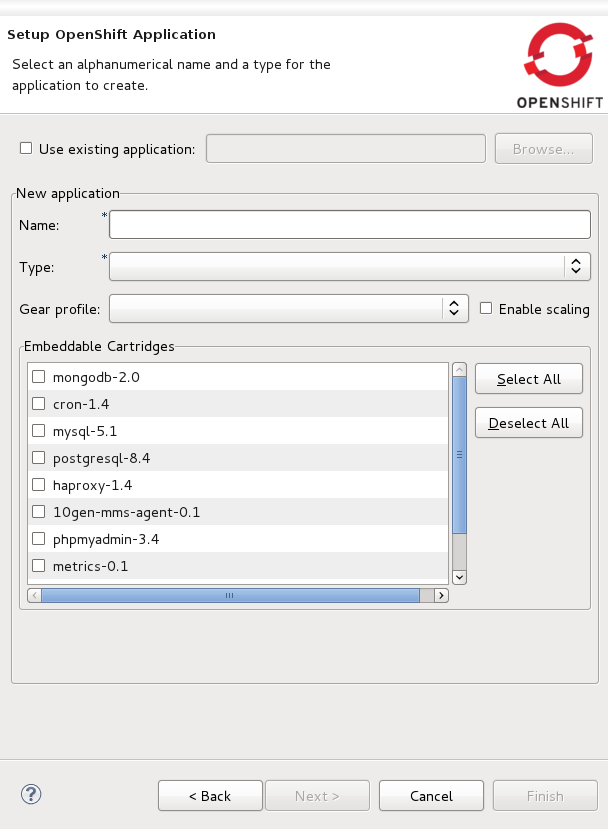
Now ready to create your OpenShift application, you will need to specify a name, the platform type to deploy for, from the Type drop-down list, and the Gear profile to be used.
The Gear profile option concerns the amount of physical space that will be allocated for use by the application. If you are running a trial version of OpenShift only the Gear profile will be available to you.
Note
No underscores or special characters are allowed in the application name.
You can also select to embed cartridges into your applicaiton. By embedding a cartridge, you allow your application the ability to use the associated technology. For example, embedding the mysql cartridge will grant your application the capability to use a MySQL database.
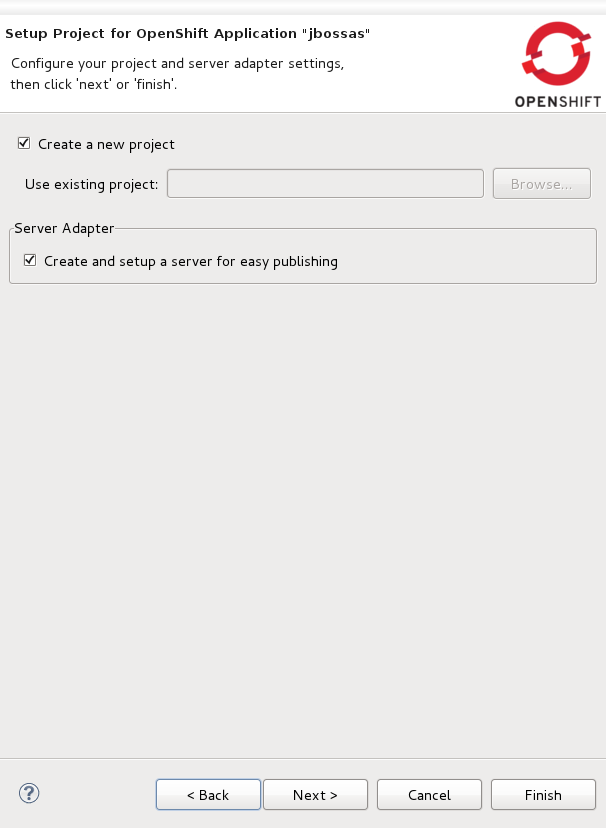
Since you are creating a new project, leave the Create a new project checkbox ticked.
For easy interaction with the OpenShift server and your domain it is recommended that you leave the Create and setup a server for easy publishing checkbox ticked. Doing so will create an OpenShift server instance in the Servers view, upon completing the wizard.
Click the button to progress in the wizard.
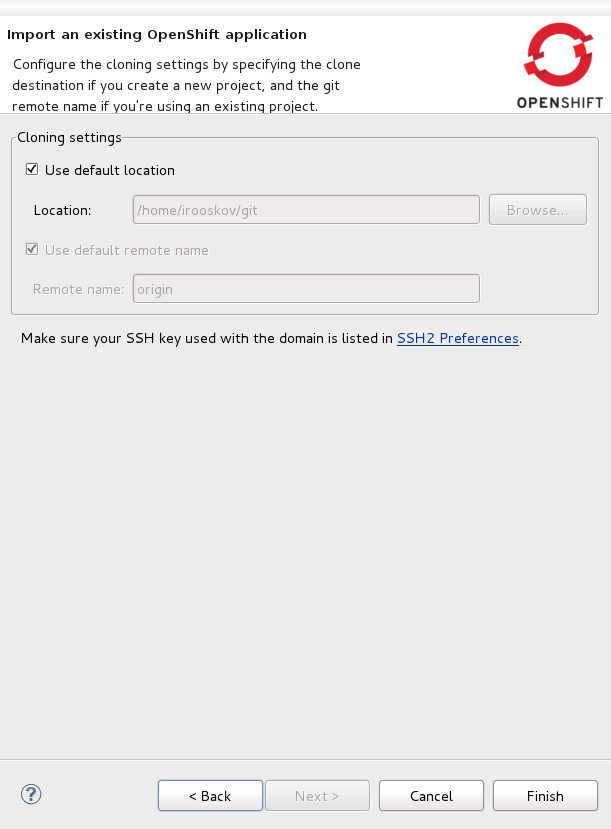
The final screen of the OpenShift application wizard specifies Cloning settings. Here you can set the properties for creating a local copy of your application. The Location and Remote name options will be set automatically, however, you are able to change these by deselecting the default option and specifying custom settings in the fields provided.
Click the to begin the cloning of the Git repository.
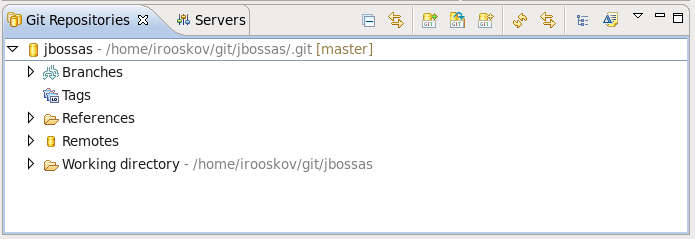
After the Git repository has been cloned, it will be available through the Git Repositories view. You can open it by navigating to → → → → . With the Git Repositories option selected, click .

The OpenShift application that you created through the wizard, will appear in your Project Explorer tab.
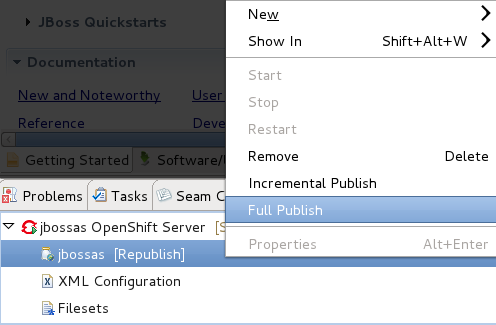
The wizard has also created a server adapter that connects to your OpenShift service. In the Servers tab there will be an OpenShift server available that contains your application. Any changes you make locally to the application can be published to your OpenShift instance by right-clicking on the application under the server in the Servers view, and selecting .
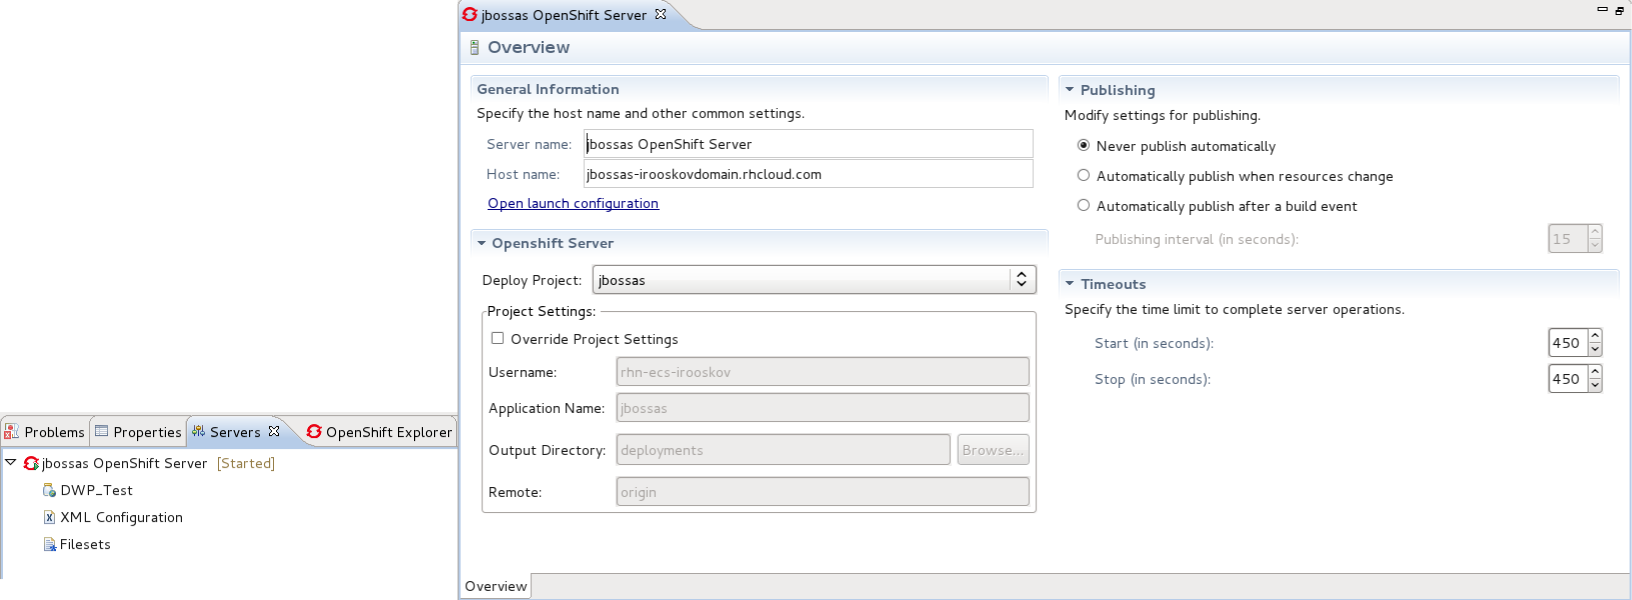
As with a local server, double-clicking on the OpenShift server instance in the Servers tab will open the server overview page in your workbench.

The OpenShift application will also be available under your domain in the OpenShift Explorer view.