Context and Dependency Injection (CDI) tooling allows you to easily add and work with the CDI programming model for your web-based applications. This guide demonstrates how to add CDI to existing projects and create new projects with the CDI wizard. For information on the specifics of CDI outside of the tooling, see http://jcp.org/en/jsr/detail?id=299.
From the workbench go to → → .
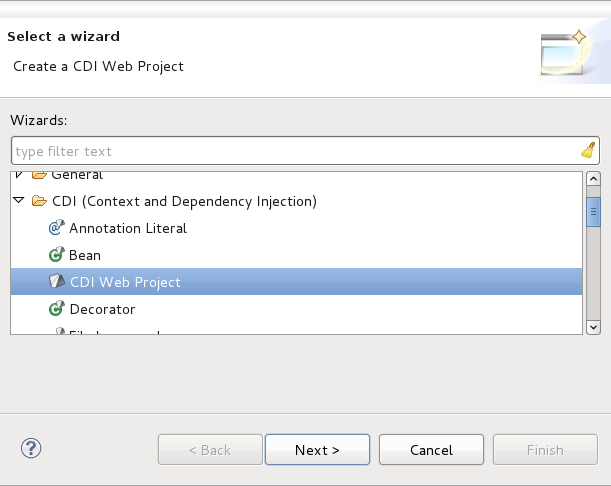
The first screen of the wizard will ask you to define the attributes according to the options outlined in Table 2.1, “New CDI Web Project”. Click the button after defining the attributes in order to continue customizing your project or click the button to accept all other defaults and create your application.
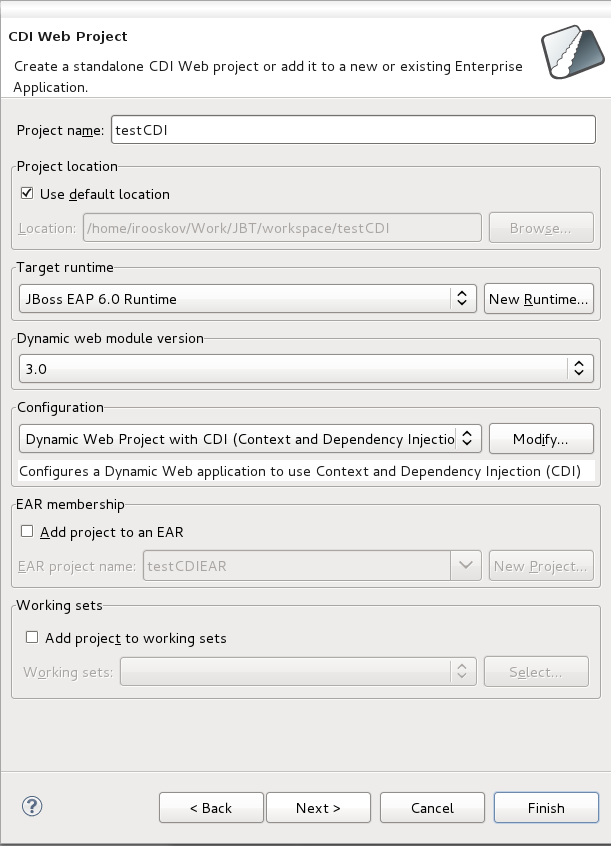
Table 2.1. New CDI Web Project
| Field | Mandatory | Instruction | Description |
|---|---|---|---|
| Project name | yes | Enter a project name. | The project name can be any name you define. |
| Project location | yes | The Use default location checkbox will be selected automatically to define the project location as the Eclipse workspace. However you can define a custom path in the Location field be deselecting the Use default location checkbox. | The default location corresponds to the Eclipse workspace. |
| Target runtime | no | Select a pre-configured runtime from the available options or configure a new runtime environment. |
The target runtime defines the server to which the application will be deployed. |
| Dynamic web module version | yes | Select the required web module version. |
This option adds support for the Java Servlet API with module versions corresponding to JEE or J2EE levels as listed in Table 2.2, “New CDI Web Project - Dynamic web module version”. |
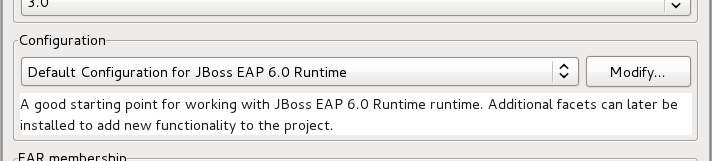
| Configuration | yes | Select the project configuration from the available options. |
The project can be based on either a custom or a set of pre-defined configurations as described in Table 2.3, “New CDI Web Project - Configuration”. |
| EAR membership | no | Add the project to an existing EAR project. |
The project can be added to an existing EAR project by selecting the checkbox. Once checked, a new EAR project can be defined by clicking the button. |
| Working sets | no | Add the project to an existing working set. |
A working set provides the ability to group projects or project attributes in a customized way to improve access. A new working set can be defined once the button has been clicked. |
Table 2.2. New CDI Web Project - Dynamic web module version
| Option | Description |
|---|---|
| 3.0 | This web module version corresponds to the JEE 6 implementation. |
| 2.5 | This web module version corresponds to the JEE 5 implementation. |
| 2.4 | This web module version corresponds to the J2EE 1.4 implementation. |
| 2.3 | This web module version corresponds to the J2EE 1.3 implementation. |
| 2.2 | This web module version corresponds to the J2EE 1.2 implementation. |
Table 2.3. New CDI Web Project - Configuration
| Option | Description |
|---|---|
| Dynamic Web Project with CDI | The default configuration option. Choosing this configuration will create a Dynamic Web Project with the CDI facet enabled. |
| Default configuration for the runtime specified in Target runtime | Depending on the runtime configuration, you may have to manually add CDI facet support through the button. |
| JavaServer Faces v2.0 Project | Configures a project to use JSF v2.0. You will need to manually add CDI support to this configuration through the button. |
| Minimal Configuration | The minimum required facets are installed. You will need to manually add CDI support to this configuration through the button. |
| <custom> | Total manual configuration is required through the button. Ensure you enable the CDI facet for CDI Web Project creation to succeed. |
The Java configuration screen allows you to define Source folders on the build path and the Default output folder. The defaults for each are recommended, however you have the option to change them as you see fit.

The Web Module configuration screen allows you to define the Context root and the Content directory to be created, the option to Generate web.xml deployment descriptor is selected by default. The defaults for each are recommended, however you have the option to change them as you see fit.

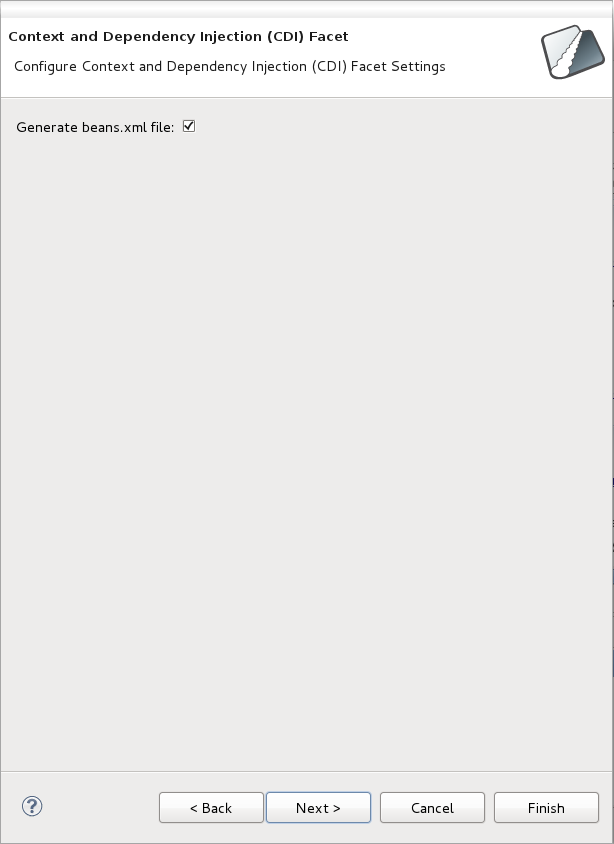
The Context and Dependency Injection (CDI) Facet settings configuration screen allows you to Generate beans.xml file, selected by default. The beans.xml file is a bean archive descriptor that allows you to enable CDI services for a bean archive. It is recommended that you leave the option selected.
The final screen of the wizard pertains to JSF Capabilities configuration.
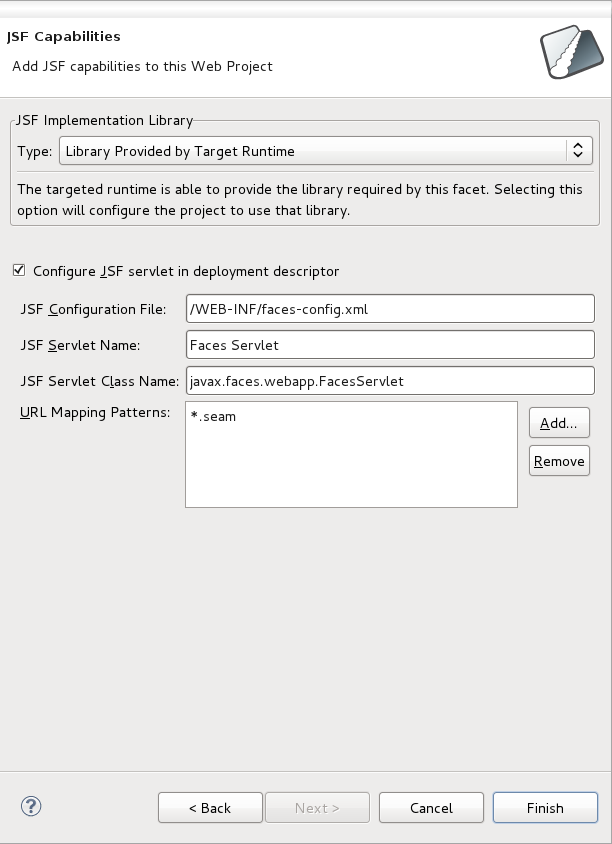
Table 2.4. JSF Capabilities
| Field | Mandatory | Instruction | Description |
|---|---|---|---|
| JSF Implementation Library Type | yes | Select an implementation library from the list provided. | This option adds support for the JSF implementation library, required for the project to function correctly. For a description of available options see: Table 2.5, “JSF Capabilities - JSF Implementation Library”. |
| Configure JSF servlet in deployment descriptor | no | Selected by default, decide whether to configure the deployment descriptor for the JSF servlet or not. | This option, if selected, opens up the ability to configure various deployment descriptor fields. For a description of fields see: Table 2.6, “JSF Capabilities - JSF Servlet Configuration”. |
Table 2.5. JSF Capabilities - JSF Implementation Library
| Option | Description |
|---|---|
| Library Provided by Target Runtime | If you selected a target runtime on the first screen, this option will configure the project to use the required facet library that is provided by the target runtime. |
| User Library | Selecting the User Library option allows you to specify one or more custom user libraries to be used. At least one must be selected for the wizard to complete successfully. |
| Disable Library Configuration | If you choose to disable library configuration you will have to configure the project classpath at a later time, by alternate means, before running the project. |
Table 2.6. JSF Capabilities - JSF Servlet Configuration
| Field | Mandatory | Instruction | Description |
|---|---|---|---|
| JSF Configuration File | Yes | Enter the location of the JSF configuration file (the default is usually correct). | You must specify where the JSF configuration file is located. |
| JSF Servlet Name | Yes | Specify a name for your JSF servlet | The name of the servlet. |
| JSF Servlet Class Name | No | Specify a name for your servlet class. | Naming your servlet class will allow for easy reference to it when you are coding for your project in the future. |
| URL Mapping Patters | No | A default mapping pattern is provided. You are able to remove and add patterns as you wish. | This option allows for the creation of constant, readable URLs, based on patterns, that map to your project. |
Click the button to create your CDI Web Project.
CDI support can be added either to an existing project or during project creation.
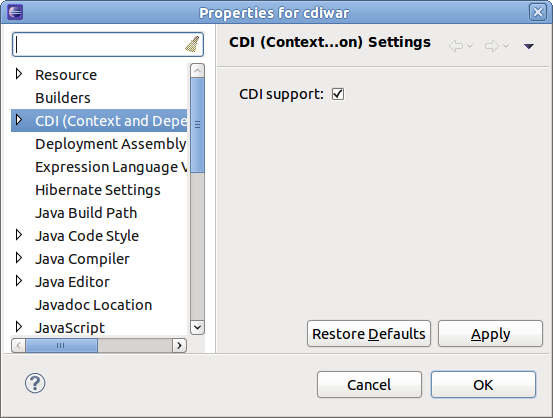
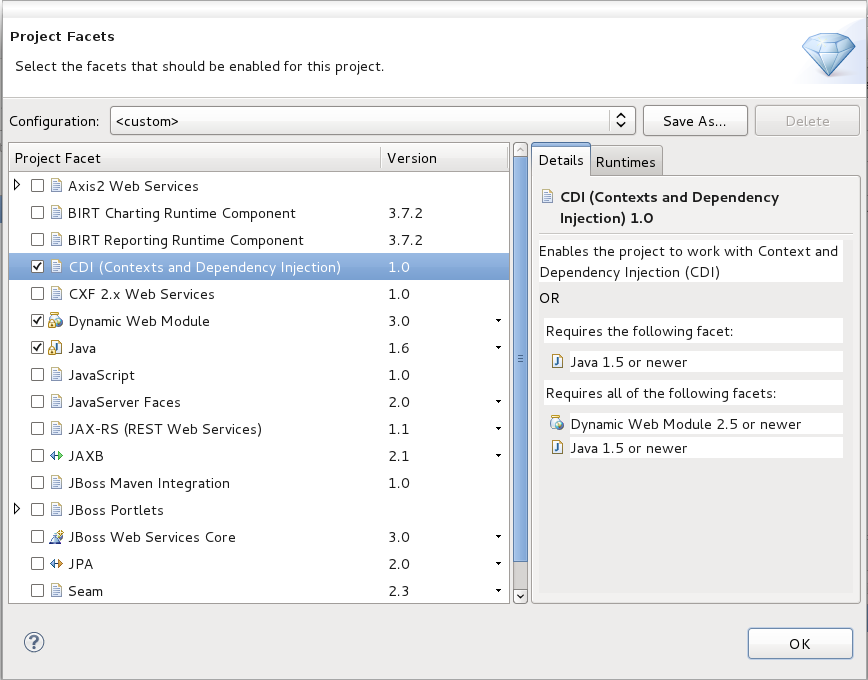
To add CDI support to an existing project, select the project, and right-click to bring up the context menu. From the menu select → . The following preferences page will now display:
You can also add CDI support to a project during project creation. To do so, click the button beside the selected Configuration on the first screen of the project wizard.
From the Project Facets screen, add CDI to the project by selecting the checkbox beside the facet . Click the button to accept the configuration change and return to the project creation wizard.
A set of wizards are available for creating a range of basic CDI artifacts. The wizards available are for the following types:
Annotation Literal
Bean
Decorator
Interceptor
Interceptor Binding Annotation
Qualifier Annotation
Scope Annotation
Stereotype Annotation

CDI validation covers nearly all of the rules declared in the JSR-299 specification. For every type of validation rule, you can set if it should be interpreted as an error, warning or just ignored. This is achieved by navigating to → → → → .
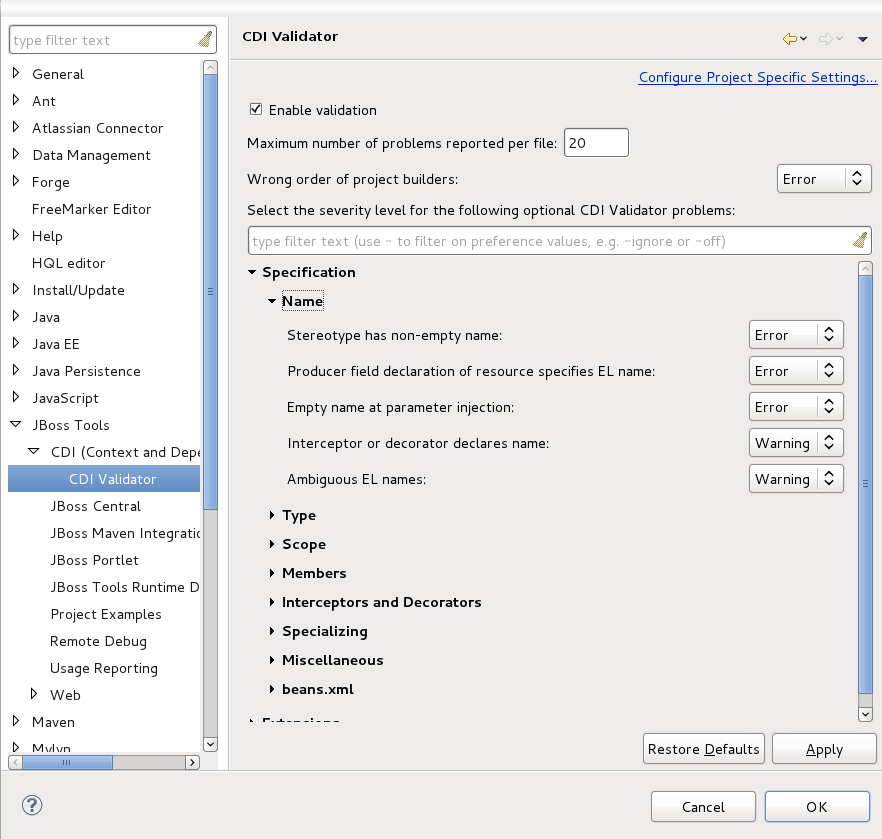
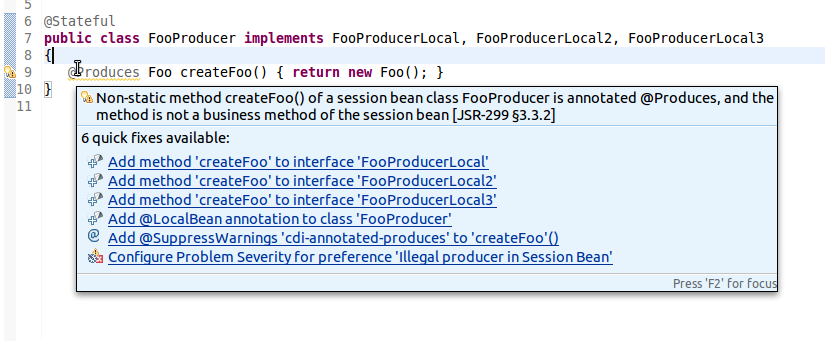
The CDI validator can check JSP, XHTML, beans.xml and java source files. Some validation issues can be fixed through the Quick Fixes menu (Ctrl+1).
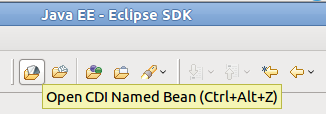
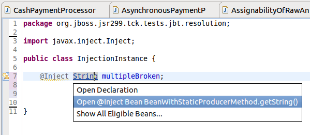
Hyperlinks (OpenOn integration) allows you to quickly navigate between source files. Pressing Ctrl+ or F3 on any expression language (EL) declaration will navigate you to the corresponding java source.
CDI Tools offers you a list of navigation alternatives for the bean that will be injected.
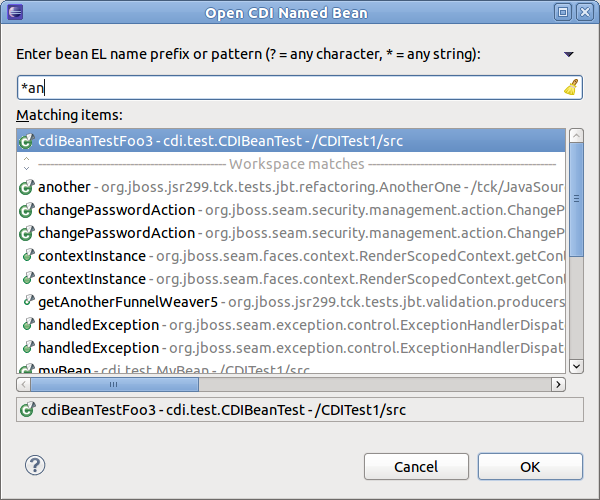
If multiple eligible beans are detected for the injection, you will see an option to .
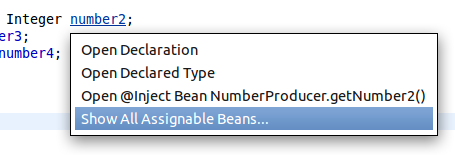
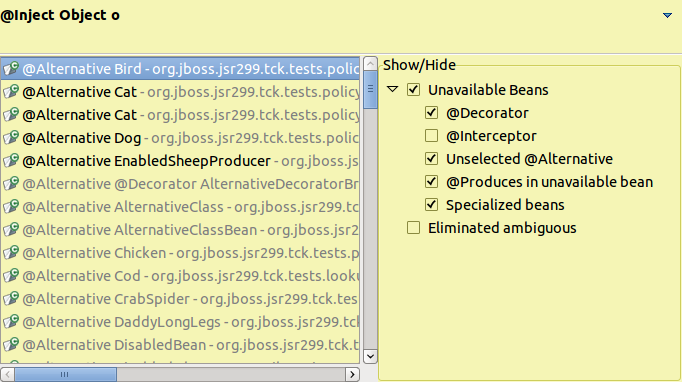
Selecting this option will display a dialog containing all eligible beans.
Corresponding classes and interfaces that are mentioned in beans.xml can be opened through pressing Ctrl+ on the type name.
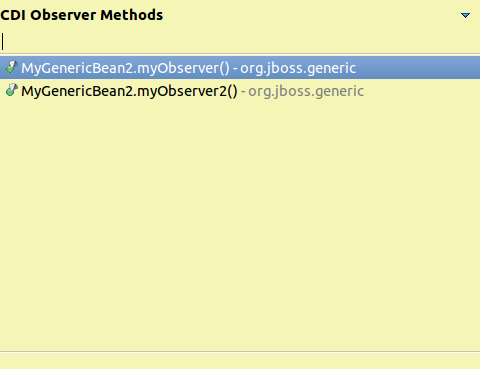
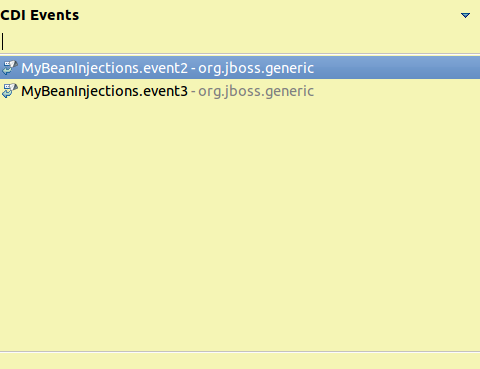
Observers and Events can be navigated to through the same method as well; and .
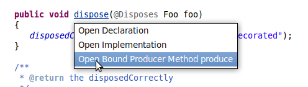
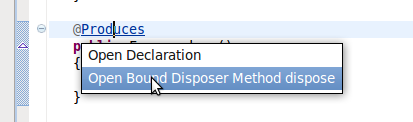
Producer and Disposer methods, if available, will appear in the context menu for an injection.