Before running an Arquillian test in Eclipse, you must have the plugin for the unit testing framework you are using installed. Eclipse ships with the JUnit plugin, so you are already setup if you selected JUnit. If you are writing your tests with TestNG, you need the Eclipse TestNG plugin.
Since the example in this guide is based on a Maven 2 project, you will also need the m2eclipse plugin. Instructions for using the m2eclipse update site to add the m2eclipse plugin to Eclipse are provided on the m2eclipse home page. For more, read the m2eclipse reference guide.
Once the plugins are installed, import your Maven project into the Eclipse workspace. Before executing the test, you need to enable the profile for the target container, as you did in the previous section. We'll go ahead and activate the profile globally for the project. Right click on the project and select Properties. Select the Maven property sheet and in the first form field, enter jbossas-remote-6; you also need to tell Maven to not resolve depedencies from the workspace (this interferes with resource loading):
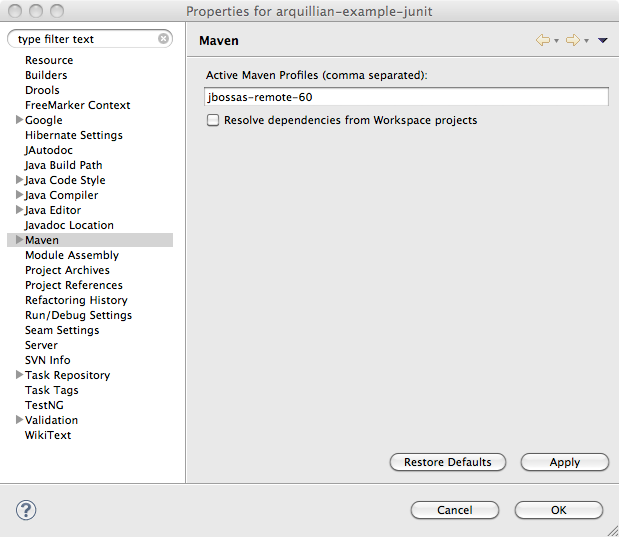
Maven settings for project
Click OK and accept the project changes. Before we execute tests, make sure that Eclipse has properly processed all the resource files by running a full build on the project by selecting Clean from Project menu. Now you are ready to execute tests.
Right click on the TemperatureConverterTest.java file in the Package Explorer and select Run As... > JUnit Test or Run As... > TestNG Test depending on which unit testing framework the test is using.
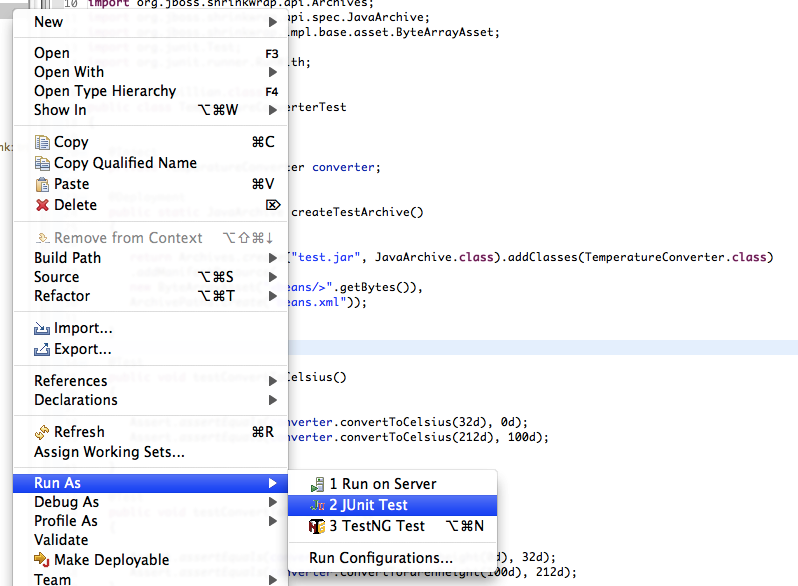
Running the the JUnit test in Eclipse