mvn archetype:generate -DarchetypeGroupId=org.jboss.errai.archetypes -DarchetypeArtifactId=cdi-quickstart -DarchetypeVersion=2.3.2.Final
Warning
This space is in read-only mode and not up-to-date. The latest version of Errai's documentation is now hosted on GitHub. If you want to contribute to Errai's documentation please send us a pull request!
Errai is a framework which combines a constellation of web and server-side technologies to assist you in developing large, scaleable rich web applications using a consistent, standardized programming model for client and server development.
Technology Primer
Since Errai is an end-to-end framework, in that, parts of the framework run and operate within the client and parts run and operate within the server, there is a set of various technologies upon which Errai relies. This section will detail the basic core technologies which you'll need to be familiar with.
Google Web Toolkit (GWT)
GWT is a toolkit built around a Java-to-JavaScript compiler. It provides a JRE emulation library, abstraction of browser quirks, a development mode runtime, and tools for native JavaScript integration.
Errai uses GWT to accomplish the translation of concepts such as CDI into the browser, which enables a consisted client and server programming experience.
Contexts and Dependency Injection (CDI)
CDI is a standard part of the Java EE 6.0 stack, and is specified in the JSR-299 specification. CDI provides the basis for the programming model that will be explored in this guide. As such, if you are unfamiliar with CDI, basic concepts will be introduced in this guide, and pre-existing knowledge of CDI is not strictly necessary.
Errai's support for CDI is two-fold: For the server-side, Errai currently has integration with Weld, which is the reference implementation (RI) of the JSR-299 specification. The client-side integration for CDI is provided by the Errai CDI extension. Errai CDI implements a subset of the JSR-299 specification to provide the CDI programming model within client code.
Java API for RESTful Web Services (JAX-RS)
JAX-RS is an API which provides a standardized programming model for specifying web services based around the concept of the Representational State Transfer (REST) architecture. REST has by and far become the preferred way of developing web services, and is used pervasively in modern web applications. Errai provides a set of tools to make working with JAX-RS easier.
ErraiBus
ErraiBus is an underlying transport technology which provides true, bidirectional, asynchronous messaging between the client and the server. It powers a myriad of technologies throughout the Errai framework, from RPC to CDI Events.
Creating your first project
Maven Required
The first thing you'll need to do if you have not already, is install Maven. If you have no already installed Maven, do so now. Otherwise read on.
Warning: If you use maven2, you will run into this problem: https://community.jboss.org/thread/177645
You have two options to set up an Errai application. You can start by copying one of our demos or start building an app with a maven archetype:
Start from a working example application
Simply download and unzip this demo. Check out the README file and continue with running the app in GWT's development mode and importing the project into Eclipse.
Start from a quickstart archetype
Open a terminal or command prompt, and navigate to the directory where you would like to create your Errai project.
Type or paste the following into the terminal:
When it is finished downloading all of the dependencies, you will be prompted to specify the groupId of your project. In practice, the Maven groupId is usually the same as the base package of your project. For instance, if your project's package namespace will be org.company.firestorm, the Maven groupId would usually be the same, or perhaps simply org.company.
You will next be prompted to specify an artifactId, which in practice is the name of the application or the application component, in a multi-module Maven project.
For instance: firestorm-app
The next thing you'll be asked to specify is the initial version of the artifact, which defaults to 1.0-SNAPSHOT. This is usually a sensible starting version if this is the first version of your app. But your milage may vary. To accept the default value, you can just hit enter.
You'll then be prompted to enter the package of the application. It will default to the same thing you specified for the groupId. To accept this default, just hit enter.
You'll be prompted to review all of your choices:
Maven Artifact creation prompt
Confirm properties configuration:
groupId: org.company.firestorm
artifactId: firestorm-app
version: 1.0-SNAPSHOT
package: org.company.firestorm
 Y: :
You can type N here and hit enter to correct any mistakes. Or simply hit enter to accept these values.
After accepting the values you will see something like the following:
[INFO] ------------------------------------------------------------------------
[INFO] BUILD SUCCESS
[INFO] ------------------------------------------------------------------------
[INFO] Total time: 10:09.469s
[INFO] Finished at: Mon Sep 17 15:40:04 EDT 2012
[INFO] Final Memory: 9M/81M
[INFO] ------------------------------------------------------------------------
Congratulations! You've created an archetype for Errai. Let's make sure that you have everything set up properly.
A new directory should have been created with the name of the artifactId (firestorm-app for example) which you specified.
Running the app in GWT's development mode
GWT's development mode allows for code-refresh development cycles. Simply change a client-side class and refresh the browser to see your changes. You can also debug client and server side code in your IDE of choice.
Change into the newly created project directory and type the following:
mvn clean gwt:run
This will begin the download of all the dependencies required to develop with and run Errai. It may take a few minutes to complete the download.
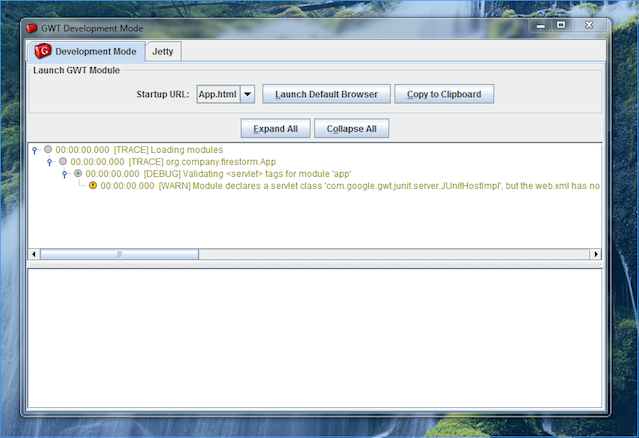
When it is finished, you should see the GWT Development Mode runtime window appear as shown in Figure 1 running on Windows.
|
Figure 1: GWT Development Mode running on Windows |
|
|
Next, click the Launch Default Browser button. If you have have never used GWT before on your computer, you may get an error when your browser loads as shown in Figure 2.
|
Figure 2: Missing plugin error |
|
|
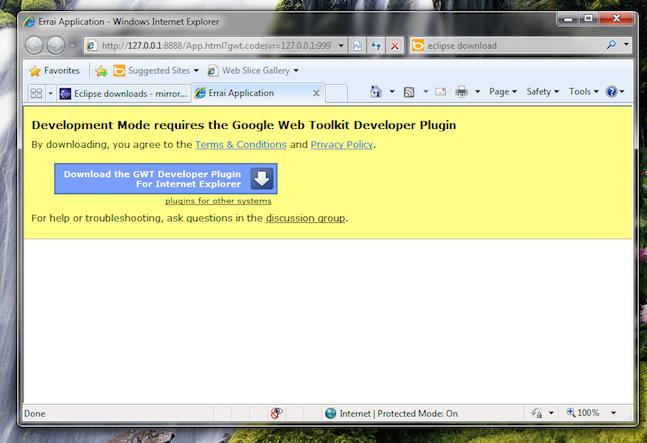
Click the blue button that says Download the GWT Developer Plugin to download the plugin. Run the installer to install the plugin for your browser.
Direct download of plugin
If you get a 404 Error for Internet Explorer when clicking the link, you can download the latest plugin for your browser directly from these links:
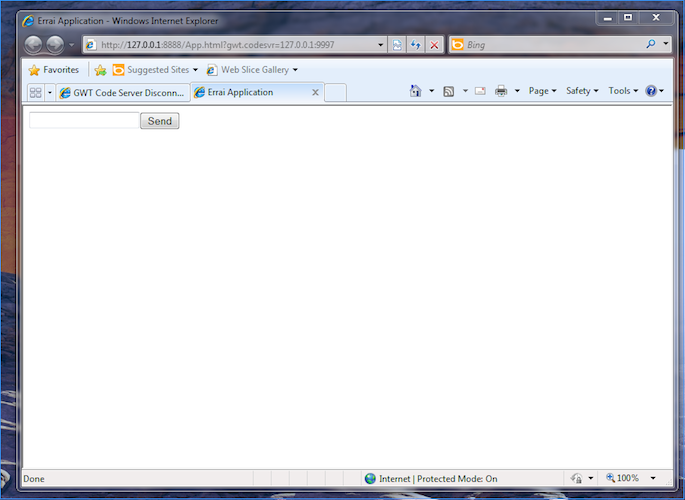
Once you have configured your browser for development with GWT, and after loading the app with the Launch Default Browser button, you should see the basic skeleton application load. You should see something like what is shown in Figure 3:
|
Figure 3: The plain archetype app running in the browser |
|
|
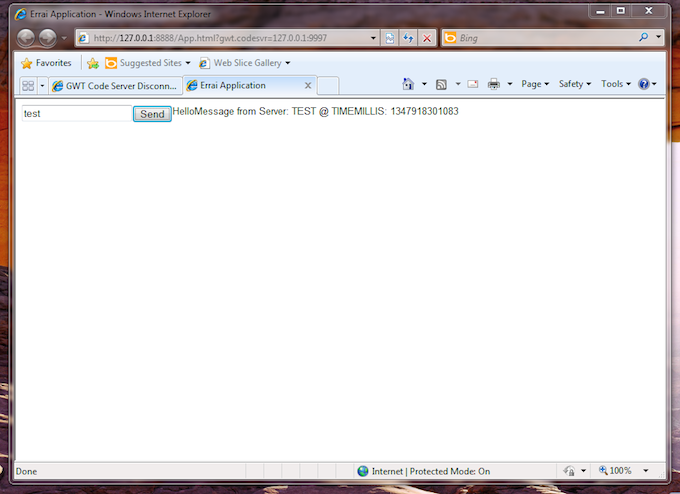
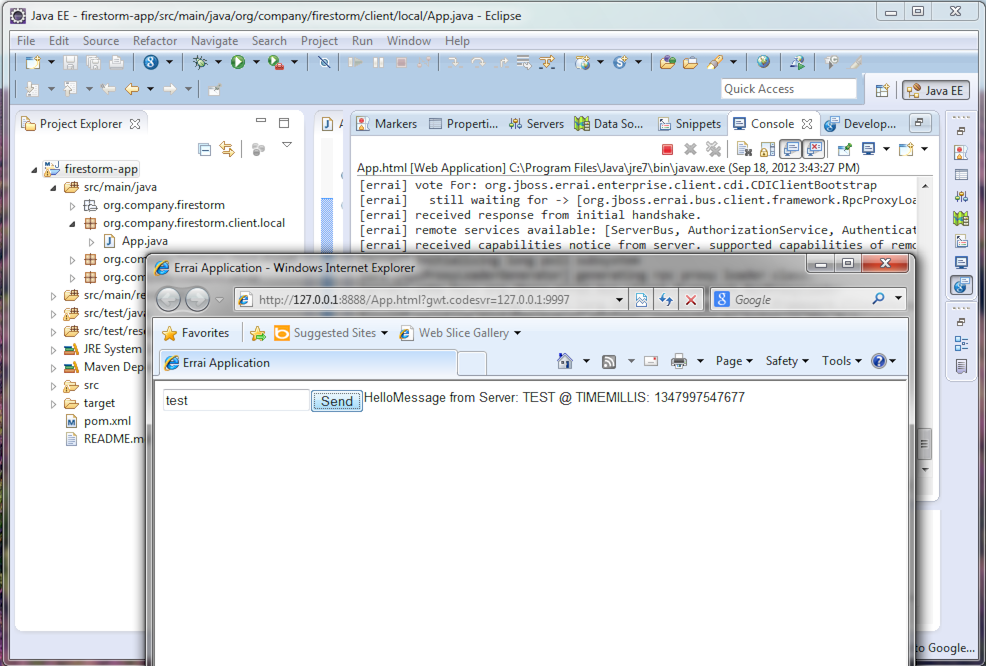
If you type something into the box and click Send, you should see the response sent back from the locally-running server in the app, as shown in Figure 4:
|
Figure 4: Testing that the app is working |
|
|
That's it! You've got your first Errai Application up and running. In the next section we'll setup your IDE.
Configuring your project for Eclipse
Read the previous section!
This next section assumes you have followed the instructions in the previous section. As such, we assume you have created an Errai project from the Errai CDI archetype, which we'll be importing into your IDE.
Prerequisites
Google Plugin for Eclipse (GPE)
If you have not done so already, you should install the Google Plugin for Eclipse (GPE). Click here for instructions at the Google Plugin for Eclipse site on how to install it. Note: You must install at least the GWT SDK.
Maven Integration for Eclipse (m2e)
The project that the archetype in the last section generated is a Maven project. Thus, we will be relying on Maven to manage our project model throughout this guide. As such, we will want to install Maven tooling in the IDE. If you have not already installed m2e in Eclipse, you will want to do so now.
To install the Maven tooling, use the following steps:
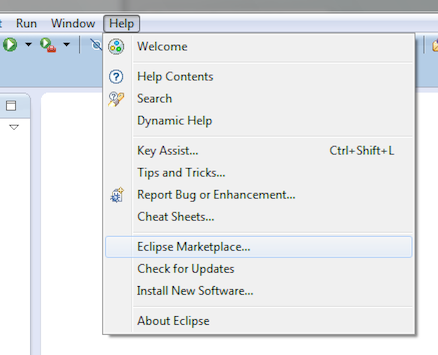
1. Go to the Eclipse Marketplace under the Help menu in Eclipse.
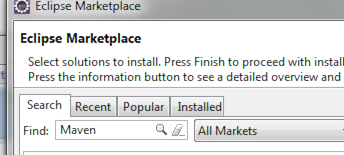
2. In the Find dialog enter the phrase Maven and hit enter.
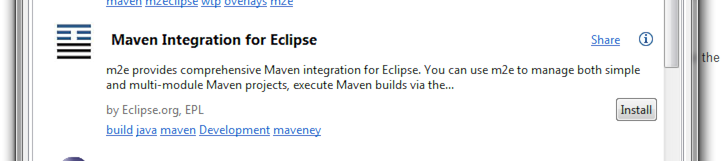
3. Find the Maven Integration for Eclipse plugin and click the Install button for that entry.
4. Accept the defaults by clicking Next, and then accept the User License Agreement to begin the installation.
Importing your project
Once you have completed the installation of the prerequisites from the previous section, you will now be able to go ahead and import the Maven project you created in the first section of this guide.
Follow these steps to get the project setup:
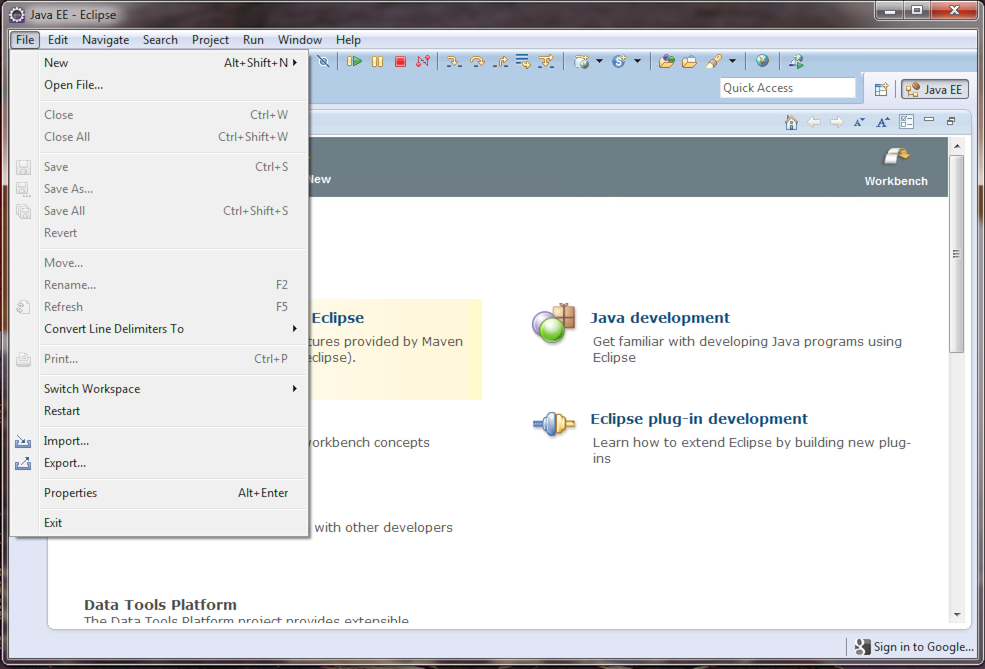
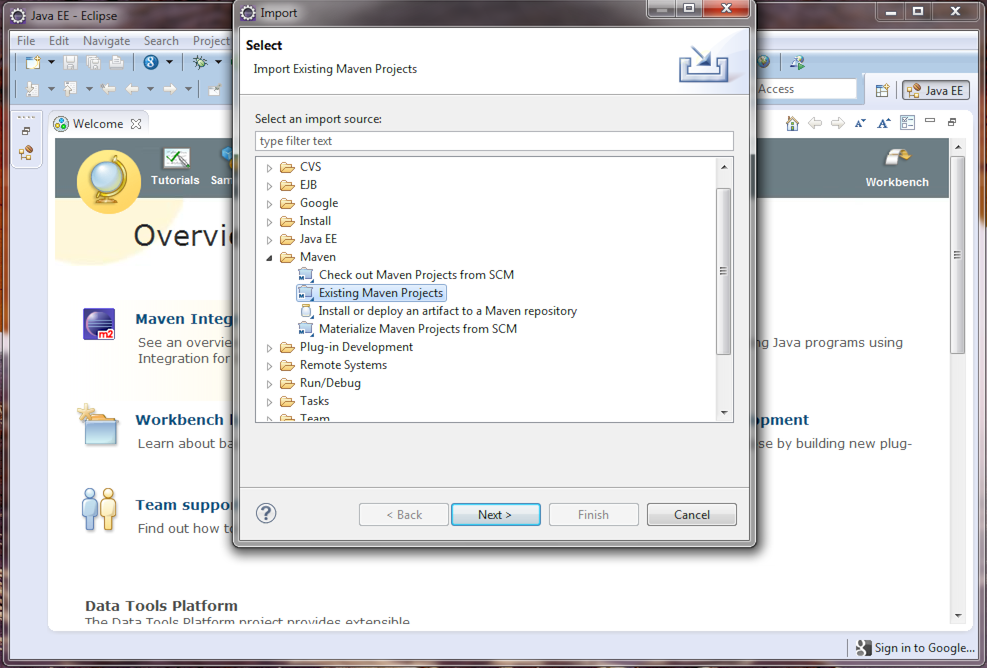
1. From the File menu, select Import...
2. You will be presented with the Import dialog box. From here you want to select Maven -> Existing Maven Projects
3. From the Import Maven Projects dialog, you will need to select the directory location of the project you created in the first section of this guide. In the Root Directory field of the dialog, enter the path to the project, or click Browse... to select it from the file chooser dialog.
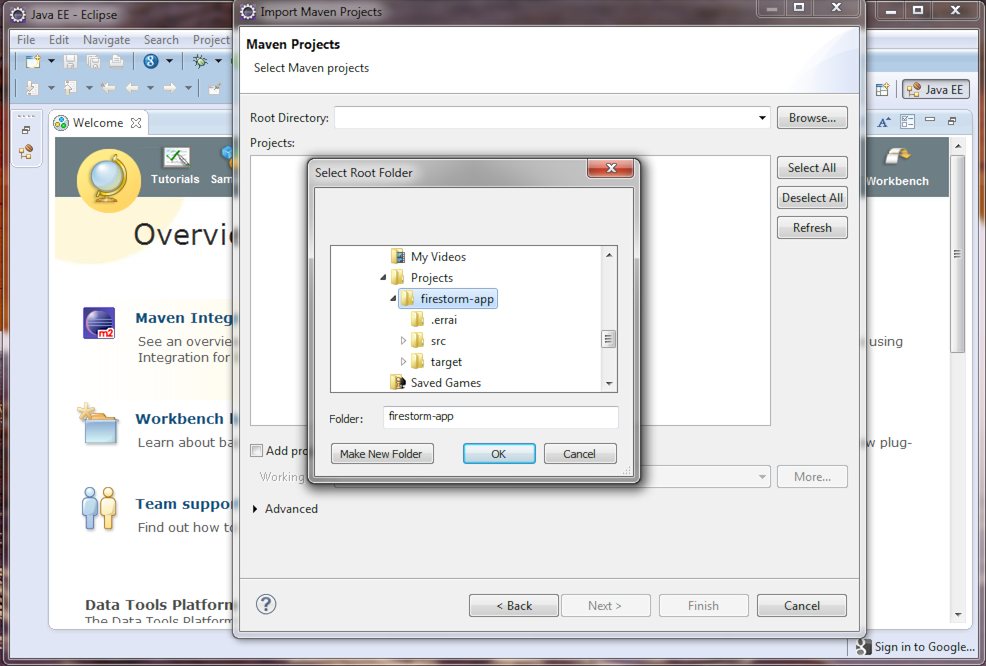
4. Click Finish to begin the import process.
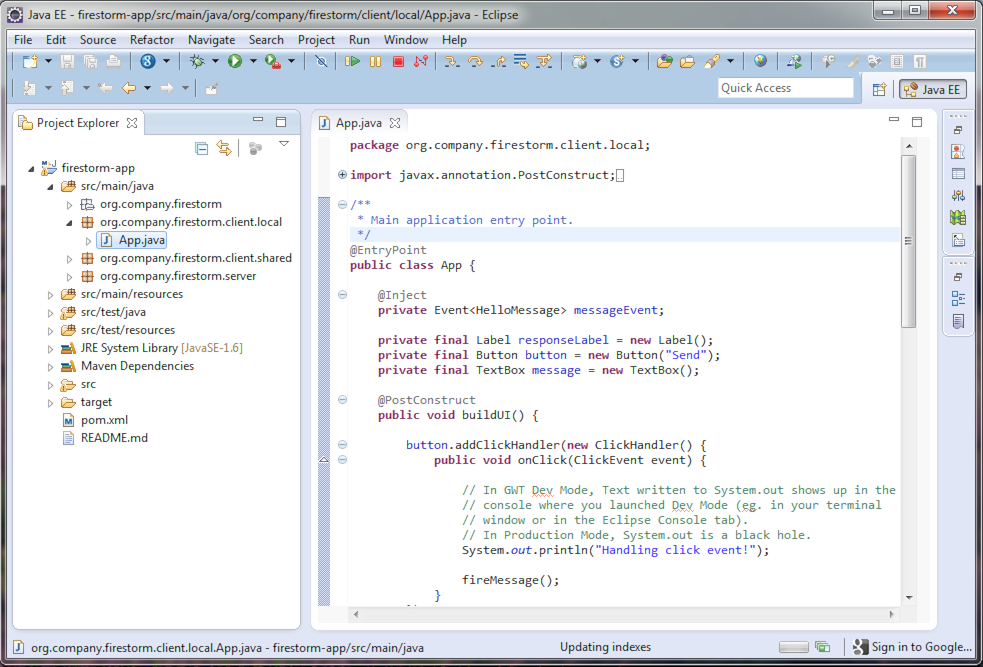
5. When the import process has finished, you should see your project imported within the Eclipse Project Explorer. The App class generated by the archetype should be visible within the client package under the package root you specified when creating the project.
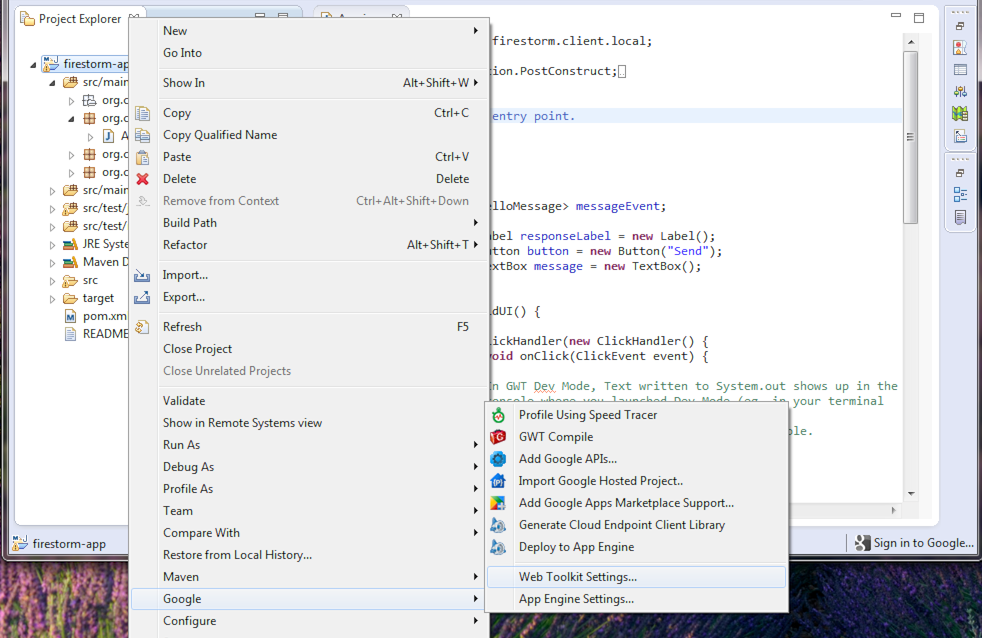
6. The next step will be to configure your project as a Google Web Toolkit project in order to enable the GPE plugin features which we will rely on in this guide. You can do this by first right-clicking on the project name within the Project Explorer panel, selecting the Google -> Web Toolkit Settings... options.
7. To enable the GWT features of the plugin, check the Use Google Web Toolkit checkbox in the dialog that appears.
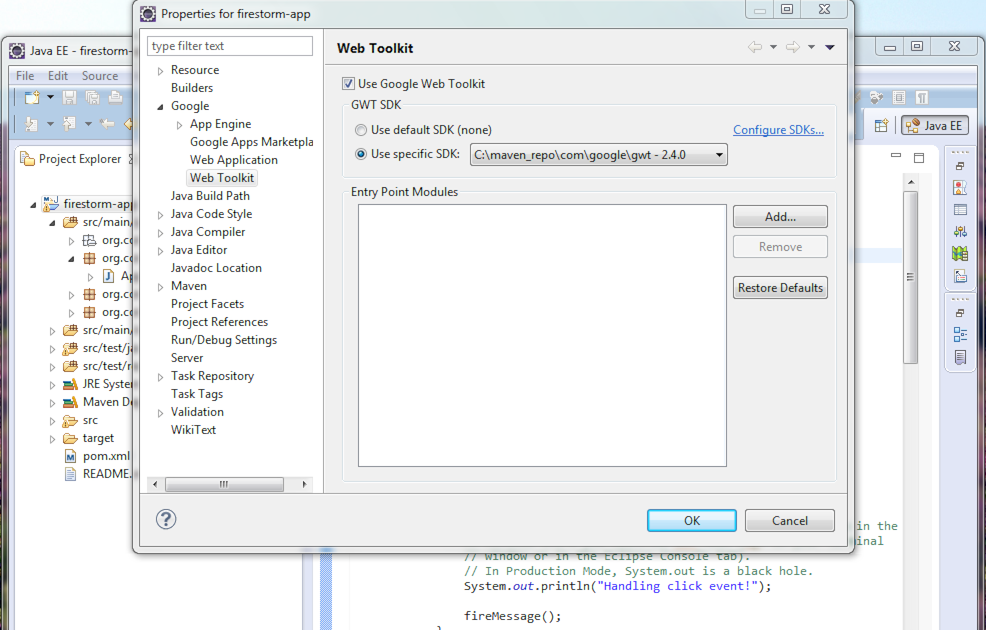
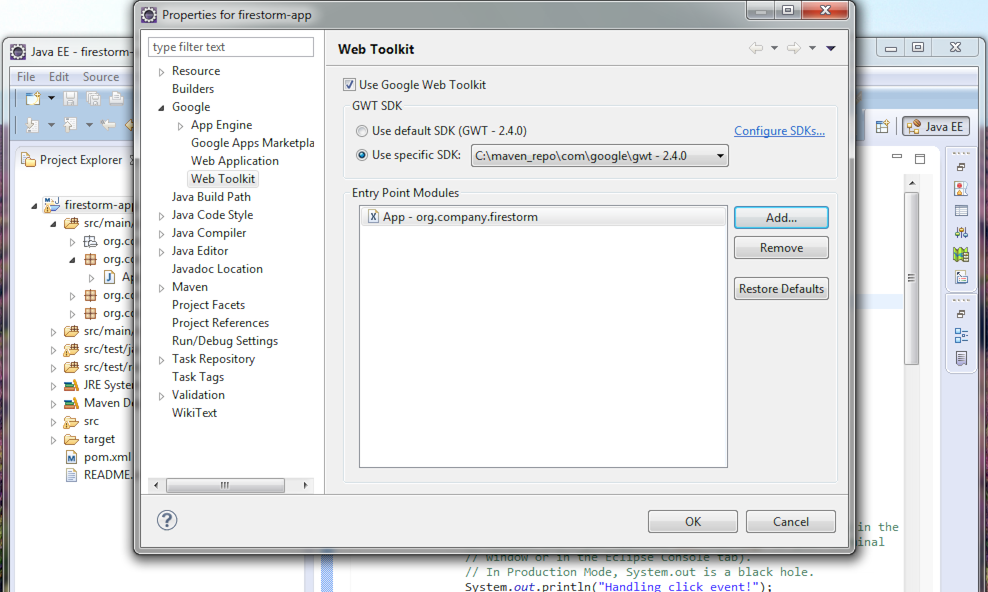
8. Add the GWT module generated by our archetype to your project by clicking the Add... button in the Web Toolkit options dialog. There should only be one available module in your application, named App. Select and add this.
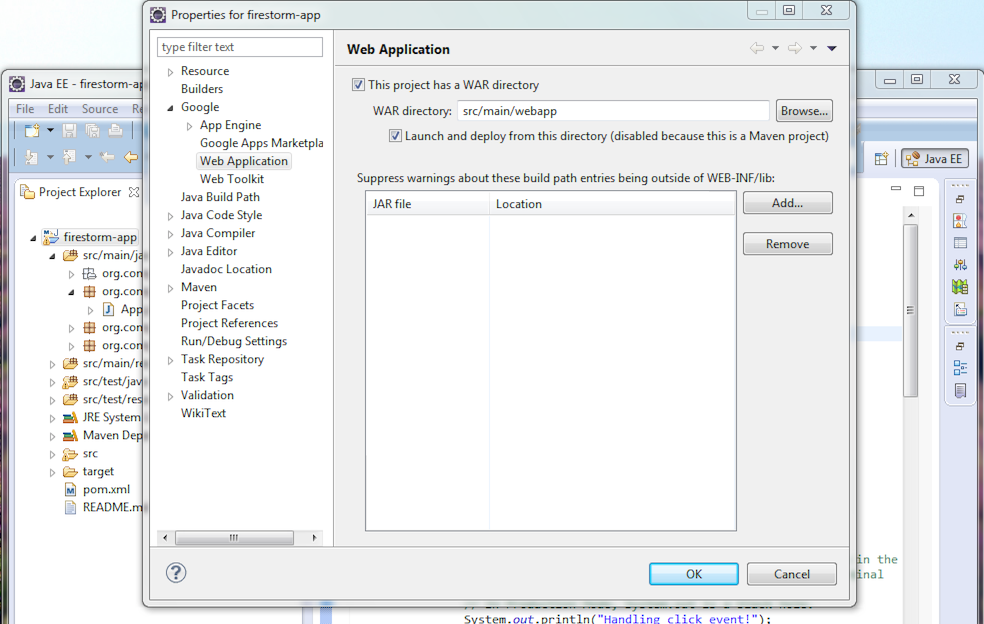
9. On the left hand side of the Properties dialog box, you should see a Web Application section under the Google tree item. It should be the option directly above the Web Toolkit menu. Select this.
10. In the Properties for firestorm-app window:
-
Check the box This project has a WAR directory.
-
In the WAR directory field, enter src/main/webapp or click Browse... to navigate to the webapp directory.
-
Check the box Launch and deploy from this directory
When done, click OK.
11. You may be presented with a dialog warning you that GWT features will require the re-opening of already open editors. Simply click Re-open Java editors.

12. From the main workspace, click on the Run As... menu. It is indicated by a green play icon, pictured in the image below. From the menu, select Run As... -> Web Application.
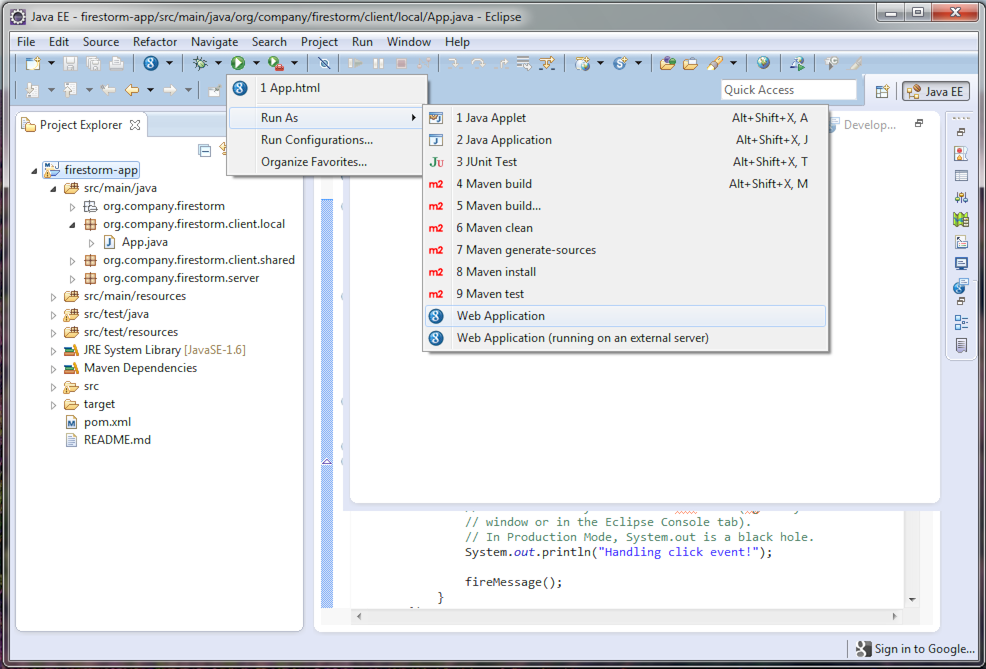
13. You will be presented with the HTML Page Selection dialog. This dialog is used for choosing which HTML page to load in order to start the application. Select App.html, then click OK.
14. The application should start and you should see the startup log display the Weld and Errai bootstrapping information. When it is done bootstrapping, which may take a few moments, you should be presented with a panel with a URL link in order to launch your application. Double-click on this link.
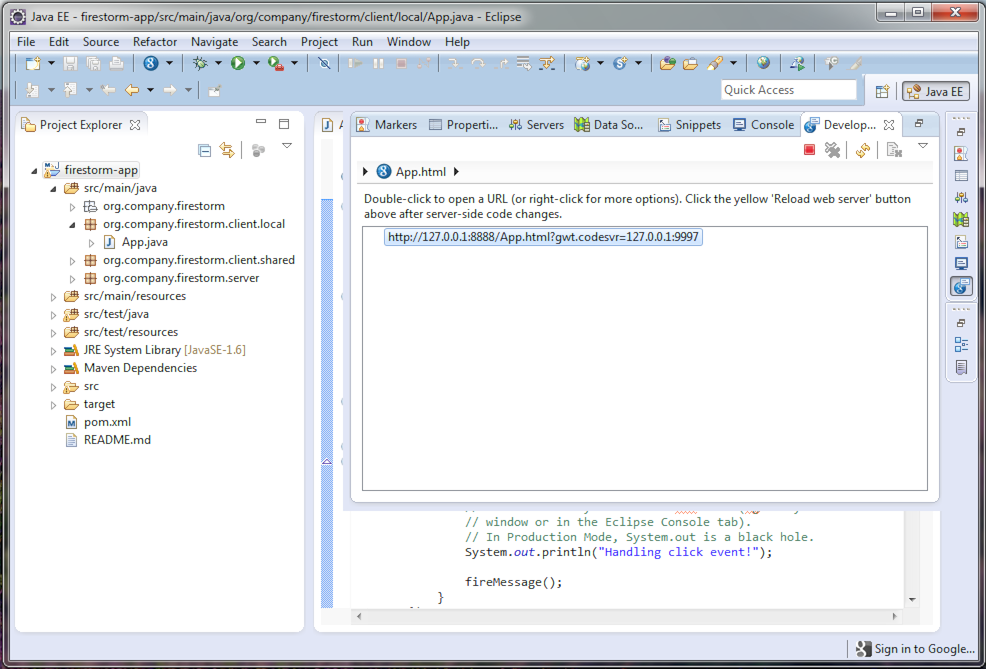
15. Your web browser should load and you should see the same application we launched from the command line in the previous section.
16. That's it! You've successfully imported your Errai project into Eclipse. Now, on to coding!