To get mails from other mail services, you first need to create a mail account in the Mail application which connects to another mail POP3 or SMTP supported servers, such as Gmail, Yahoo! Mail, Hotmail, GMX, Cyrus, Exchange Server. The Mail application allows you to get mails from different mail services at one place.
To create one mail account, you first need to click ![]() , then select Add Account from the drop-down menu to open the Create New Account form. In the Create New Account form, there are 5 steps with clear instructions at each step. After completing information at each step, you can:
, then select Add Account from the drop-down menu to open the Create New Account form. In the Create New Account form, there are 5 steps with clear instructions at each step. After completing information at each step, you can:
Click Next to go to the next step, or directly left-click any number box at the left bottom of the Create New Account form to go to your desired step.
Click Back to return to the previous step.
Note
The asterisk (*) next to each field indicates the required field.
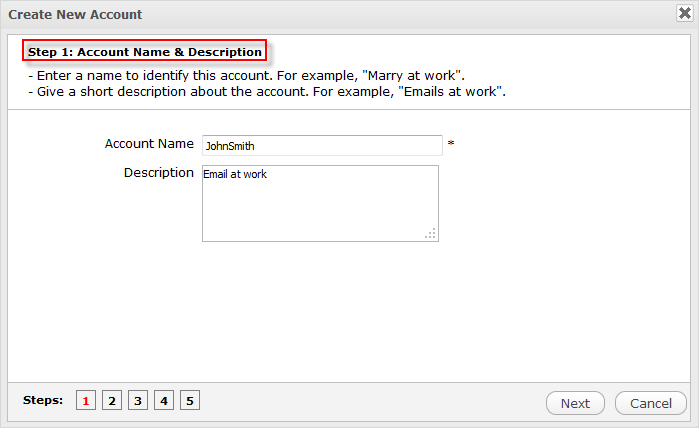
1. Fill your account name and brief description in Step 1.
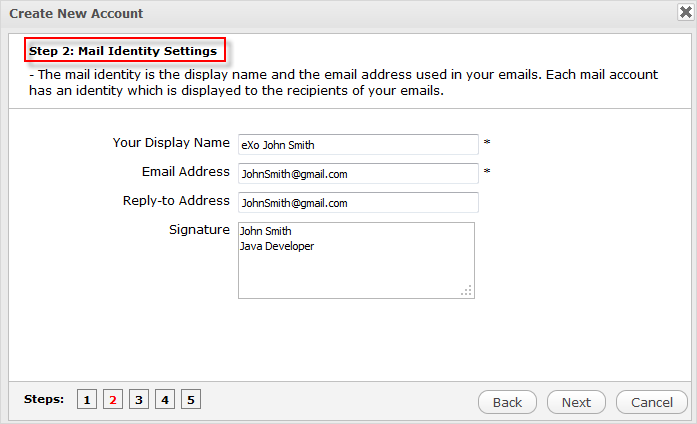
2. Configure identification settings for your mail in Step 2.
Details:
| Field | Description |
|---|---|
| Your Display Name | The name to be displayed when you use the account. This name will be displayed with your email address when you compose a new message. |
| Email Address | The email address corresponding to your created account. It must be in a valid format. (See more details about the Email Address format here.) |
| Reply-to Address | The email address which receives all replies. |
| Signature | The identification text which is automatically inserted at the bottom of your sending messages. |
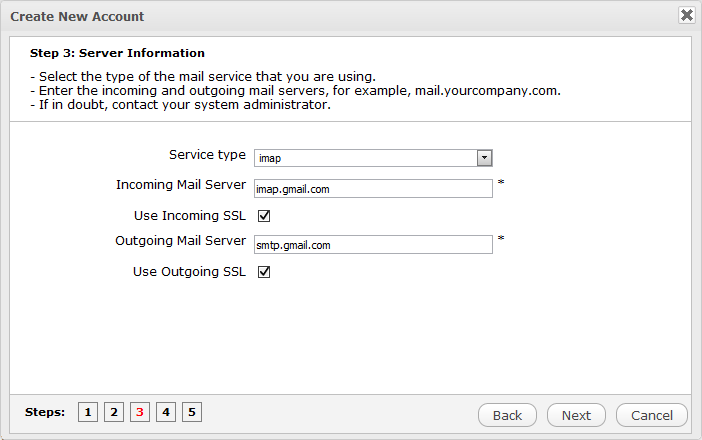
3. Give the server information in Step 3.
Details:
| Field | Description |
|---|---|
| Server type |
Type of the mail server. Select either of two types supported by your mail server: - POP3 (Post Office Protocol - Version 3) which is a protocol to get emails from a remote server. This type is selected by default. - IMAP (Internet Message Access Protocol) which retrieves emails from a remote server over a TCP/IP connection. |
| Incoming Mail Server & Outgoing Mail Server | The Incoming Mail Server (POP3) and Outgoing Mail Server (SMTP) of your current email provider. Each email provider has different Incoming Mail Server and Outgoing Mail Server settings. By default, the value of this field is "pop.gmail.com" and "smtp.gmail.com" which are the settings for Gmail. For settings of other mail servers, you can find the information on their websites. See More about Incoming & Outgoing mail server settings for more information. |
| Use Incoming SSL | This option allows using SSL (Secure Sockets Layer) or not. SSL is a cryptographic protocol which provides secure communication on Internet, such as web browsing, email, Internet faxing. The Incoming SSL allows using SSL to check incoming emails. |
| Use Outgoing SSL | This option is to use SSL to send mail in the Mail application. |
4. Configure another account properties in Step 4.
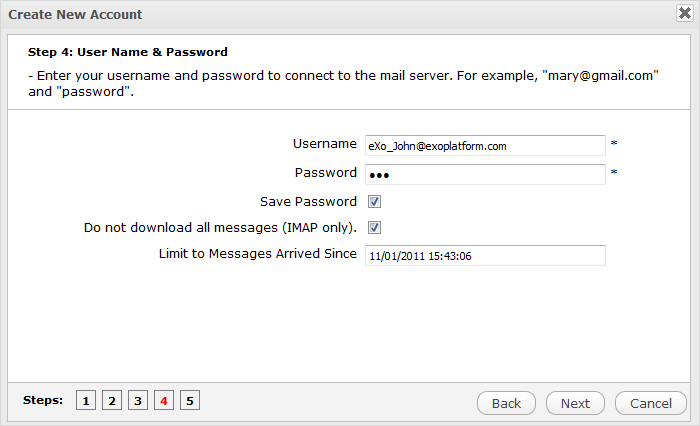
Details:
| Field | Description |
|---|---|
| Username | The email address which is used in the Mail application. |
| Password | The password of your email address. It will be used to get your messages of the email address entered in the Username field. |
| Save Password | Tick the checkbox to avoid entering your password again for each mail check. |
| Do not download all messages (IMAP only) | Check this option if you do not want to download all messages. |
| Limit to Messages Arrived Since | Select the time to limit the downloaded messages from the drop-down calendar. |
5. Verify your inputted information in Step 5.
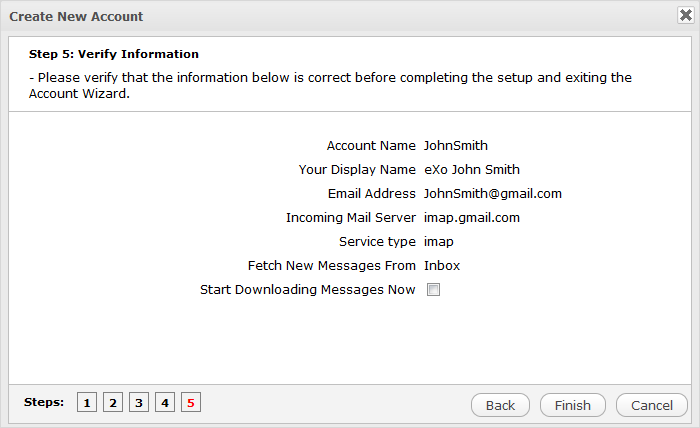
Tick the Start Downloading Messages Now checkbox to get messages automatically right after your account is successfully created.
6. Click Finish to complete your registration.