A symlink in Content works like shortcut to a directory or file. To add a Symlink, you can follow one of these ways.
The first way
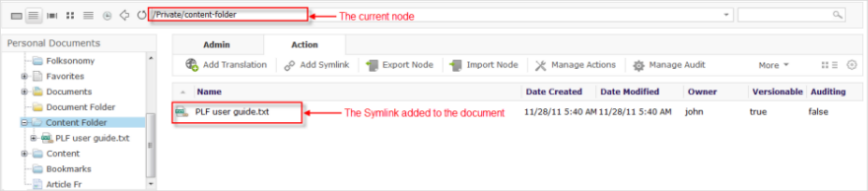
Select a node where you want to add a Symlink.
Click
![[ Add Sym Link ]](./images/addsymlinkbutton.png) on the Action bar to open the Symlink Manager form.
on the Action bar to open the Symlink Manager form.
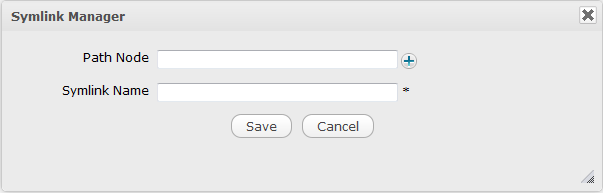
Details:
Click
 to open the
Select Target Node
form.
to open the
Select Target Node
form.
Select the workspace which contains the node that you want to add a Symlink.
Click
 in the row of the node that you want to add. The path that the node will appear in the
Path Node
field and the name of the node is set by the name of the selected node. You can also edit this name.
in the row of the node that you want to add. The path that the node will appear in the
Path Node
field and the name of the node is set by the name of the selected node. You can also edit this name.
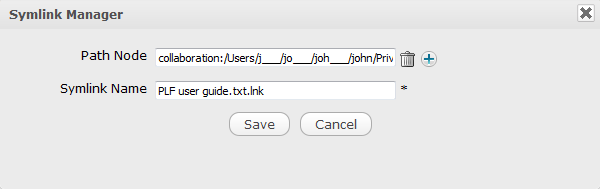
Click Save to finish adding a Symlink.
The second way
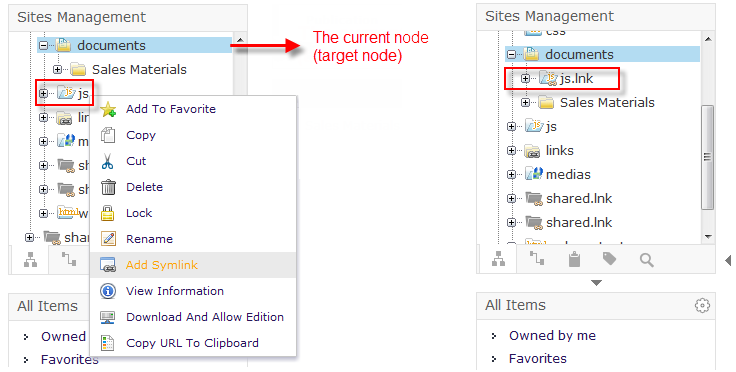
Right-click a node that you want to create a Symlink. Note that if you follow this way, the Symlink will be created to the current node.
Click Add Symlink from the drop-down menu.
This node will become a Symlink to the current node.
Note
You should notice the different behaviour between adding a Symlink via the Action bar and the right-click menu.
After you have right-clicked a node, then selected Add Symlink, a Symlink to the current node is created.
Meanwhile, when you select Add Symlink on the Action bar, a Symlink Manager form will appear to let you select the target node.
Warning
You will get an error message if you create a Symlink inside the following content types: Article, CSS, Event, HTML, JS, Kofax, Podcast, Sample node, Weblink.