Click the Add Drive button in the Manage Drives page to open the Add Drive form.

Input a name for the new drive in the Name field that is required.
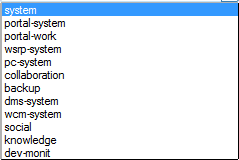
Select a workspace for the drive from the drop-down menu by clicking the Workspace entry.
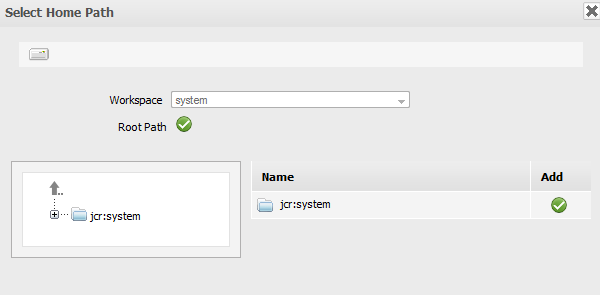
Select the home path for the drive by clicking
 beside the
Home Path
entry.
beside the
Home Path
entry.
Browse an icon for the workspace by clicking
 beside the
Workspace Icon
entry.
beside the
Workspace Icon
entry.
Select an icon by clicking
 corresponding to your desired icon file.

Select permissions for groups that have access rights to this drive by clicking
 beside the
Permissions
entry.
beside the
Permissions
entry.
Select or deselect the various checkboxes to hide or show the drive elements respectively.
- Show Referenced Document
Allow viewing preference documents.
- Show Non-document Nodes
Allow viewing non-documents.
- Show Sidebar
Allow showing the sidebar.
- Show Hidden Node
Allow showing the hidden nodes.
Select the document type that will be created in this drive.
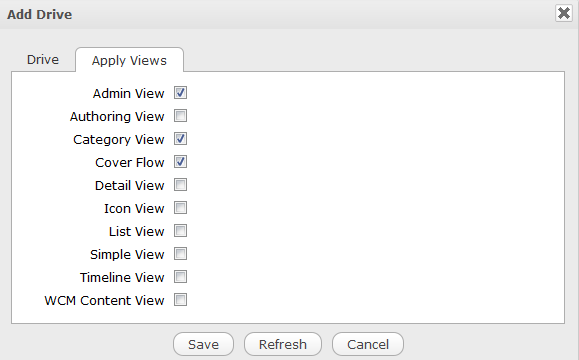
Select the Apply Views tab and select the view types you want to be available in the drive.
Click Save to complete creating the new drive, or Refresh to clear the form.