Select the project that Maven support will be added to from the Project Explorer.
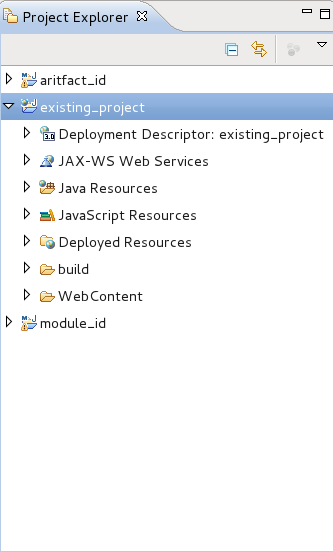
Right-click on the project to bring up the context menu.
From the context menu navigate to → .
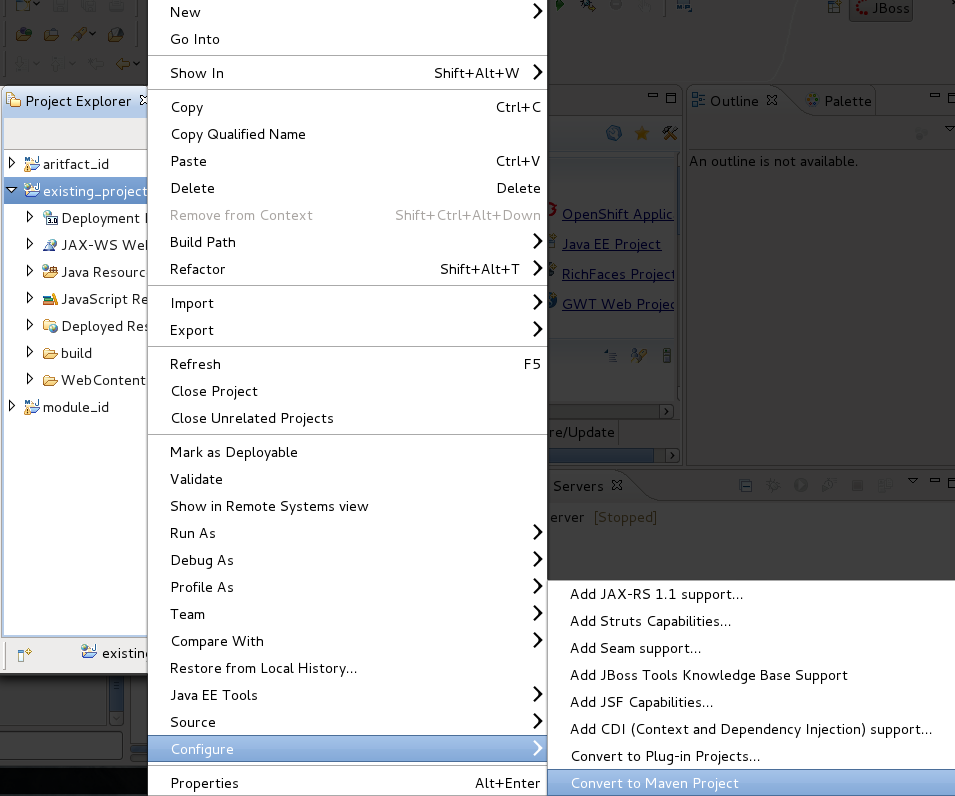
Click on the menu option.
A Maven POM wizard will launch. The wizard will create a pom.xml file for your project. This file will contain the projects Maven settings. All necessary fields of the wizard will be automatically filled.
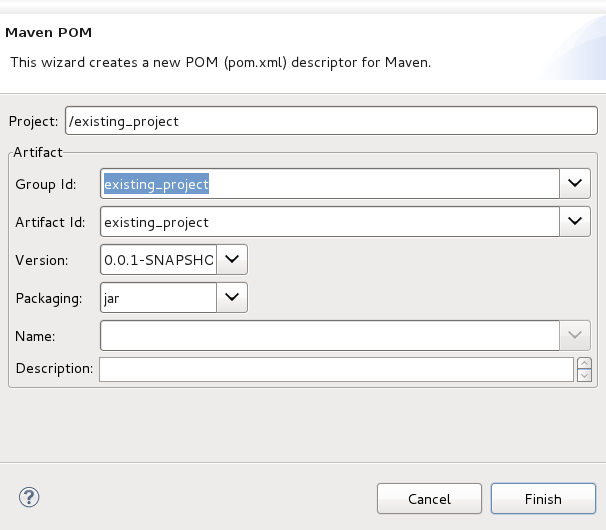
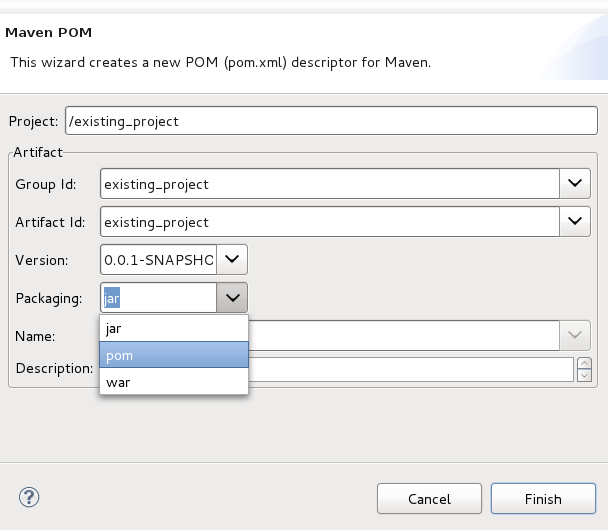
It is recommended that you change the Packaging option to to avoid any issues in expansion of the project with Maven modules in the future.
Click .
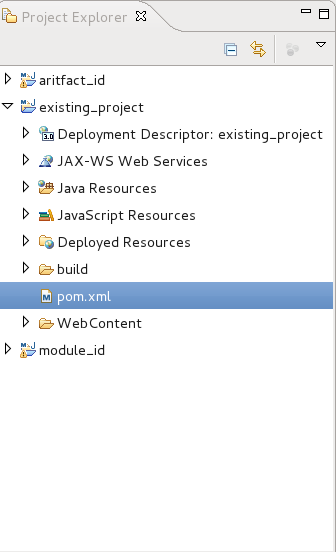
Once Maven support has been added to the project, a new pom.xml file will appear in the list of files for the project. This can be viewed in the Project Explorer.
Double-click on the pom.xml file to view the settings associated with it. The settings here were set in the Maven POM wizard and can be edited from this Overview screen.
