JBoss.orgCommunity Documentation
Version: 3.0.0.beta1
Copyright © 2008 JBoss, a division of Red Hat Inc.
September 2008
Starting from 3.0.0.Alpha1 version, JBoss set of plugins extends JBoss Portal features. Thus, this guide is intended to explain you how to manage the functionality JBoss Tools provide to ease the development with JBoss Portal.
JBoss Portal provides an open source platform for hosting and serving a portal's Web interface, publishing and managing its content, and customizing its experience. It supports a wide range of features, including standard portlets, single sign-on, clustering, and internationalization.
The next table lists key features supplied by JBoss Portal Tools.
Table 1.1. Key Functionality of JBoss Portal Tools
| Feature | Benefit | Chapter |
|---|---|---|
|
Wizards for creating Projects with Portlet Facets |
New Dynamic Web Project wizard allows you to select a proper Configuration to enable Portlet Facet in it. | Creating a Dynamic Web Project |
|
Create Java Portlet wizard |
The wizard enables creating a JSR-186/JSR-286 compliant portlet. | Adding Java Portlet to a project |
|
Create JSF/Seam Portlet wizard |
This wizard creates a JSF/Seam portlet that uses JBoss Portlet Bridge | Adding JSF/Seam Portlet to a project |
Stable JBossTools/JBDS documentation (supplied with the latest JBDS release, 1.1.0 GA currently)
This section provides you with the steps on how to start with JBoss Portal and integrated features using JBoss Tools.
First, you need to have Eclipse Ganymede with JBoss Tools 3.0.0.Alpha1 and higher installed.
Tip:
Read JBoss Tools Installation section in our Getting Started documentation to find out how to install JBoss Tools onto Eclipse.
Next, download the JBoss Portal + JBoss AS bundle from JBoss Portal Download page
Note:
You need JBoss Portal 2.7 if you want to work with a Portlet 2.0
Extract the bundle wherever you want on your hard drive
Now, when you have it installed, we are going to demonstrate some powerful features of JBoss Portal tooling for Eclipse.
To get started with JBoss Portal and JBoss Tools, you should first have a Web Project pointed to the JBoss Portal Runtime. Thus, this chapter is intended to give you a detail look at how you can get it.
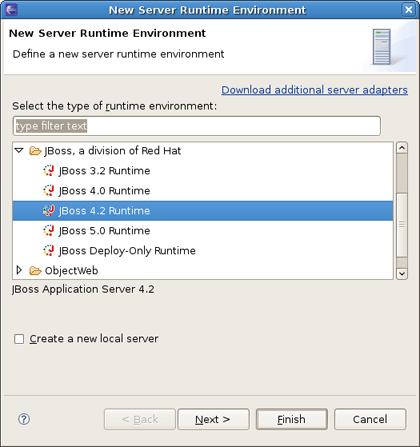
To create a Dynamic Web Project, go to File > New > Dynamic Web Project if you are in the Web Perspective or File > New > Other > Web > Dynamic Web Project in any other Perspective. The first page of the New Dynamic Web Project wizard looks as follows.

Fill in the name of your project. Next, click on the New... button in the Target Runtime section to specify a new Target Runtime. Click Jboss 4.2 Runtime and press Next.
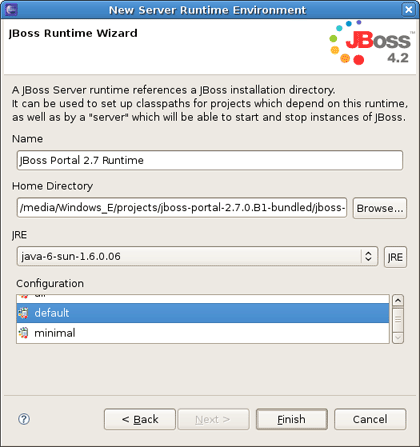
On the next page you should give a name to the runtime. Let's call it JBoss Portal 2.7 Runtime, and then point it to the location of your JBoss AS + Portal installation.
Note:
The JBoss Tools Portlet feature has been tested using 2.6.5 and 2.7.0.ALPHA versions of JBoss Portal. Remember, if you want to use Portlet version 2.0 (JSR-268), you have to choose JBoss Portal 2.7.
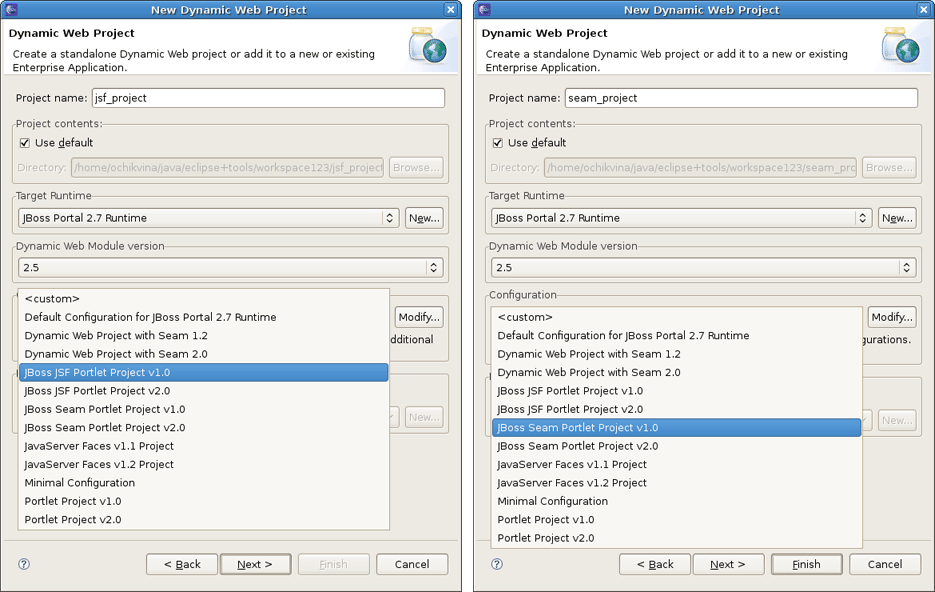
Click on Finish. It returns you to the New Dynamic Web Project wizard where it's also necessary to set the project Configuration. JBoss Tools (starting from 3.0.0.Alpha1) support the JSR-168 Portlet Specification (Portlet 1.0), JSR-286 Portlet Specification (Portlet 2.0). Thus you can choose Portlet Project v1.0 or Portlet Project v2.0.

The last wizard page is for configuring web modules. Here all values are set, so you can leave everything as it is.
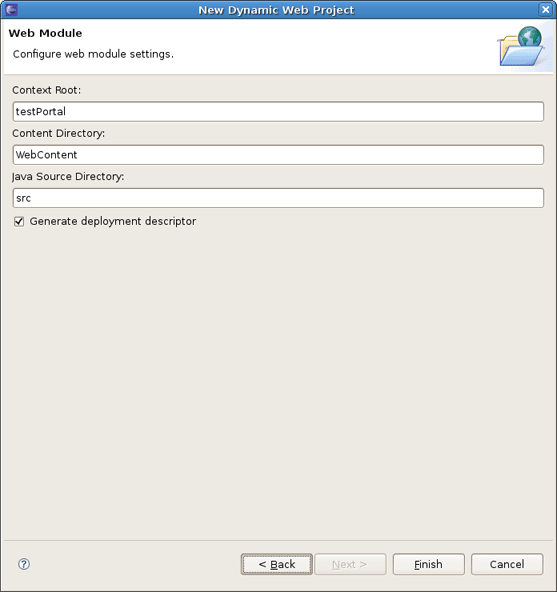
Press Finish.
That's it! Our base project is done.
JBoss Tools (starting from 3.0 Alpha) support the JSR-168 Portlet Specification (Portlet 1.0), JSR-286 Portlet Specification (Portlet 2.0) and work with Portlet Bridge for supporting Portlets in JSF/Seam applications. All these are performed through the Create New Portlet wizards.
There are two kinds of the Create Portlet wizards: Java Portlet and JSF/Seam Portlet.
How to create Java Portlet within just organized Dynamic Web Project we will show you further in this chapter.
Here, we'll show how you can add a new Java Portlet to our project.
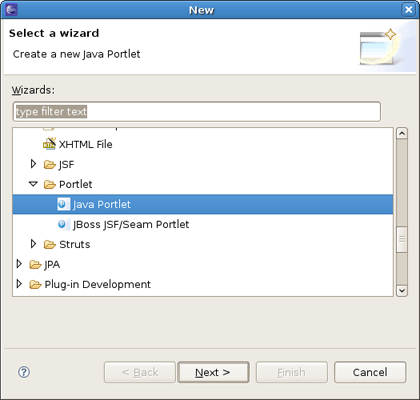
Call the New Java Portlet wizard by selecting New > Other > JBoss Tools Web > Portlet > Java Portlet.
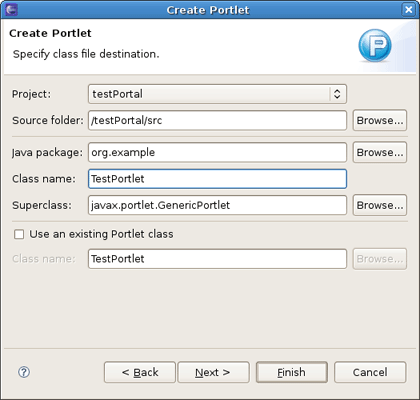
The wizard fills in The Web Project and Source Folder fields for you. Then you need to specify the Java package and the Class name and click Next .
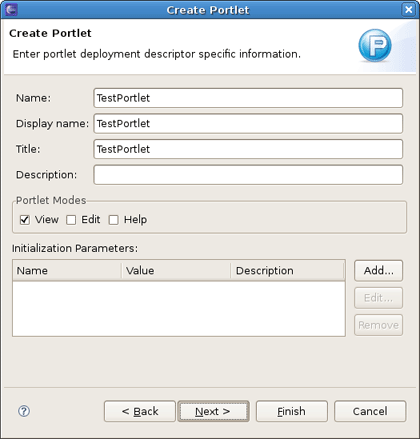
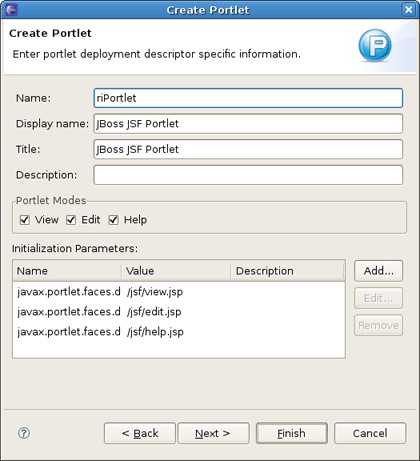
On the other page you will be able to set the display name of the Portlet, a title, a description, the supported modes and init parameters.
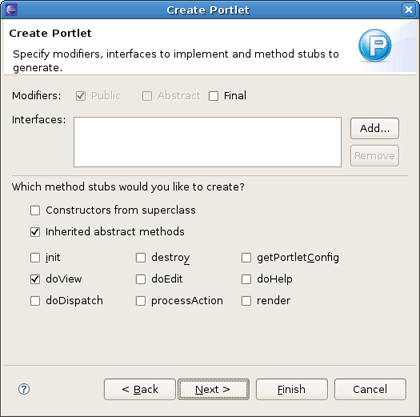
On the next screen you can define which methods from GenericPortlet you want to override.
The last screen lets you build JBoss Portal specific descriptors to create an instance during the deployment and place it directly on the Portal.
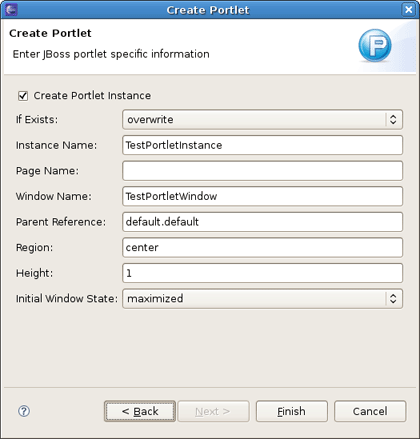
Tip:
If you uncheck the Create Portlet Instance checkbox, JBoss Tools won't create the deployment elements in the default-object.xml and portlet-instances.xml files.
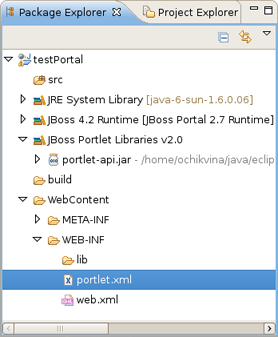
Once Java Portlet is created, new resources have been added to the project structure. As you can see on the figure below, it adds a Java Portlet class ( TestPortlet.java in our case), default-object.xml and portlet-instances.xml files and updates portlet.xml as well.
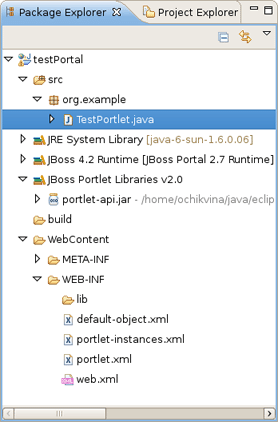
Thus, now the Project is ready to be built and deployed.
What comes to JSF/Seam Portlets, you need to have a Web Project with enabled JSF/Seam Portlet Facets. Thus in this case when starting a new Dynamic Web Project, you should point to JBoss JSF/Seam Portlet Project v1.0 (or v2.0) Configuration respectively.
To create Portlet in the JSF/Seam Project you should go to New > Other > JBoss Tools Web > Portlet > JSF/Seam Portlet.
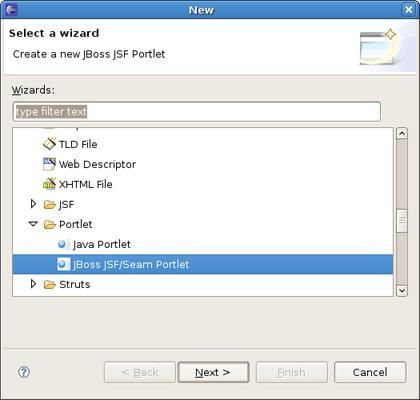
If a project contains the Seam Portlet facet, default values in the wizard will be set as for a Seam Portlet.
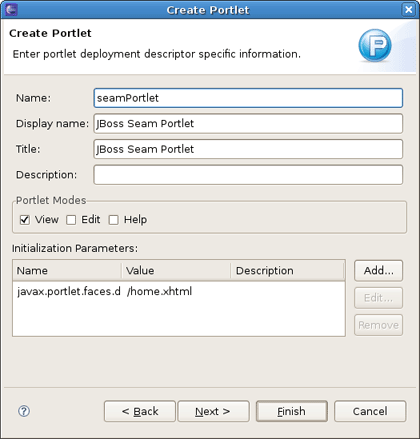
Otherwise, the default values are as defined for a JSF Portlet.
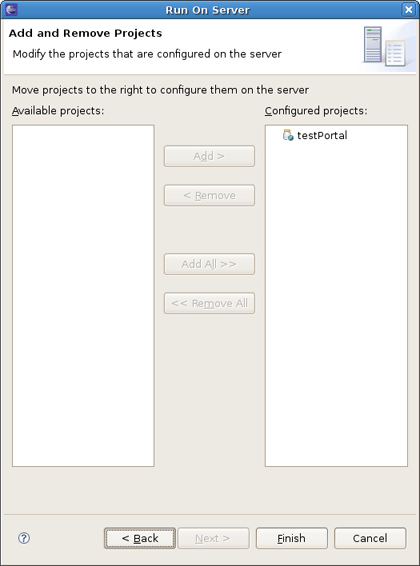
You can deploy the created project in the way you deploy any other Web Application. Right click on the project and do Run As > Run On Server and accept the defaults. On the Add and Remove Projects page move the created Project to the right and click Finish.
It will deploy the Portlet Web Application and start JBoss AS.
Tip:
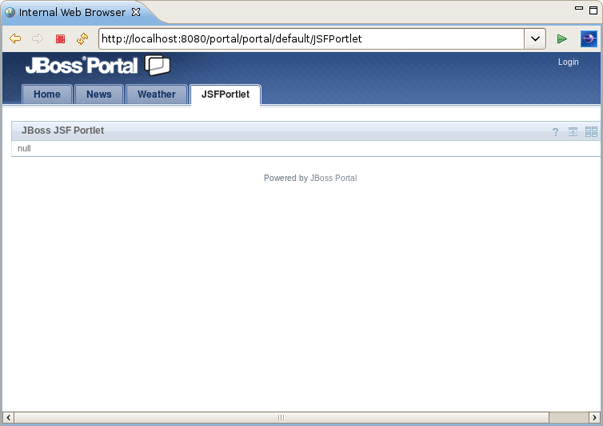
You should use http://localhost:8080/portal URL to see your Portlet in the Browser.
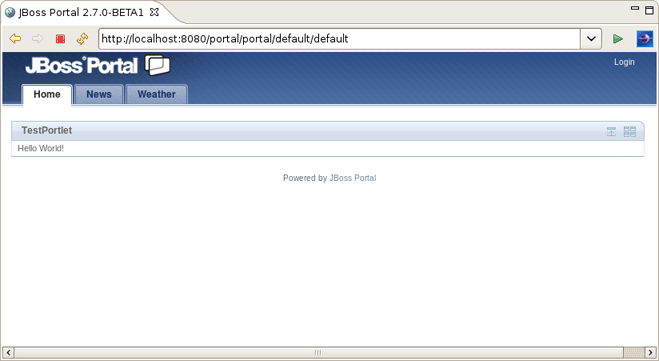
The JSF Portlet looks in the Browser as follows.
With this document you've learnt how to get started with JBoss Portal using JBoss Tools suite of Eclipse plugins. The above chapters walked you through the steps on how to organize a web project with portlets which includes a sample staff and deploy it onto the JBoss Portal.
If you still have questions or suggestions you are always welcome on our Forum. Your feedback will be very much appreciated.