Dashbuilder provides import and export functionality in order to move application assets between environments.
These assets can be:
Workspaces: By exporting and importing workspaces you can move your set of pages with a given look and feel between installations.
Key performance indicators and data providers:: By exporting and importing KPIs you can move your indicators and its data providers between installations.
Data sources: By exporting and importing data sources you can move your external connection configurations between installations.
In general, asset exportation must be done using the Web User Interface. There exist a panel for exporting each type of asset.
On the other hand, asset importation can be done in two ways:
Using the Web User Interface.
There exist panels for importing each type of asset.
Using the Deployment Scanner.
It allows to place your exported assets in a given folder inside the web application. Once application is starting, it scans the deployment folder and import the assets found.
Using the Deployment Scanner allows for the automatic deployment of assets on application start up time and does not requires the user intervention either.
It's important to note that assets are imported only at deploy time, not during application runtime.
The following sections describe how to perform import and export for each kind of asset.
Workspace import & export allows you to move one or more workspaces to other JBoss Dashbuilder installations.
The import & export of a given workspace implies moving:
Envelope: The envelope currently used by the workspace.
Sections: All the sections that compose the workspace.
Panels: All the panels used in the workspace sections.
In order to export a workspace there exist a panel named Export workspaces.
It lists all the existing workspaces in the application and allows to export one or more workspace definitions in a single XML file. Note that for versions previous to 6.2.0 the workspaces were exported in ZIP format.

In order to import a workspace you can do it in two ways:
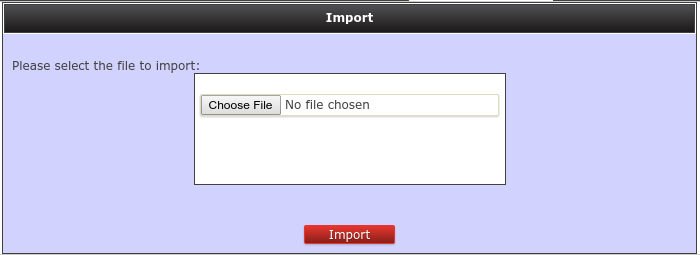
Using the Web User Interface.
It allows to upload a XML file that contain one or more workspace definitions. A ZIP file containing some workspace definitions in XML format is allowed too for backwards compatibility.
Using the Deployment Scanner.
Just by dropping the workspace definition files into the folder WEB-INF/deployments. Once application is starting, it scans ths deployment folder and import all the workspaces found.
Some important notes about automatic workspace importation using the deployment scanner:
Workspaces are imported once and only at deploy time, not during application runtime
The XML workspace definition file must have extension workspace. Eg: my-workspace.workspace
If the workspace to import already exists (same workspace logic identifier), it will be overwritten.
You can overwrite existing workspaces by adding a workspace definition file in the deployment folder with a different name that the initial one. For example, initially you deploy a my-workspace.workspace file into the system, which contains a workspace with my-workspace as identifier. Then if you want to overwrite it, you can place a new file in the deployment folder named my-workspace-v2.workspace using same my-workspace identifier.
Workspace import & export allows you to move your KPI and its data providers to other JBoss Dashbuilder installations.
The import & export of a given KPI implies moving:
KPI definition: The type of KPI, its columns and its display configuration.
Data provider: The data provider definition that is used in the KPI.
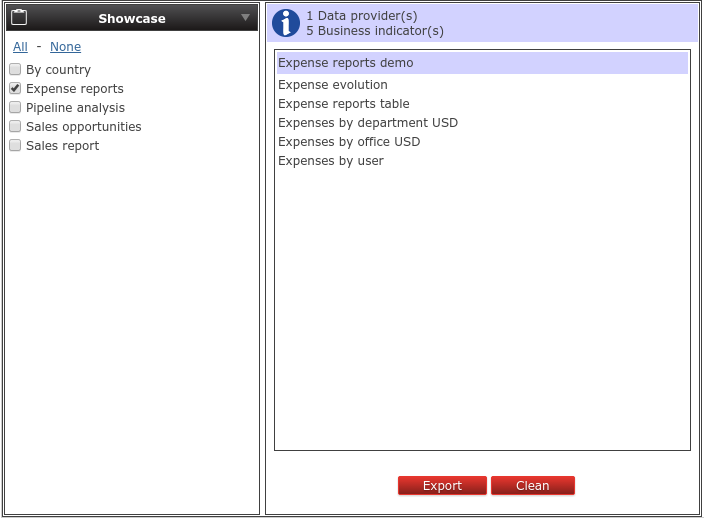
In order to export a KPI there exist a panel named Export dashboards.
It lists all the existing KPI in the application and allows you to export one or more KPI definitions in a single XML file.
In order to import a KPI you can do it in two ways:
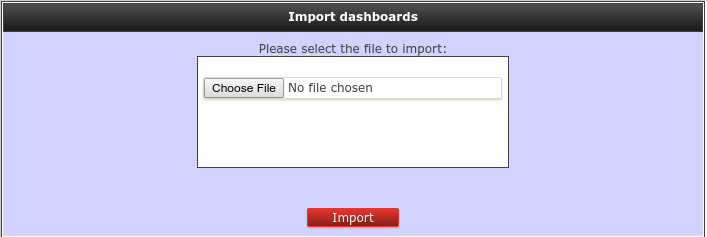
Using the Web User Interface.
It allows to upload a XML file that contain one or more KPI definitions.
Using the Deployment Scanner.
Just by dropping the exported KPI definition files into the folder WEB-INF/deployments. Once the application starts, it will scan the deployment folder and will import all the KPIs files found.
Some important notes about automatic KPI importation using the Deployment Scanner:
KPI and data providers are imported once and only at deploy time, not during application runtime
The XML KPI definition file must have the extension kpis. Eg: my-kpis.kpis
If the KPI or data provider definitions to import already exist (same logic identifier), they will be overwritten.
You can overwrite existing KPI or data provider by adding a new definition file in the deployment folder with a different name that the initial one. For example, initially you deploy a my-kpi.kpis file into the system, which contains a KPI with my-kpi as identifier. Then if you want to overwrite it, you can place a new file in the deployment folder named my-kpi-v2.kpis using same my-kpi identifier.
Data source import export allows you to import one or more data source connection definitions into a JBoss Dashbuilder installation.
Data source exportation is not supported yet, there is no panel for exporting them.
In order to import a data source you can do it in two ways:
Manually using the Web User Interface.
Data source definitions are composed by not so many attributes, so an option is to create them in your target environment manually by using the Data source manager panel.
Using the Deployment Scanner.
Just by dropping the data source definition files into the folder WEB-INF/deployments. Once application is starting, it scans ths deployment folder and import all the workspaces found.
Data source definition files are property files with the following supported properties:
Common properties for all kind of data sources.
type: The type of the data source. It can be JNDI or JDBC.
name: The data source name.
testQuery: Defines a query for testing the data source when instantiated.
Properties for a JDBC data source.
jdbcUrl: The JDBC URL for the connection.
driverClass: The fully qualified class name of the driver to use.
user: The connection username.
password: The connection password.
Example 6.1. Example of a JDBC data source descriptor
              type=JDBC
              name=myCompanyDataSource
              testQuery=SELECT count(*) FROM CUSTOMER
              jdbcUrl=jdbc:postgresql://mydomain.com:5432/mycompany
              driverClass=org.postgresorg.postgresql.Driver
              user=system
              password=dba
Properties for a JNDI data source.
jndiPath: The JNDI path for the data source bean.
Example 6.2. Example of a JNDI data source descriptor
              type=JNDI
              name=myCompanyDataSource
              testQuery=SELECT count(*) FROM CUSTOMER
              jndiPath=java:comp/env/jdbc/mycompany
Some important notes about automatic data source importation using the deployment scanner:
Data sources are imported once and only at deploy time, not during application runtime
The properties data source definition file must have extension datasource. Eg: my-datasource.datasource
If the data source definition to import already exist (same name), it will be overwritten.
You can overwrite existing data sources by adding a new definition file in the deployment folder with a different name that the initial one. For example, initially you deploy a my-datasource.datasource file into the system, which contains a data source with my-datasource as name. Then if you want to overwrite it, you can place a new file in the deployment folder named my-datasource-v2.datasource using same my-datasource identifier.
