First, we should mention that JSF configuration file (faces-config.xml) is intended for registering JSF application resources such as Converters, Validators, Managed Beans and page-to-page navigation rules.
Now, let's look at how you can easily configure this file by means of a special graphical editor for the JSF configuration file. The editor has three main views:
Diagram
Tree
Source
They can be selected via the tabs at the bottom of the editor.
Here, we will show you how to work with JSF configuration file through the Diagram view of the editor.
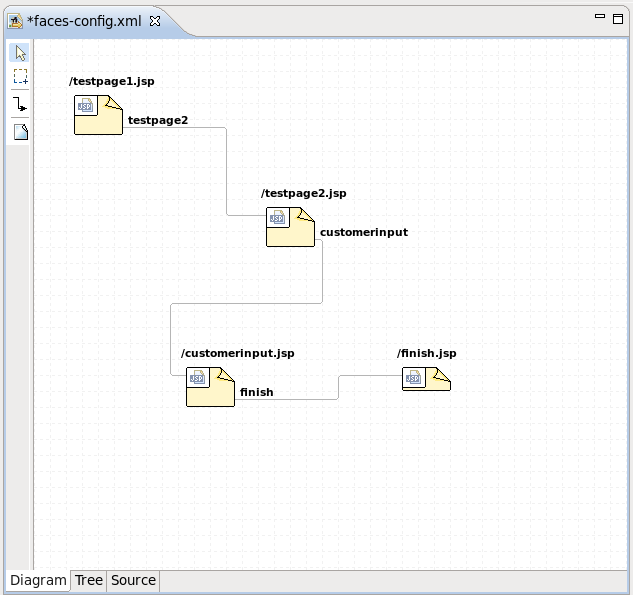
As you can see on the figure below, the Diagram view displays the navigation rules container in the faces-config.xml file:
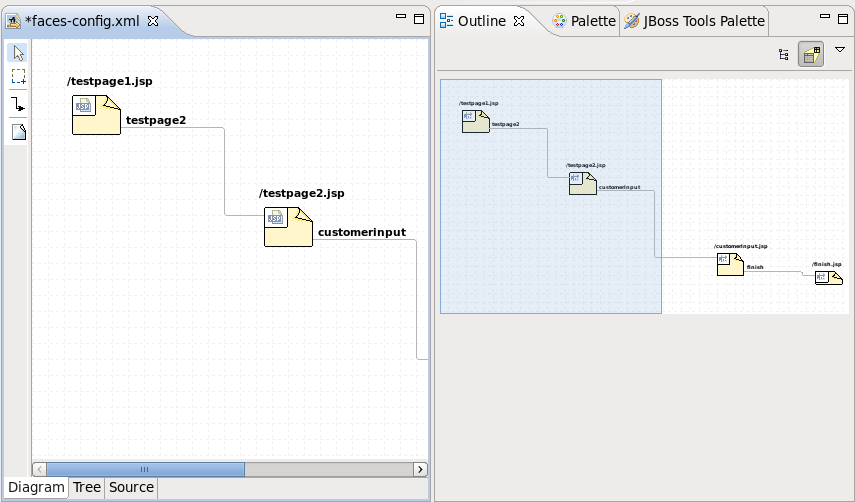
If you have a large diagram, make use of the Outline view. Within it you can switch to a Diagram Navigator mode by selecting the middle icon at the top of the view window. This allows you to easily move around the diagram. Just move the blue area in any direction, and the diagram on the left will also move:
To create a new page here, you should click the page icon (View Template) on the toolbar from the left and then click anywhere on the diagram. A New Page Wizard will appear.
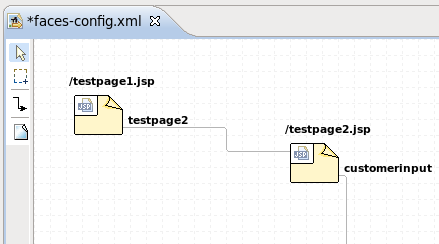
To create a transition for connecting pages:
Select the transition icon from the toolbar (New Connection).
Click the source page.
Click the target page.
A transition will appear between the two pages:
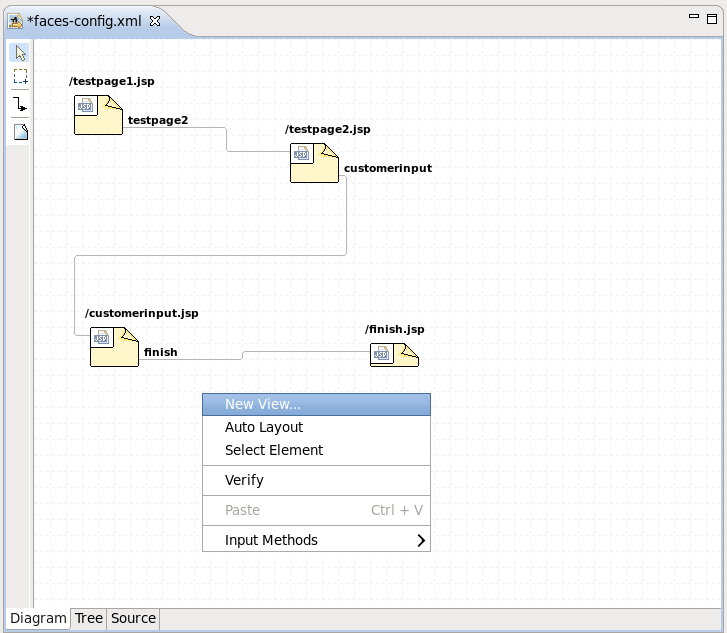
It is also possible to create a new page with context menu by right-clicking anywhere on the diagram and selecting the option.
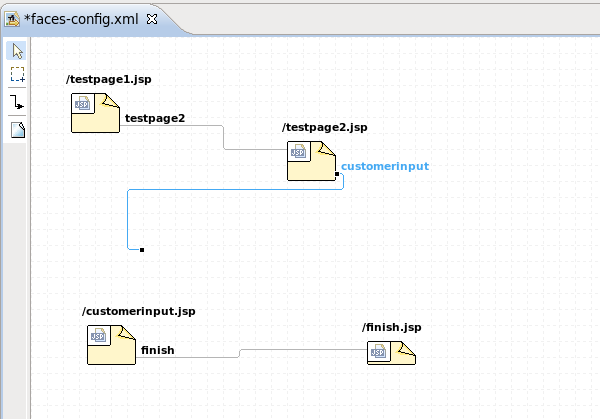
To edit an existing transition, first select the transition line. Then, place the mouse cursor over the last black dot (on the target page). The mouse cursor will change to a big +. At this point, drag the line to a new target page:
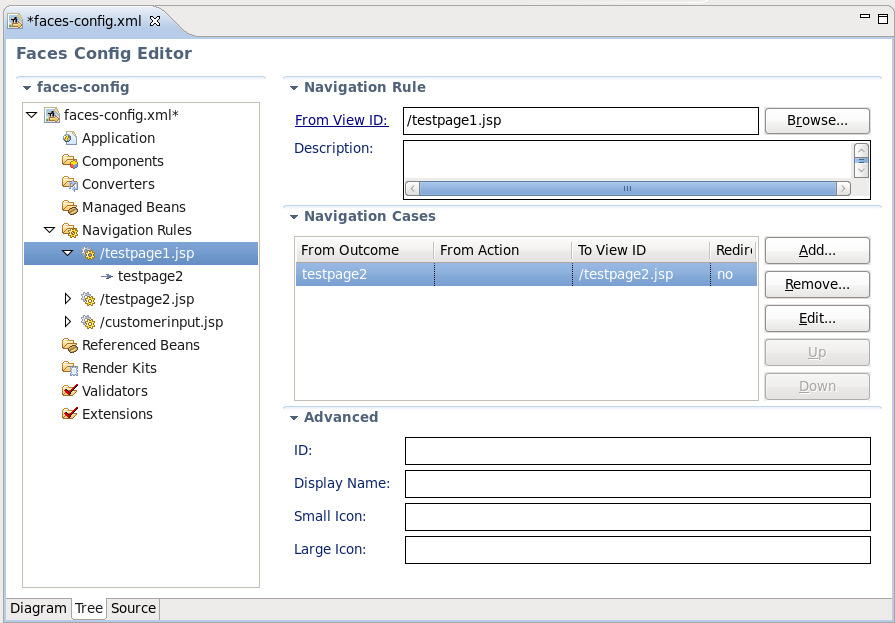
You can find it more convenient to edit your JSF Configuration file in the Tree view of the VPE.
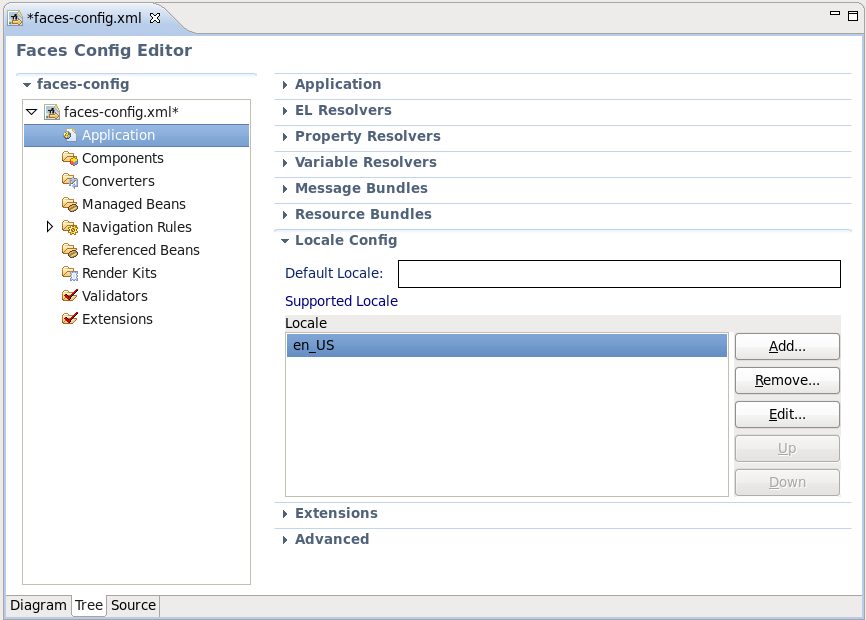
The view displays all JSF application artifacts referenced in the configuration file in a tree format. By selecting any node on the left, you can view and edit its properties which will appear in the right-hand area. Let's look at the structure of this tree more closely.
Under the Application node you can adjust JSF application specific settings such as internationalization, extensions, adding property and variable resolvers, etc.
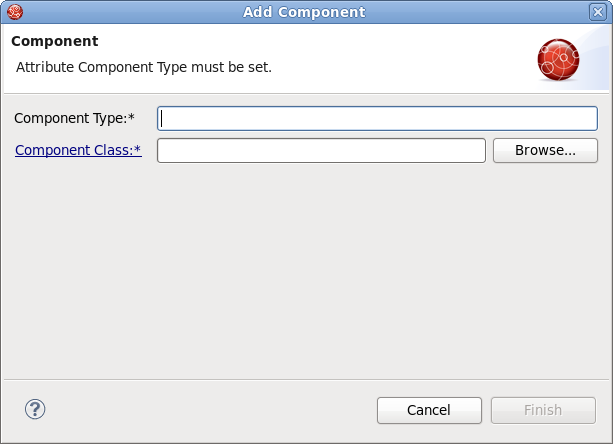
The Components node is for registering custom JSF components. Right-click and select → or just click the button in the right-hand area to add a new component to the JSF Configuration file.
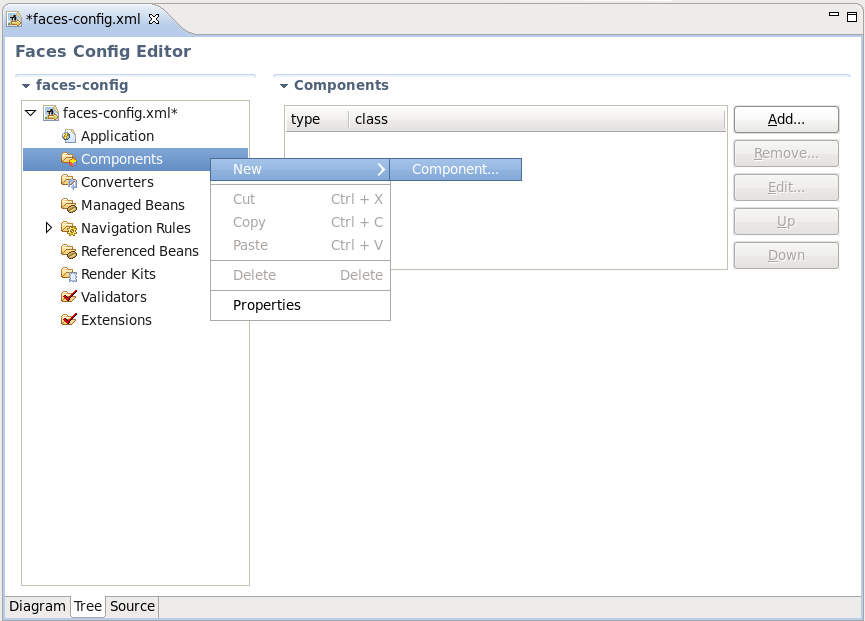
In the Add Component wizard you should set a component type and point to a component class by using the button or create a new class for this component by using the Component-Class link.
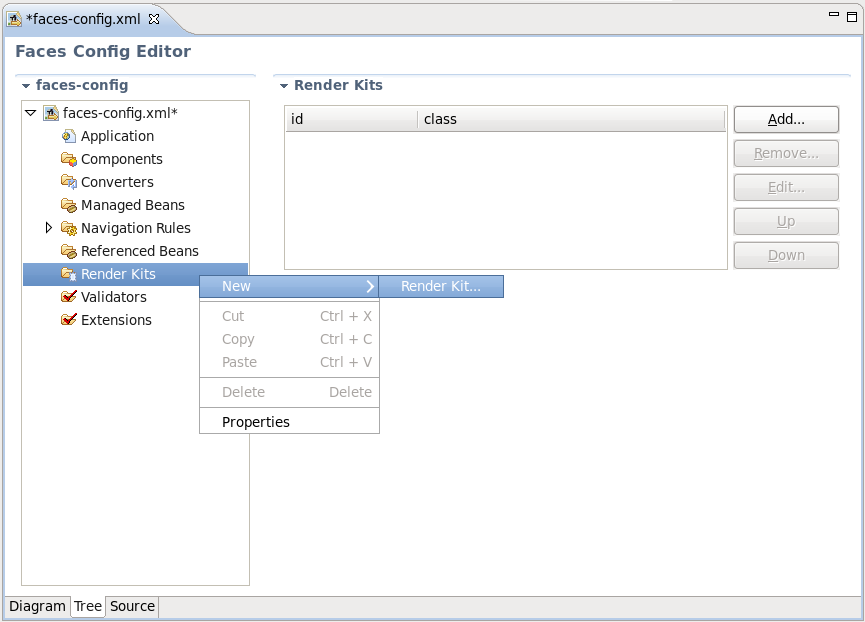
Use the Render Kit node to create and register a set of related renderers for custom JSF components.
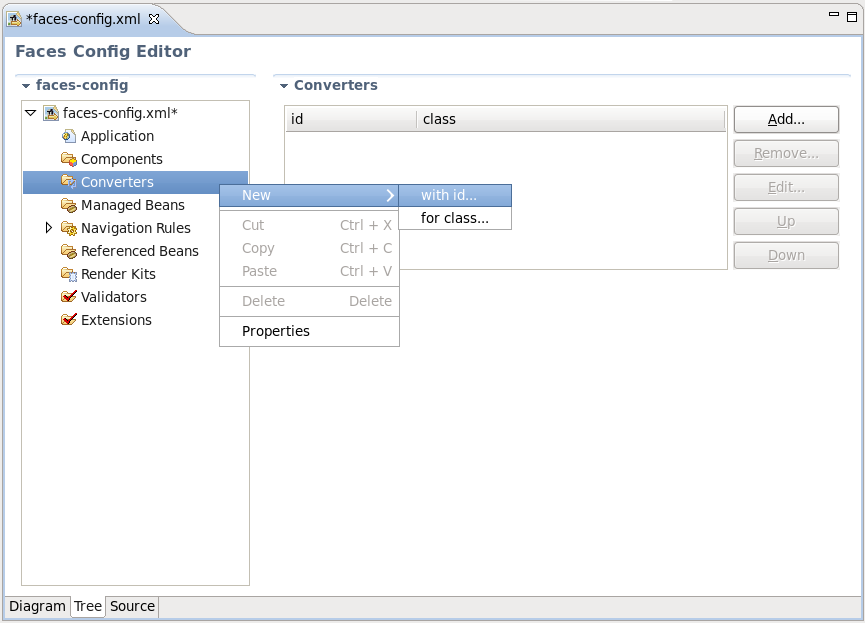
Under the Converters node you can create a converter class for your JSF application either with an id or for a proper class. For more information on this procedure see Section 7.1, “Create and Register a Custom Converter”.
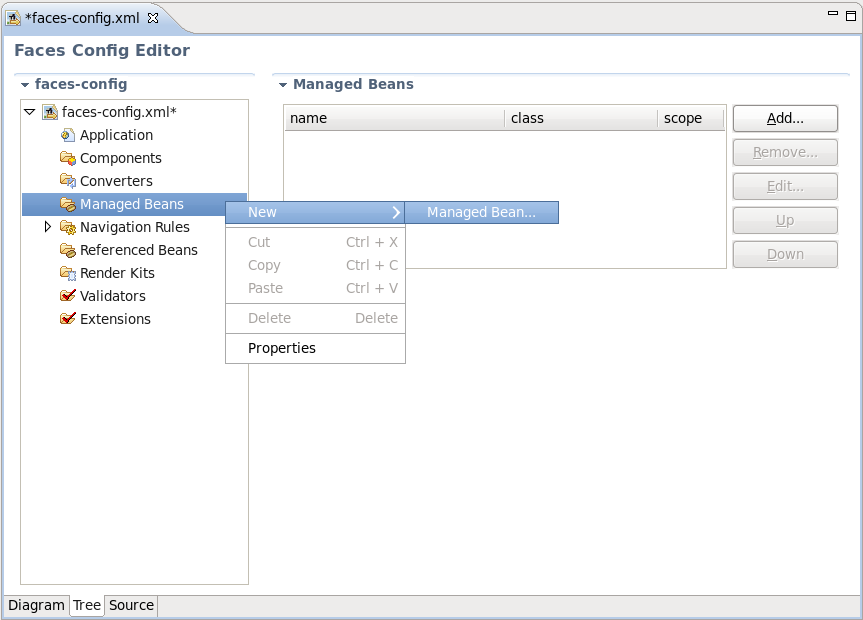
The Managed Bean node allows you to create and register Bean classes in your JSF application. Read more on the topic in Chapter 6, Managed Beans.
Use the Navigation Rules node to configure a navigation between the pages in your application. Here you can create a new navigation rule and adjust necessary properties for it in the right-hand area.
Tip:
The same you can do in the Diagram view of the JSF Configuration file editor (see Section 5.1, “Diagram view”).
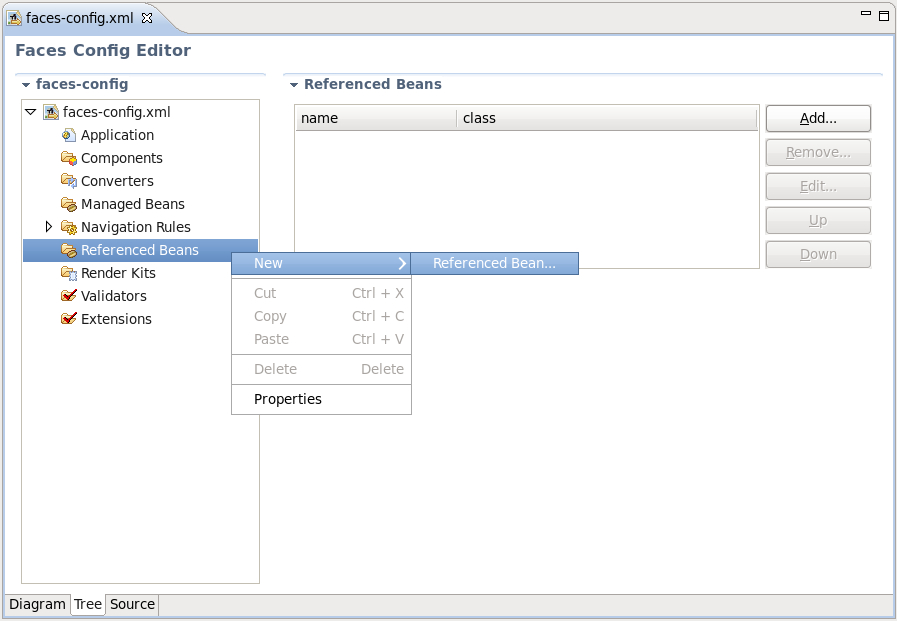
Under the Referenced Beans node you can add a new Referenced Bean and configure various properties for it. To learn more on this refer to Section 7.3, “Create and Register Referenced Beans”.
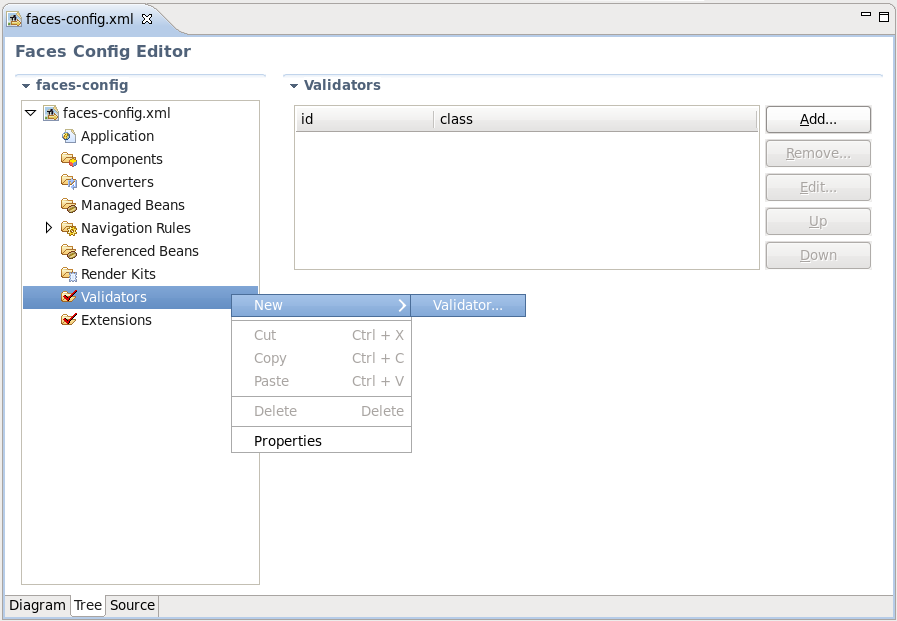
The Validators node is needed to create validator classes for organizing the validation of your application data. You can read more on the topic in Section 7.2, “Create and Register a Custom Validator”.
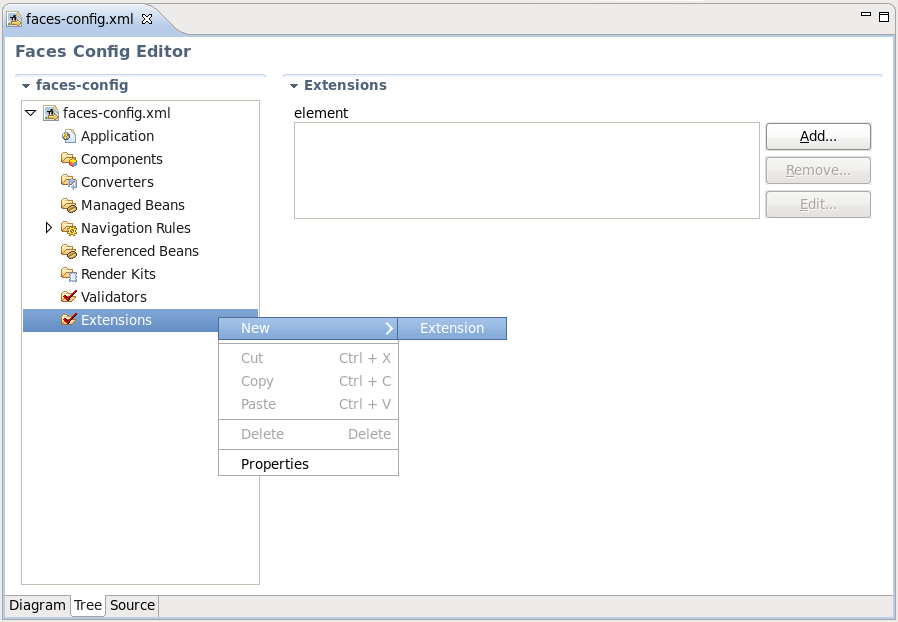
The Extensions node is for setting extensions in your
faces-config.xmlfile.
In the Tree view you can also edit the properties of the selected element with the help of the Properties view as shown below:

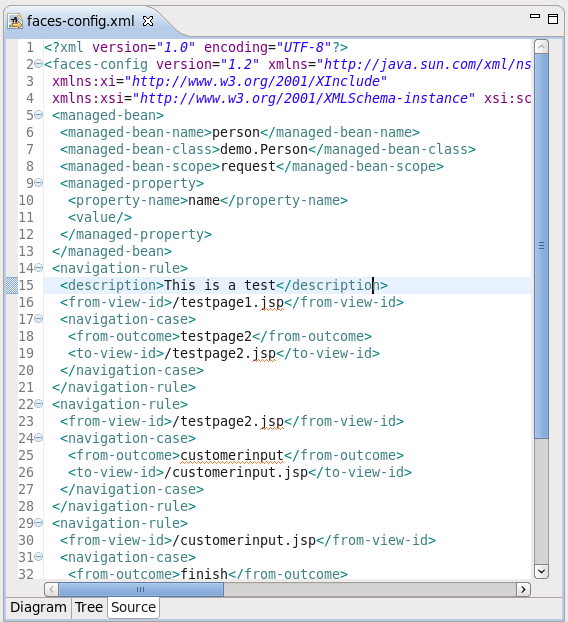
Here, we'll discuss how you can configure your faces-config.xml file with the help of the Source View.
The Source View for the editor displays the text content of the JSF configuration file. It is always synchronized with other two views, so any changes made in one of the views will immediately appear in the other:
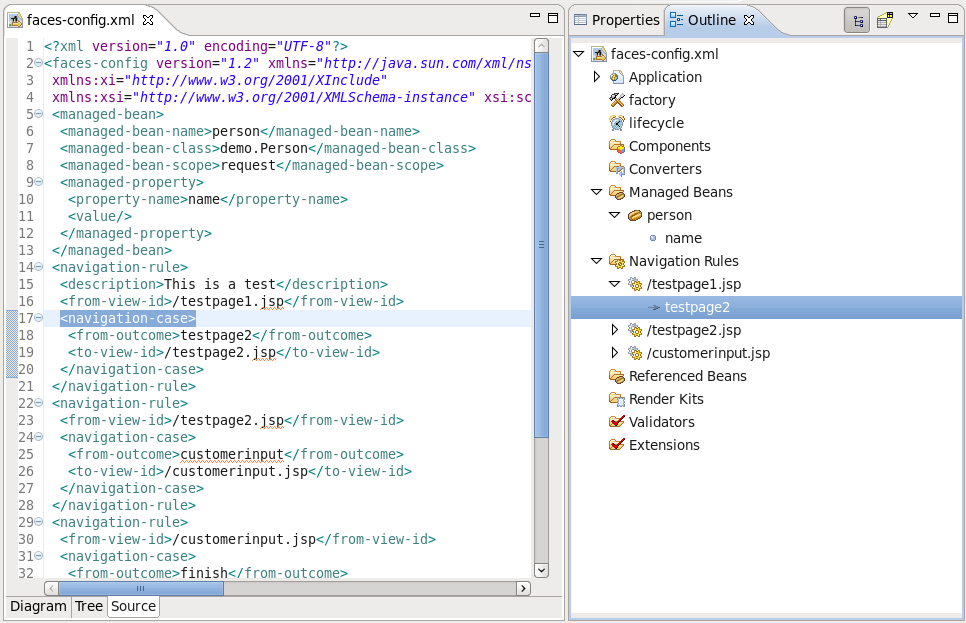
You can also work in the Source View with the help of the Outline View. The Outline view shows a tree structure of the JSF configuration file. Simply select any element in the Outline View, and it will jump to the same place in the Source editor, so you can navigate through the source code with Outline View.
Here we'll discuss a very important features that JSF configuration file editor provides when working with JSF resources.
The JSF configuration file editor comes with the very useful OpenOn navigation feature. You can find more information on this feature in the Visual Web Tools Reference Guide.
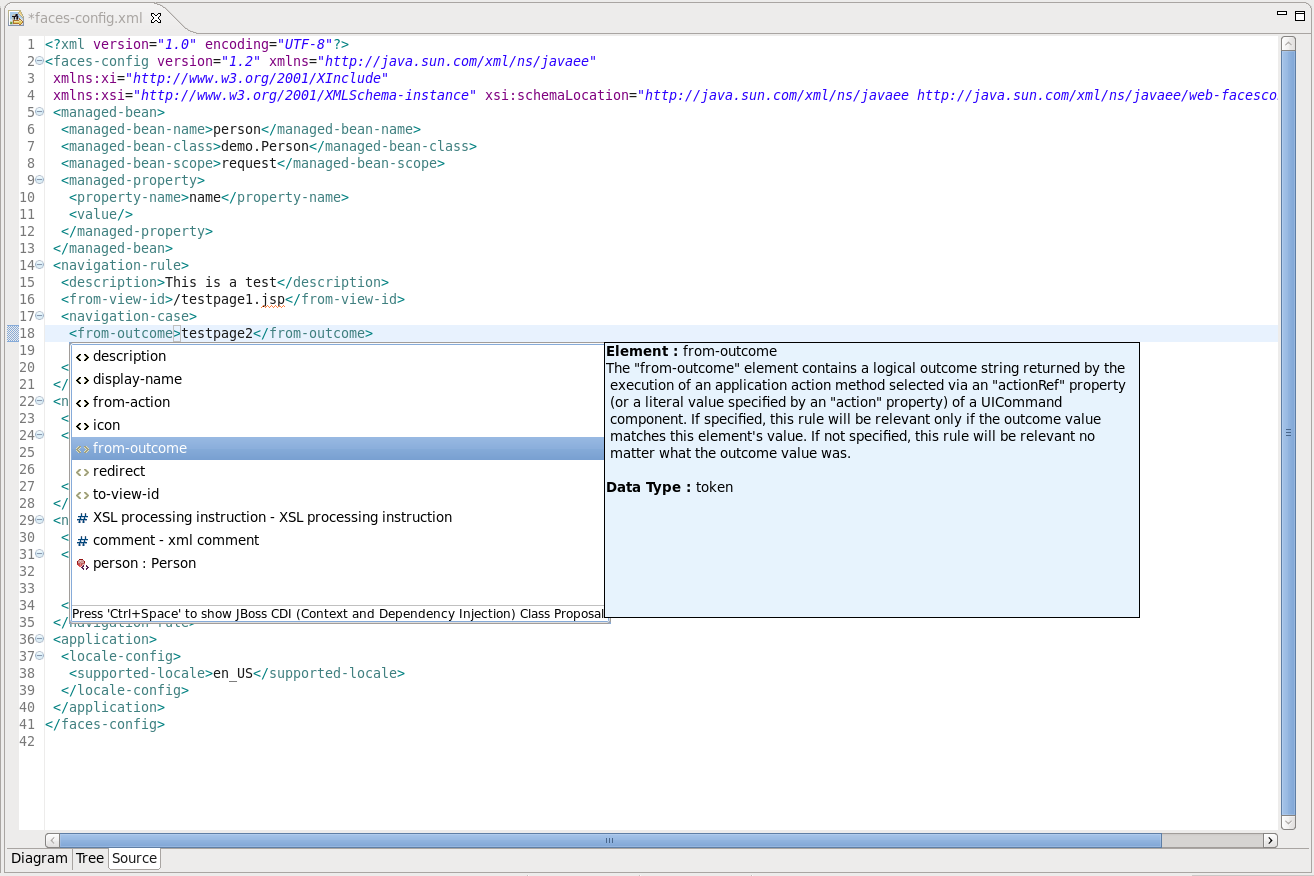
Code Assist provides a pop-up tip to help you complete your code statements. It allows you to write your code faster and with more accuracy.
Code assist is always available in the Source mode:
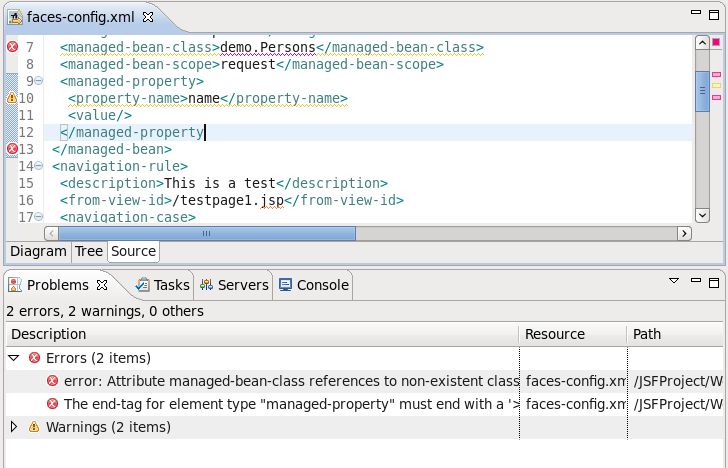
Constant error checking is provided while you are developing your project. This greatly reduces your development time as it allows you to catch many errors during the development process.
Errors will be reported by Chapter 8, JSF Project Verification facility:
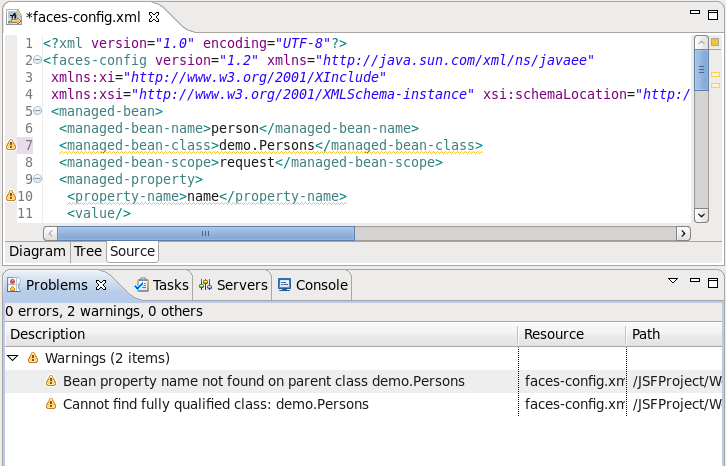
Other errors are also reported.