Now we will finish editing the JSP files for our two "views" using JSP Visual Page Editor.
Click on the Diagram tab of the configuration file editor.
Open the editor for this first JSP file by double-clicking on the /pages/inputname.jsp icon.
The Visual Page Editor will open in a screen split between source code along the top and a WYSIWIG view along the bottom:
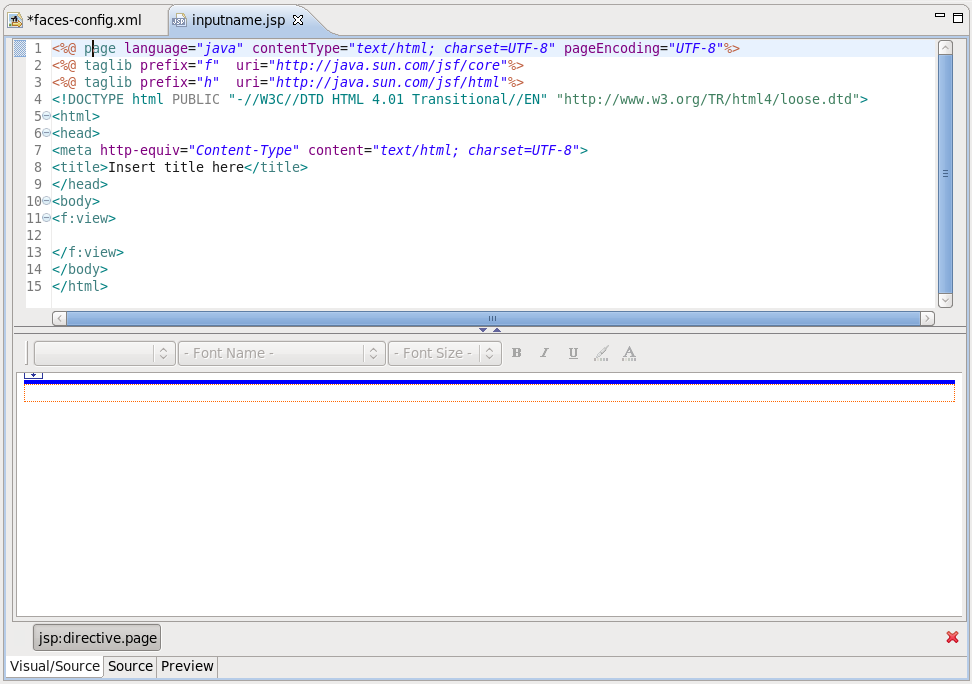
Some JSF code is already in the file, because we have chosen a template to create a page.
Select the Visual tab, so we can work with the editor completely in its WYSIWYG mode.
To the right of the editor, in the JBoss Tools Palette, expand the JSF HTML palette folder by selecting it.
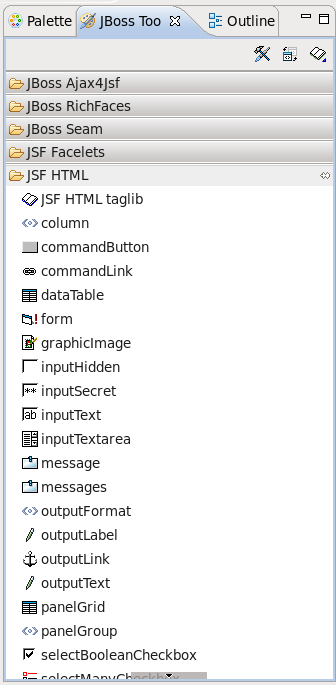
Click on within this folder, drag the cursor over to the editor, and drop it inside the
<f:view>element. This can be done by dragging the form element onto the horizontal line at the top of the<f:view>element. You should see a message saying Place at the beginning of <f:view>.Important
It is also possible to drag from the toolbar to the Source view. If you encounter any issues when dragging items to the Visual view, use the Source view; drag an element from the toolbar and drop it where you wish it to be within the code.
The Insert Tags dialog box will be displayed.
In the value field next to id, type greeting and click on the button.
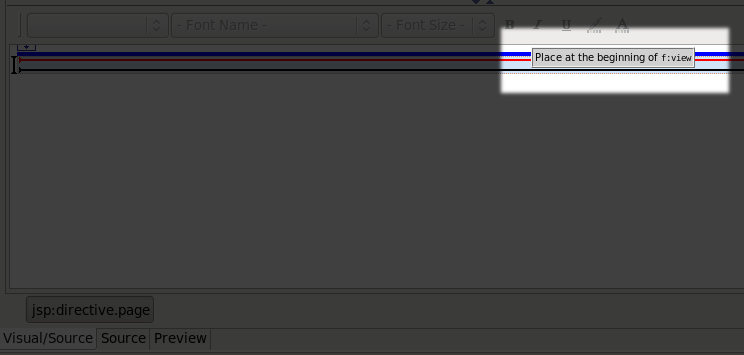
Type "Please enter name:" inside the
<h:form>element.Select within the JSF HTML palette folder place it at the end of the
<h:form>element.
In the attributes dialog, click in the value field next to the value attribute and click on the button.
Then, select the → → node and click on the button.
Back in the attributes dialog, select the Advanced tab, and type in name as the value for the id attribute, and then click on the button.
Select within the JSF HTML palette folder and drag it into the end of the
<h:form>element.In the attributes dialog, click in the value field next to the action attribute and click on the button.
Then, select the → node and click on the button.
In the Advanced tab, type in Say Hello as the value for the value attribute ("Say Hello") and then click on the button.
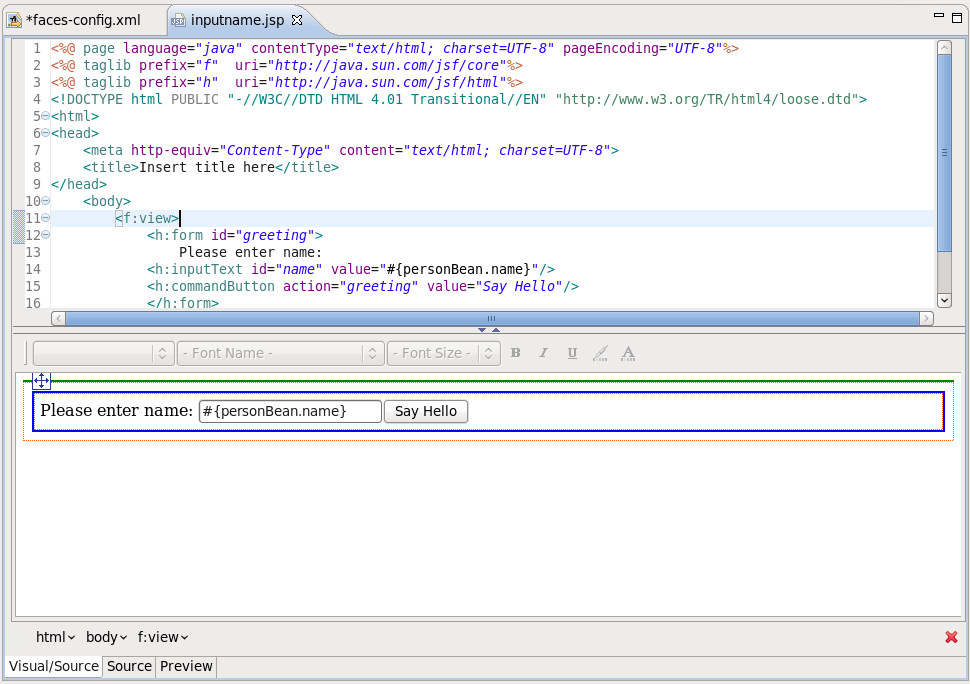
The source coding should be something like this now:
<%@ page language="java" contentType="text/html; charset=UTF-8" pageEncoding="UTF-8"%>
<%@ taglib prefix="f"  uri="http://java.sun.com/jsf/core"%>
<%@ taglib prefix="h"  uri="http://java.sun.com/jsf/html"%>
<!DOCTYPE html PUBLIC "-//W3C//DTD HTML 4.01 Transitional//EN" "http://www.w3.org/TR/html4/loose.dtd">
<html>
<head>
	<meta http-equiv="Content-Type" content="text/html; charset=UTF-8">
	<title>Insert title here</title>
</head>
	<body>
		<f:view>
			<h:form id="greeting">
				Please enter name:
			<h:inputText id="name" value="#{personBean.name}"/>
			<h:commandButton action="greeting" value="Say Hello"/>
			</h:form>
		</f:view>
	</body>
</html>
The editor should look like this:
Save the file by selecting → from the menu bar
Click on the
faces-config.xmltab to bring the diagram backOpen the editor for the second file by double-clicking on the
/pages/greeting.jspiconSelect the Visual tab, so we can work with the editor completely in its WYSIWYG mode
Type "Hello " (note the space after Hello) into the box
Select within the JSF HTML palette folder and drag it into the innermost box in the editor after "Hello "
In the attributes dialog, click in value field next to the value attribute and click on the (Browse) button
Then, select the → → node, click on the button, and then click on the button.
Right after the output field, type an exclamation point ( ! )
The source coding should be something like this now:
<%@ taglib uri="http://java.sun.com/jsf/html" prefix="h" %>
<%@ taglib uri="http://java.sun.com/jsf/core" prefix="f" %>
<html>
<head>
<title></title>
</head>
<body>
<f:view>
Hello <h:outputText value="#{personBean.name}"/>!
</f:view>
</body>
</html>
Save the file