Although JBoss Developer Studio works closely with JBoss Enterprise Application Platform 6 we do not ultimately tie you to any particular server for deployment. There are some servers that Studio supports directly (via the bundled Eclipse WTP plug-ins). In this chapter we discuss how to manage a JBoss server.
Note
This chapter assumes you have a JBoss application server installed on your system. If you do not, consult the installation instructions that accompanied your server.
Select the Servers view by navigating to → → → → .
Click the text in the Servers view or if this is not your first server, right-click anywhere in the view and select → .
Select the server option that matches your installed server.
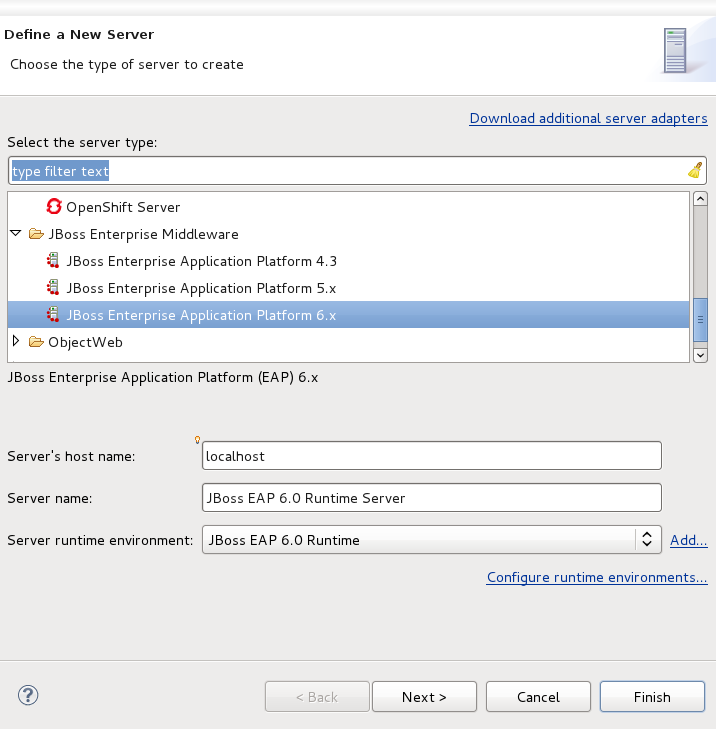
To setup the new runtime, click the button.
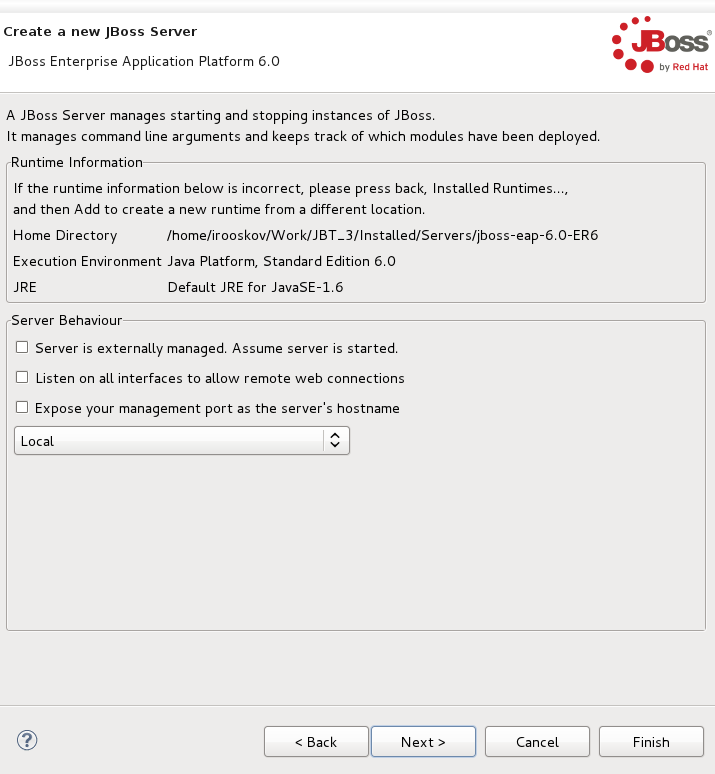
In the next dialog verify the specified information and set local or remote server information.
Lastly, a window will open that will allow you to modify projects that are to be configured for the server. Click the button.
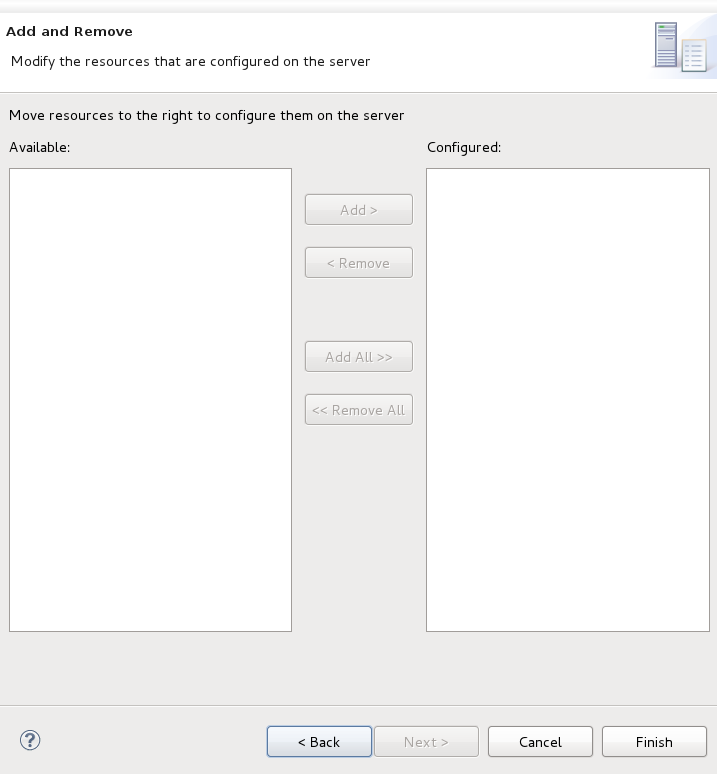
A new JBoss Server should now be visible in the Servers view.

Starting JBoss Server is quite simple. JBoss Developer Studio allows you to control its behavior with the help of a special toolbar, where you could start it in a regular or debug mode, stop it or restart it.
To launch the server click the green-with-white-arrow icon in the Servers view or right-click the server name in this view and click the button. If this view is not open, select → → → →

While launching, server output is written to the Console view:

When the server is started you should see Started in the square brackets right next to its name in the Servers view.

To stop the server, click the button icon in Servers or right-click the server name and select .

When the server is stopped you will see Stopped in the square brackets next to its name.
You can control how JBoss Developer Studio interacts with server containers in the Server editor. Double-click the server to open it in the editor.
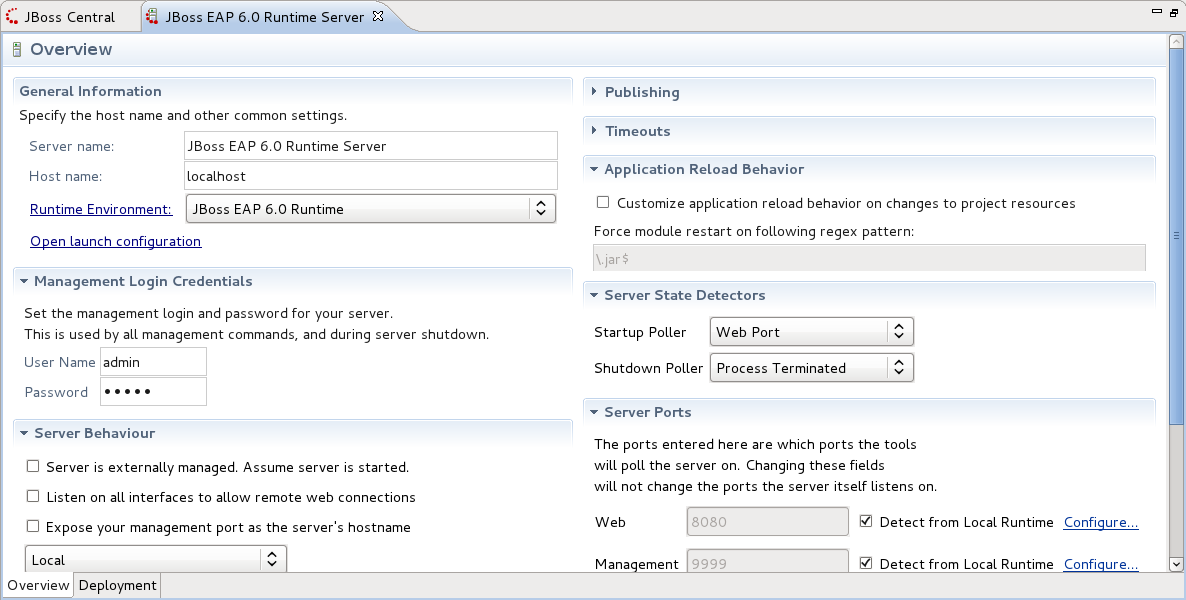
Here you can specify some common settings: host name, server name, runtime as well as settings related to publishing, timeouts and server ports.