In this chapter we provide you with the necessary steps to create a Web Service using JBossWS runtime. First you need to create a Dynamic Web project:
Before creating a web service, you should have a Dynamic Web Project created:
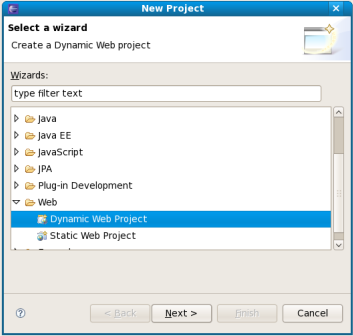
Create a Web project by selecting New > Project... > Dynamic Web project. Enter the following information:
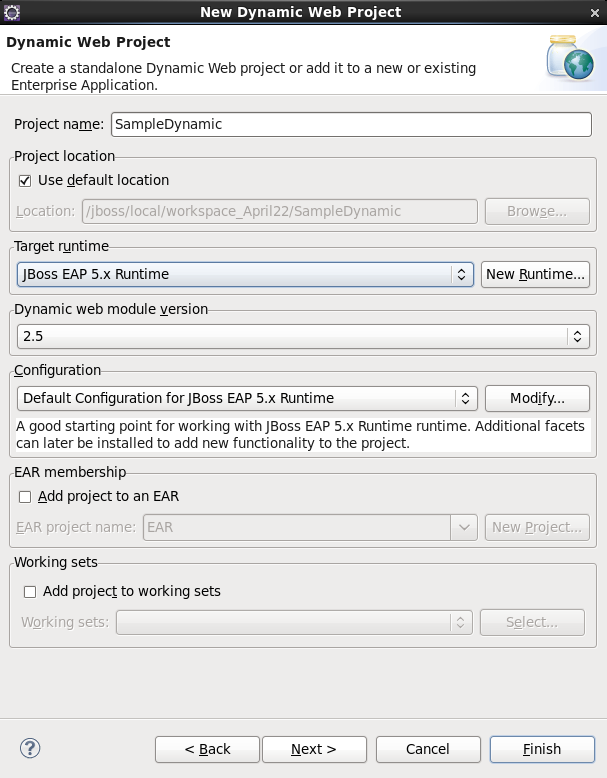
Project Name: enter a project name
Target runtime: any server depending on your installation. If it is not listed, click New button and browse to the location where it is installed to. You may set Target Runtime to None, in this case, you should read the section Section 3.2, “Configure JBoss Web Service facet settings”.
Configuration: You may Section 3.2, “Configure JBoss Web Service facet settings” by clicking the Modify... button. The opened page is like Figure 3.4.
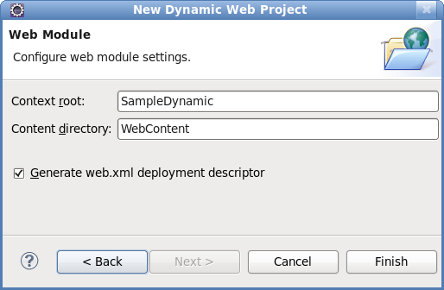
Configure Web Module values:
If you added the JBoss Web Service facet to the project, now the Finish button is unavailable. You must click Next button to set more information about the JBoss Web Service facet. The page is like Figure 3.5. Then click on the Finish button.
If you didn't add the JBoss Web Service facet to the project, click on the Finish button. Next you will need to add JBoss Web Service facet to the project.
If you have already created a new Dynamic Web project and not set the JBoss Web Service facet to the project, the next step is to add JBoss Web Service facet to the project. Right-click on the project, select its Properties and then find Project Facets in the tree-view on the left-side of the project properties dialog. Tick on the check box for JBoss Web Services. You will see what like this:
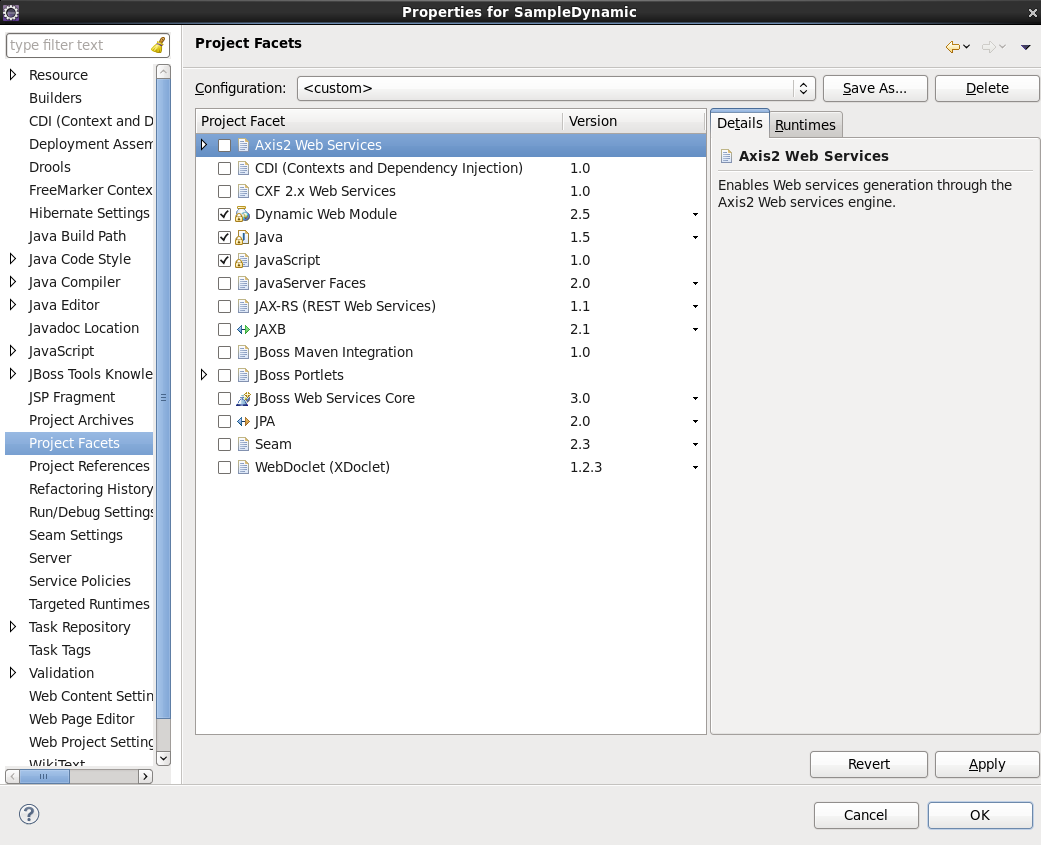
At the bottom-left of the right-side of the project properties dialog, there is a error link: Further configuration required... . You must click the link to set more information about JBoss Web Service facet.
Click on the Further configuration required... link. In the opened window
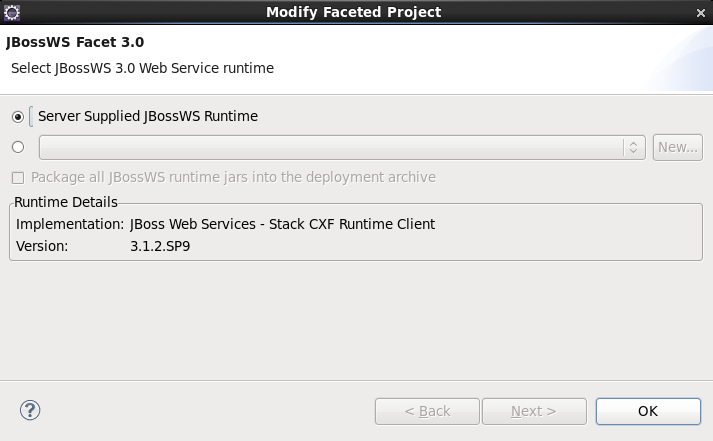
Server Supplied JBossWS Runtime: If you have already set a JBoss runtime to the project's target runtime, you may choose Server Supplied JBossWS Runtime and then click Ok to finish the configuration of JBoss Web Service facet.
If the project has no Target Runtime settings, you should check the second radio button and specify a JBossWS runtime from the list. You also can create a new JBossWS runtime, click on the New... button will bring you to another dialog to configure new JBossWS runtime.
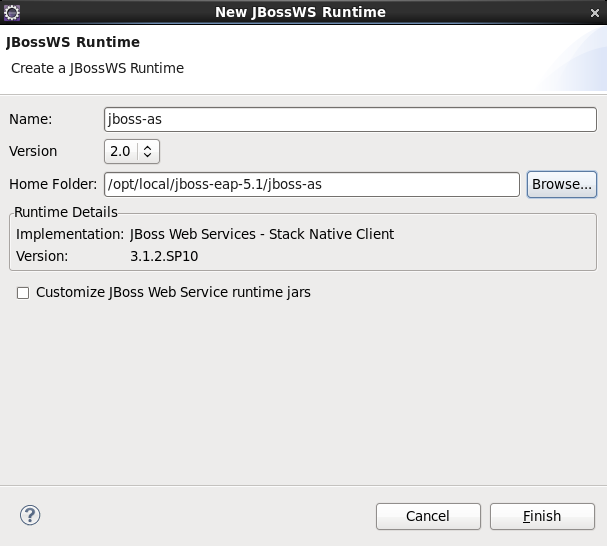
See how to configure a new JBossWS runtime in the Chapter 5, JBoss Web Services and the development environment section.
After setting the information about JBoss Web Service facet, for saving the result, you should click the Apply or OK button at the bottom-right of the right-side of the project properties dialog.
In this chapter we provide you with the necessary steps to create a Web Service from a WSDL document using JBossWS runtime.
Make sure that you have already created a dynamic Web project with JBoss Web Service facet installed and set the necessary preferences through the Preference menu.
See how to make it in the Section 3.1, “Creating a Dynamic Web project”, Section 3.2, “Configure JBoss Web Service facet settings” and Chapter 5, JBoss Web Services and the development environment sections.
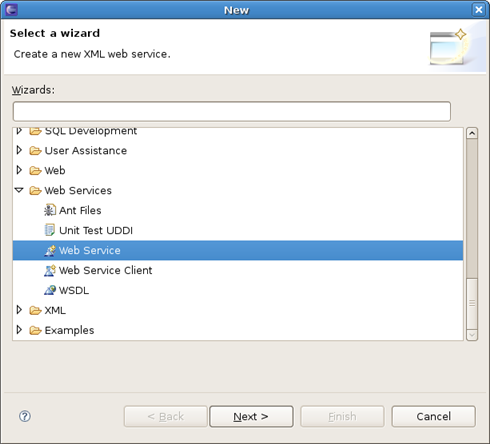
To create a Web Service using JBossWS runtime select File > New > Other > Web Services > Web Service to run Web Service creation wizard.
Let's get through the wizard step-by-step:
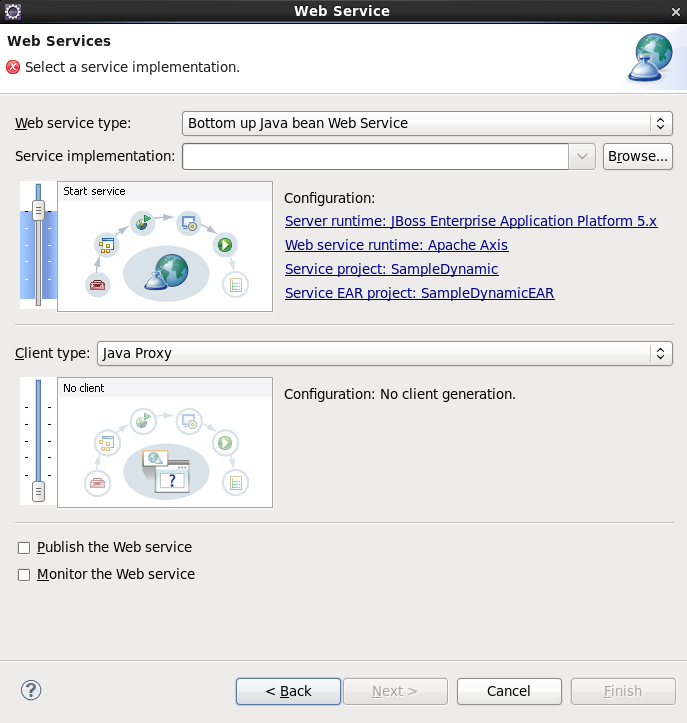
Select the stages of Web service development that you want to complete using the slider:
Develop: this will develop the WSDL definition and implementation of the Web service. This includes such tasks as creating modules that will contain generated code, WSDL files, deployment descriptors, and Java files when appropriate.
Assemble: this ensures the project that will host the Web service or client gets associated to an EAR when required by the target application server.
Deploy: this will create the deployment code for the service.
Install: this will install and configure the Web module and EARs on the target server.
Start: this will start the server once the service has been installed on it. The server-config.wsdd file will be generated.
Test: this will provide various options for testing the service, such as using the Web Service Explorer or sample JSPs.
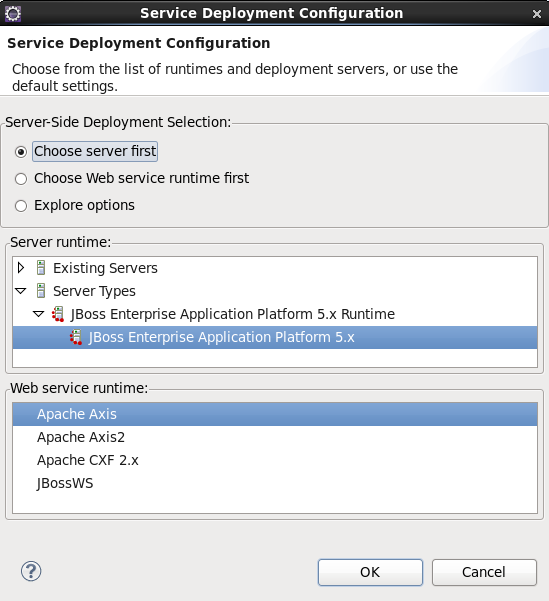
Select your server: the default server is displayed. If you want to deploy your service to a different server click the link to specify a different server.
Select your runtime: ensure the JBoss WS runtime is selected.
Select the service project: the project selected in your workspace is displayed. To select a different project click on the project link. If you are deploying to JBoss Application Server you will also be asked to select the EAR associated with the project. Ensure that the project selected as the Client Web Project is different from the Service Web Project, or the service will be overwritten by the client's generated artifacts.
If you want to create a client, select the type of proxy to be generated and repeat the above steps for the client. The better way is to create a web service client project separately.
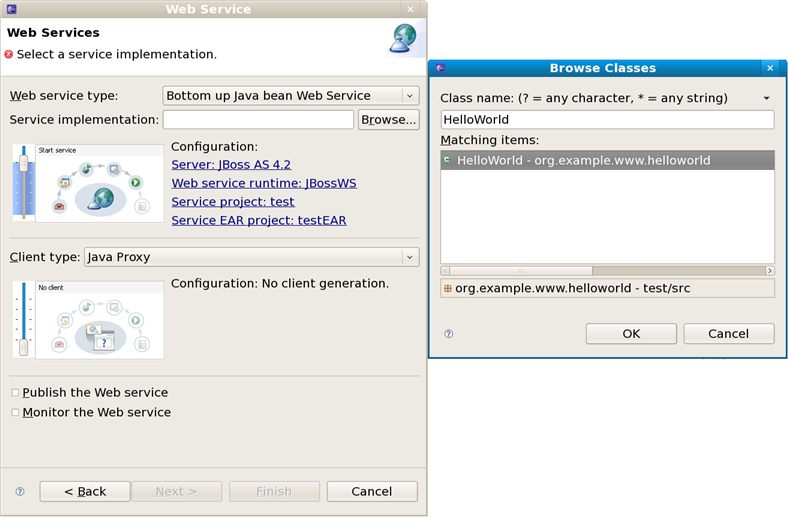
First, please select Top down Java bean Web Service from the Web Service type list, and select a WSDL document from workspace, click on the Server name link on the page will bring you to another dialog. Here you can specify the server to a JBoss Server and Web Service runtime to JBossWS runtime:
Click on the Finish button to see the next wizard view opened:
Click on the Next button to proceed:
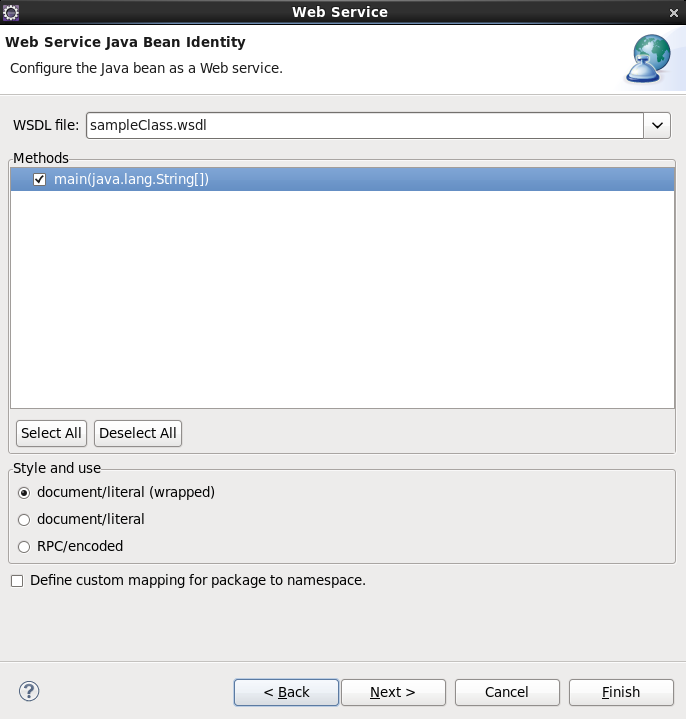
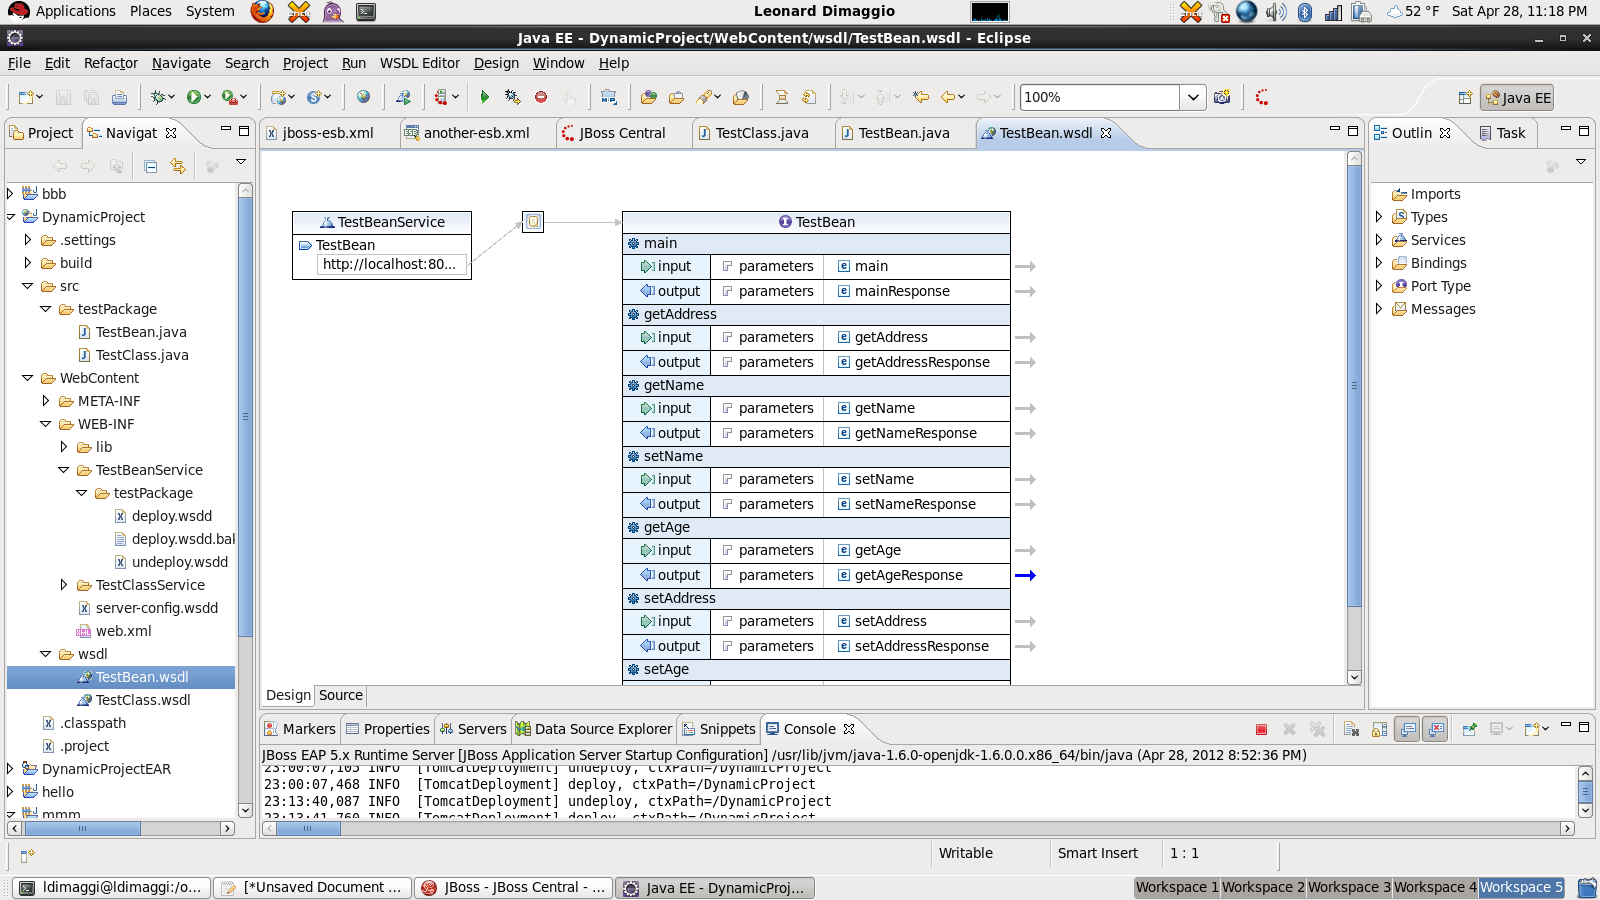
WSDL Service : display the services in your WSDL file, you can select one to generate Web Service.
Source Folder : display the source codes folder in your web project, you can select one to generate java codes.
Package name : input a package name. You can click the Browse button to choose one. If you don't input a package name, system will generate one for you.
JAX-WS specificaiton : display the supported JAX-WS version, include, 2.0, 2.1, 2.2
Catalog file : specify a catalog file.
Binding files : specify some binding files that are used by your WSDL file
Enable binding extension support (Only available for JBossWS 3.0 or later) : select it if you need the binding extension support. Only work based on JBossWS 3.0 or later.
Generate default Web Service Implementation classes : select it if you want to generate empty implementation classes for the selected WSDL Service.
Update the default Web.xml : update the Web.xml file with your Web Service servlets configured.
Additional Options : the senior options for the generating process. Only for the senior user.
Click on the Next or on the Finish button to generate code.
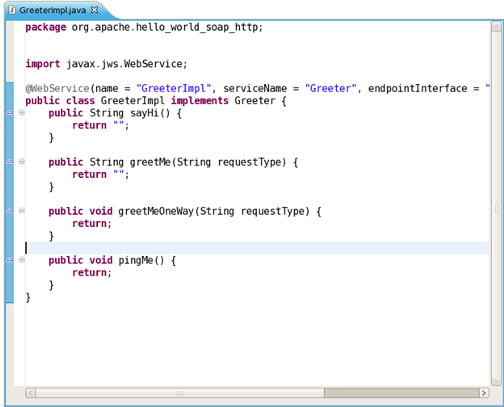
Once the Web Service code is generated, you can view the implementation class and add business logic to each method.
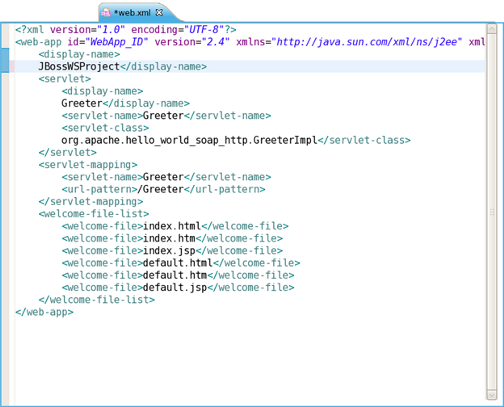
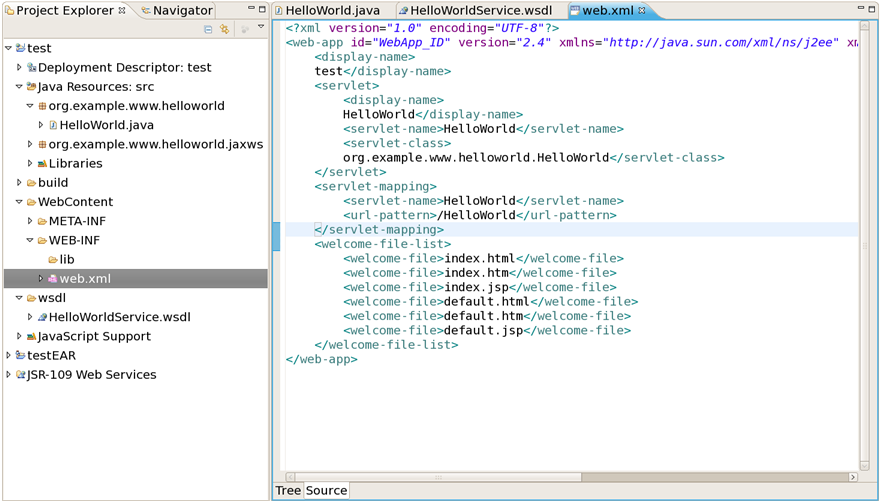
View the Web.xml file:
In the next chapter you will find out how to create a Web service from a Java bean.
To create a Web service from a bean using JBoss WS:
Setup Chapter 5, JBoss Web Services and the development environment.
Create Section 3.1, “Creating a Dynamic Web project”.
Note
To use the Simple Web Service wizard to create this Web Service, replace the Class and Application Class fields with your specific classes, within the instructions in Chapter 2, Creating a Simple Web Service.
Section 3.2, “Configure JBoss Web Service facet settings”
Create a Web Service from a java bean:
Switch to the Java EE perspective → → .
In the Project Explorer view, select the bean that you created or imported into the source folder of your Web project.
Click → → . Select Web Services in order to display various Web service wizards. Select the Web Service wizard. Click on the Next button.
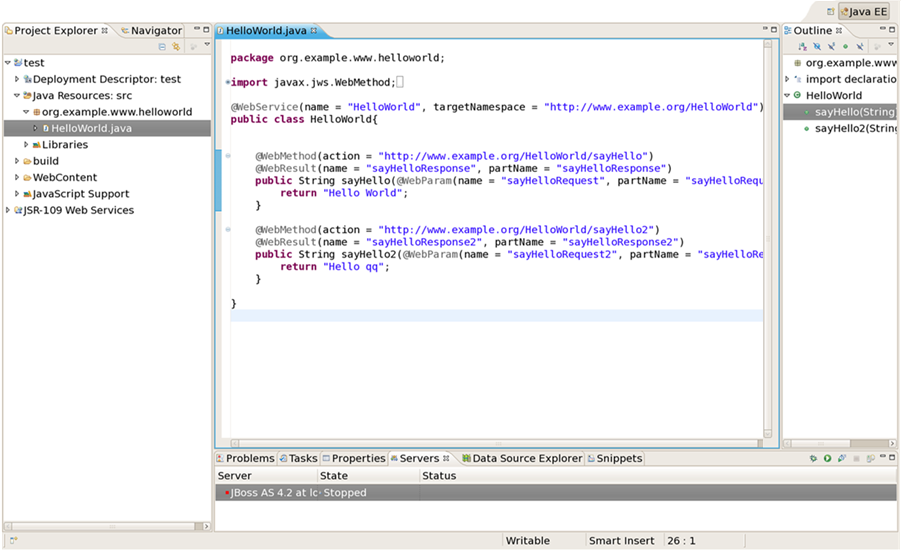
On the first Web Service wizard page: select Bottom up Java bean Web service as your Web service type, and select the Java bean from which the service will be created:
Click on the Next button.
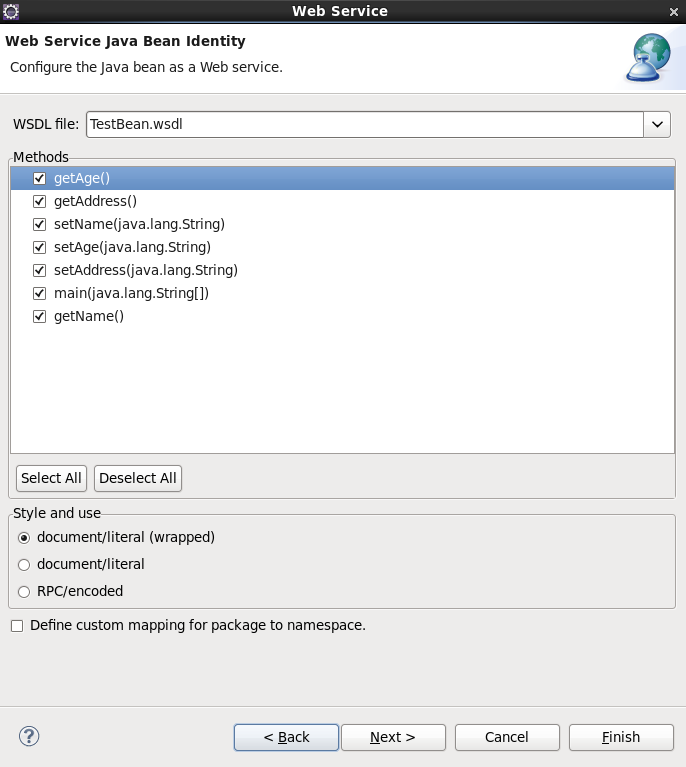
On the JBoss Web Service Code Generation Configuration page, set the following values:
Generate WSDL file: select it, you will get a generated WSDL file in your project. But this wsdl's service address location values are not a real address.
After the Web service has been created, the following option can become available depending on the options you selected: Update the default web.xml file. If selected, you may test the web service by Explorer.
Click on the Next button.
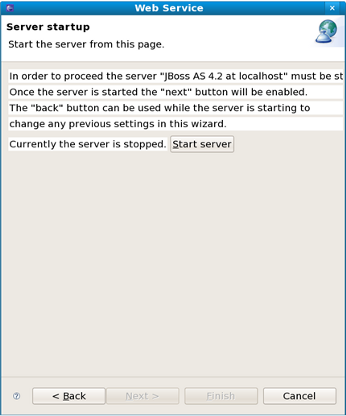
On this page, the project is deployed to the server. You can start the server and test the web service. If you want to publish the web service to a UDDI registry, you may click the Next button to publish it. If not, you may click the Finish button.
After the Web Service has been created, the following options may become available depending on the options selected:
the generated web services code
If you selected to generate a WSDL file, you will get the file in your project's wsdl folder.
If you selected to update the default web.xml, you will test the web service in the browser. Open the Explorer, input the url for the web service according to web.xml plus ?wsdl, you will get the WSDL file from Explorer.
In the next chapter you will be able to create a Web Service Client from a WSDL document using JBoss WS.