This chapter introduces you with Seam Components.
All the Seam component generations options known from Seam-gen are available as wizards (with sensible auto-defaulting) for creating various common Seam components:
Seam Action
Seam Form
Seam Entity
Seam Conversation
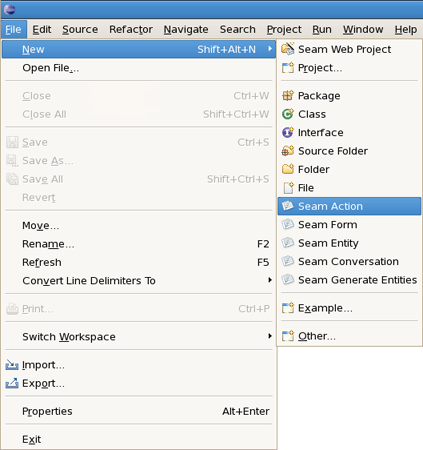
Go to → and select the component wizard.
The wizards create multiple resources and place it in the appropriate folders depending on your project structure (WAR or EAR).
Let's create a WAR project using the New Seam Project wizard.
After the project is created you need deploy it on server.
In this and following sections you can see example creating Seam Components.
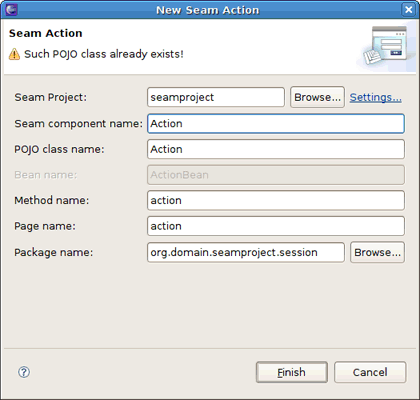
To create a New Seam Action you should select a necessary project, type a name for Seam component, POJO class, Method, Page and select a Package using the Browse button.
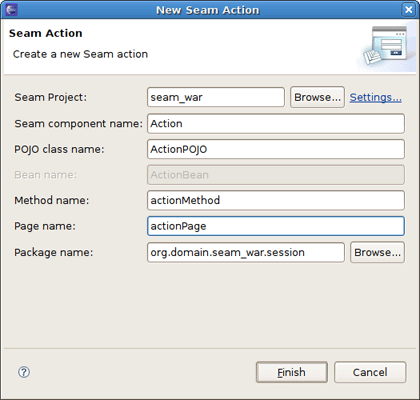
If you specify a class which already exists, the wizard will warn you about it.
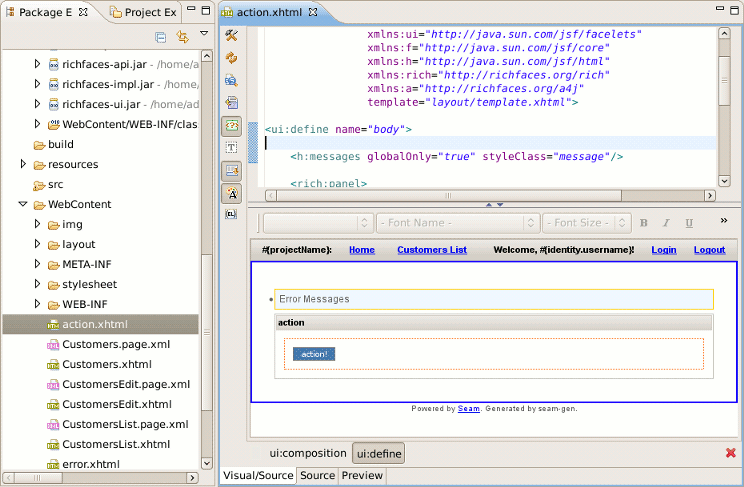
You can see the action page in WebContent folder. Click on it to open in JBoss Tools HTML Editor.
Note:
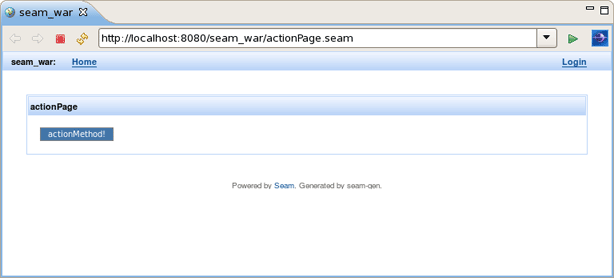
You don't need to restart the server to see how the action component works. Just use context menu →
Action component was hot-deployed. Forms and Conversations will work the same way.
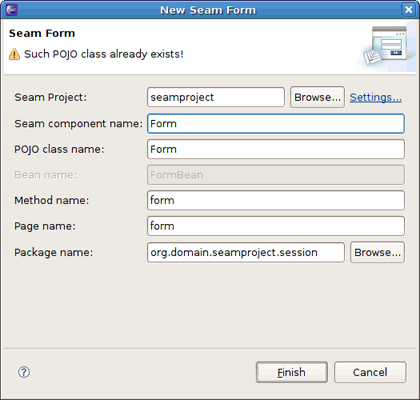
Click on in the internal browser and add a form in your project using the New Seam Form wizard → → .
Select a necessary project, type a name for Seam component, POJO class, Method, Page and select a Package using Browse button.
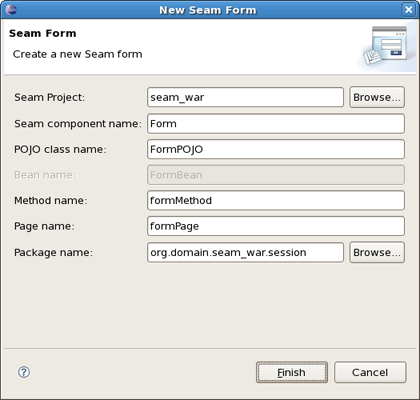
If you specify a class which already exists, the wizard will warn you about it.
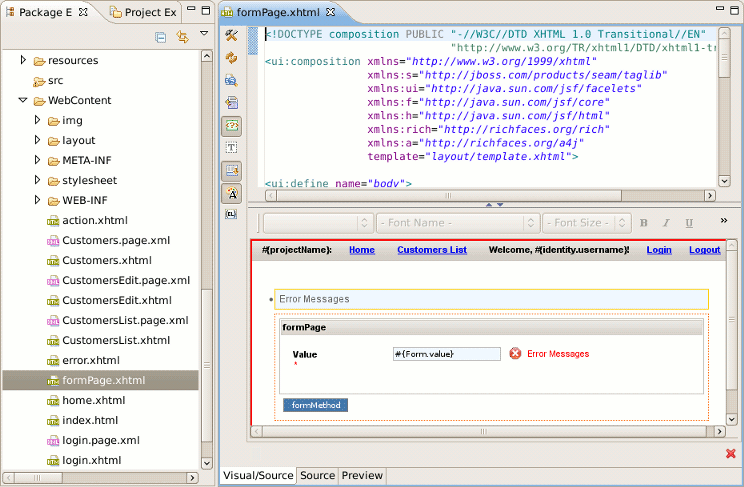
The Form Page was created in WebContent folder.
Deploy the form on server. Right click on Form Page, select →
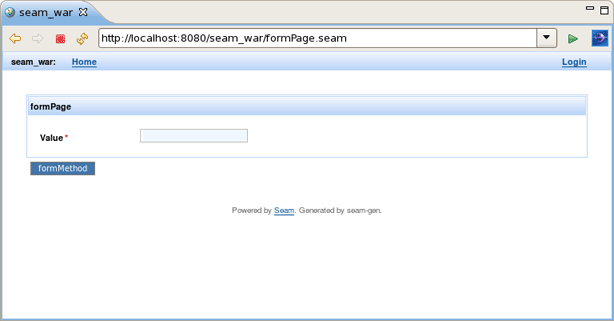
Form component was hot-deployed.
Enter some value in the text field (for example, value1) and click on .
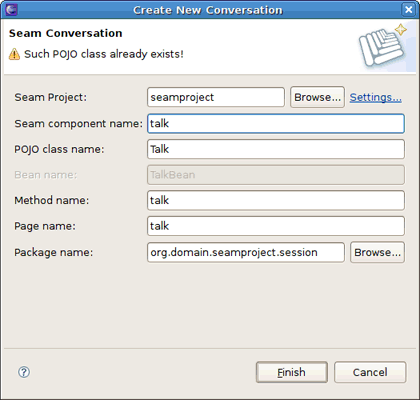
Add a conversation using the New Seam Conversation wizard → →
You should select a necessary project, type a name for Seam component, POJO class, Method, Page and select a Package using Browse button.

If you specify a class which already exists, the wizard will warn you about it.
Conversation page was created in WebContent folder.

Right click on Conversation page, select →
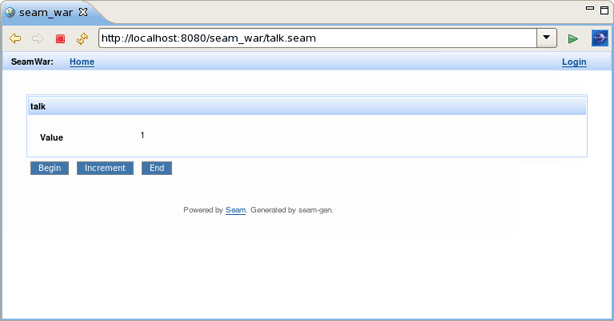
Conversation component was hot-deployed.
Click on Begin and Increment buttons to check the conversation functionality.
Entities cannot be hot-deployed, so we need to stop the server.
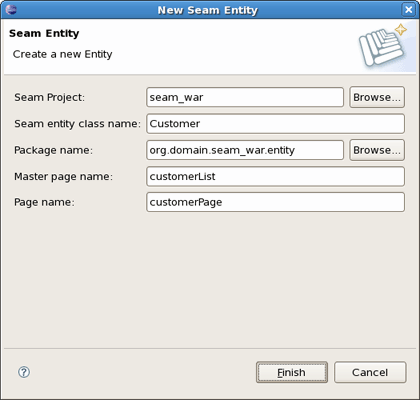
Create an Entity using the New Entity wizard → →
You should select a necessary project, type a name for Entity class, select a Package using Browse button, type a name for Master Page and Page.
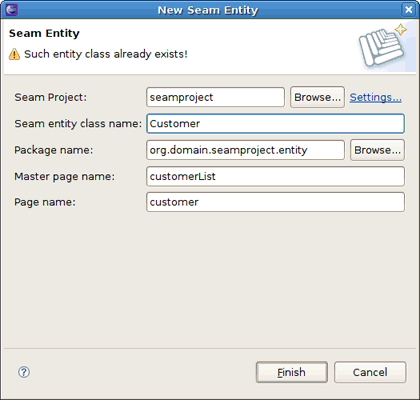
If you specify a class which already exists, the wizard will warn you about it.
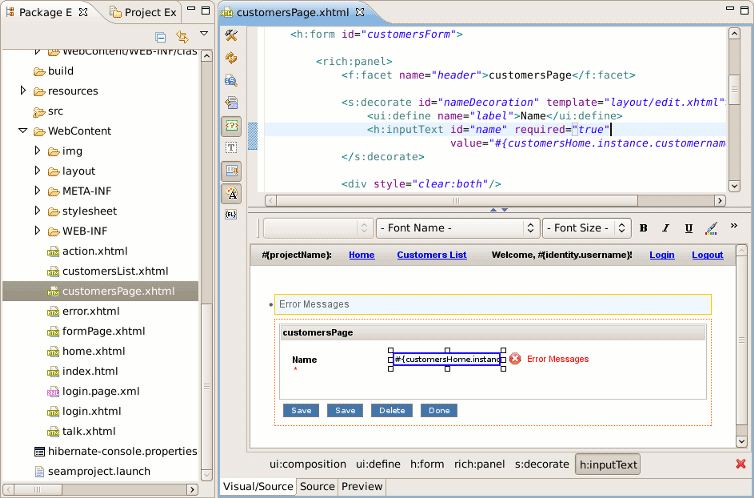
The Master Page and the Entity were created in WebContent folder.
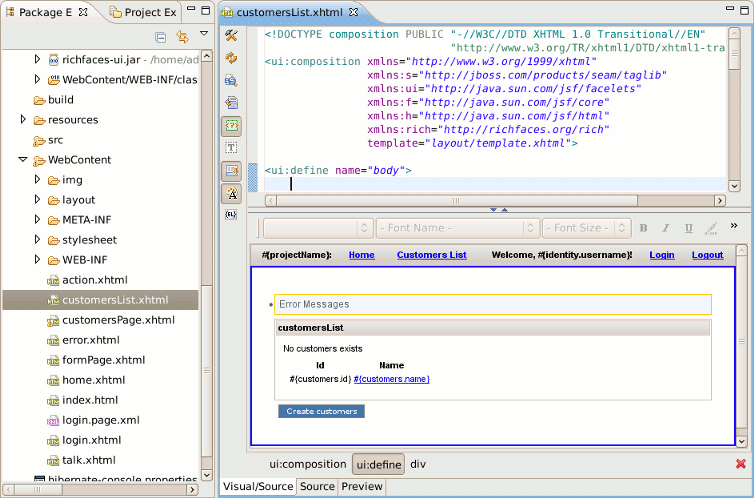
The Entity page is:
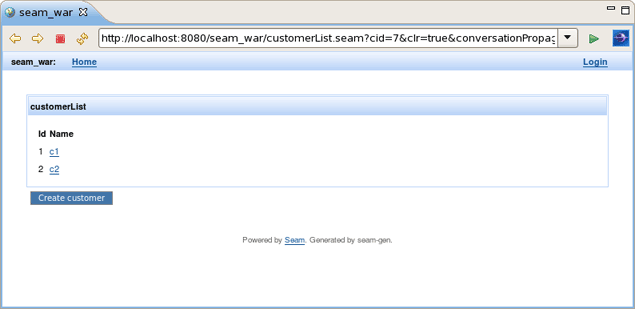
Run the Entity page on server. This is what you get:
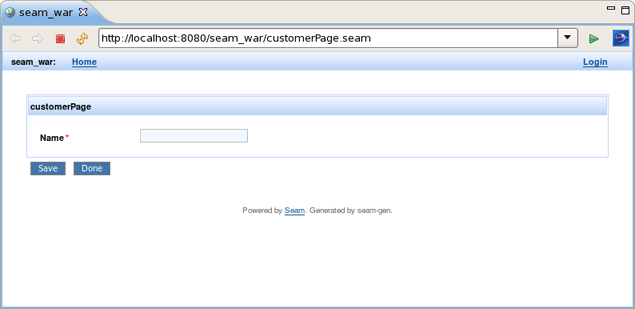
Let's create two customers c1 and c2. Enter the name in the text field and press the Save button. Customer should be successfully created. Press Done. Do the same for c2 customer. The result should be: