unzip rhq-server-*.zip
Overview
Unlike some products, there is no "standalone installer" for RHQ. Instead, the installer is a web application packaged directly inside the RHQ Server itself.
There is an "auto-install" feature that allows you to preconfigure the server without having to manually go through the installer web application. See below for more information.
Before you begin, make sure you download the RHQ server distribution file (which is packaged as a .zip file).
Starting the Installer
-
Unzip the RHQ Server distribution file to the directory within which it will be executed from. For example, if you want to install the RHQ Server under the /opt directory, place the RHQ Server distribution file in /opt and execute:
The directory structure within the zip file ensures that the RHQ Server has a version-specific installation directory name. For example, the above command will create a directory named /opt/rhq-server-4.2.0. The /opt/rhq-server-4.2.0 directory should not exist prior to the unzip operation.
For Windows usersDo not install the RHQ Server into a directory with a path longer than about 19 characters (e.g. use C:\rhq rather than C:\Documents and Settings\myusername). Excessively long pathnames may cause errors during execution of the server - see this Microsoft MSDN article for more information. It has also been seen that unzipping the distribution using 7-Zip may also help avoid the long-pathname problem.
-
Run the RHQ Server.
-
For UNIX, execute the following:
cd <server-install-dir>/bin
./rhq-server.sh start
-
For Windows, execute the following from the command line:
cd <server-install-dir>/bin
rhq-server.bat install        rem -- first time install
rhq-server.bat start          rem -- normal running
The RHQ Server will allocate a large amount of memory to its JVM when it starts up. This is to ensure it can support a fairly large environment. If your machine does not have enough memory and you don't plan on managing a large environment, you can lower the memory requirements of the RHQ Server by editing bin/rhq-server.sh (for UNIX/Linux) or bin/wrapper/rhq-server-wrapper.conf (for Windows) and adjusting the -Xms, -Xmx, -XX:PermSize, -XX:MaxPermSize VM settings. Note that if you lower the memory requirements, you may cause the RHQ Server to hit OutOfMemoryErrors - change these settings at your own risk. See Running the RHQ Server#Setting Environment Variables and Running the RHQ Server#Optional Wrapper Configuration Files
.
-
-
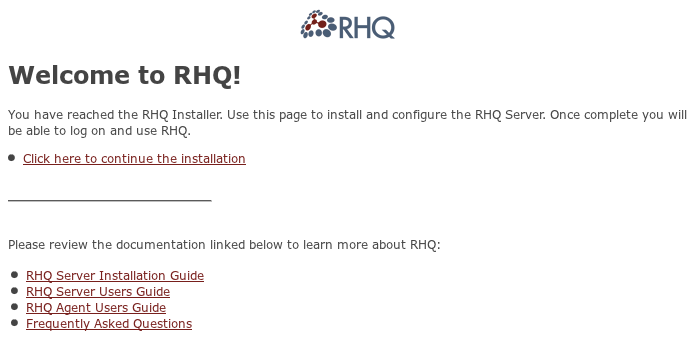
Point your browser to http://localhost:7080/. Because this RHQ Server has not completed its installation yet, this URL will take you to the RHQ Server Installer web application.
-
Clicking the Click here to continue the installation link brings you to the main installer page.
Advanced settings
By default, the installer displays only the basic settings required for installation. If you have advanced requirements, click the Show Advanced Settings check box to display the advanced settings.
Toggling the Show Advanced Settings check box re-initializes the values for the displayed settings, losing any changes you made. Be careful not to toggle this setting after entering your installation data unless you are OK with losing your changes.
Database Settings
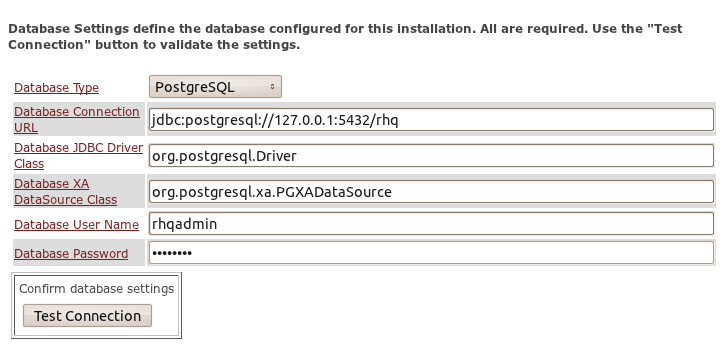
The main installer page is where you must tell the RHQ Server what database is going to be used. The database settings area of the installer looks like this:
-
Set your database connection properties by updating the default values as necessary. If you have not installed your database server or did not create the necessary database or role for use with RHQ, you must do so first before continuing.
On Oracle, if you select the 'overwrite tables' option, but there is nothing to overwrite because this is a first-time installation, you may see error message(s) in your server log that look like the following - these can be safely ignored:
ERROR [DBSetup] {DBSetup.dropped-table-error}Failed to drop table [SOME_RHQ_TABLE] or one of its sequences. Cause: ErrorCode=[2289]; SQLState=[42000]; Message=[ORA-02289: sequence does not exist]; Type=[java.sql.SQLException] -
Test your database connection by clicking the Test Connection button. If this test fails check your connection properties and ensure your database server is running.
-
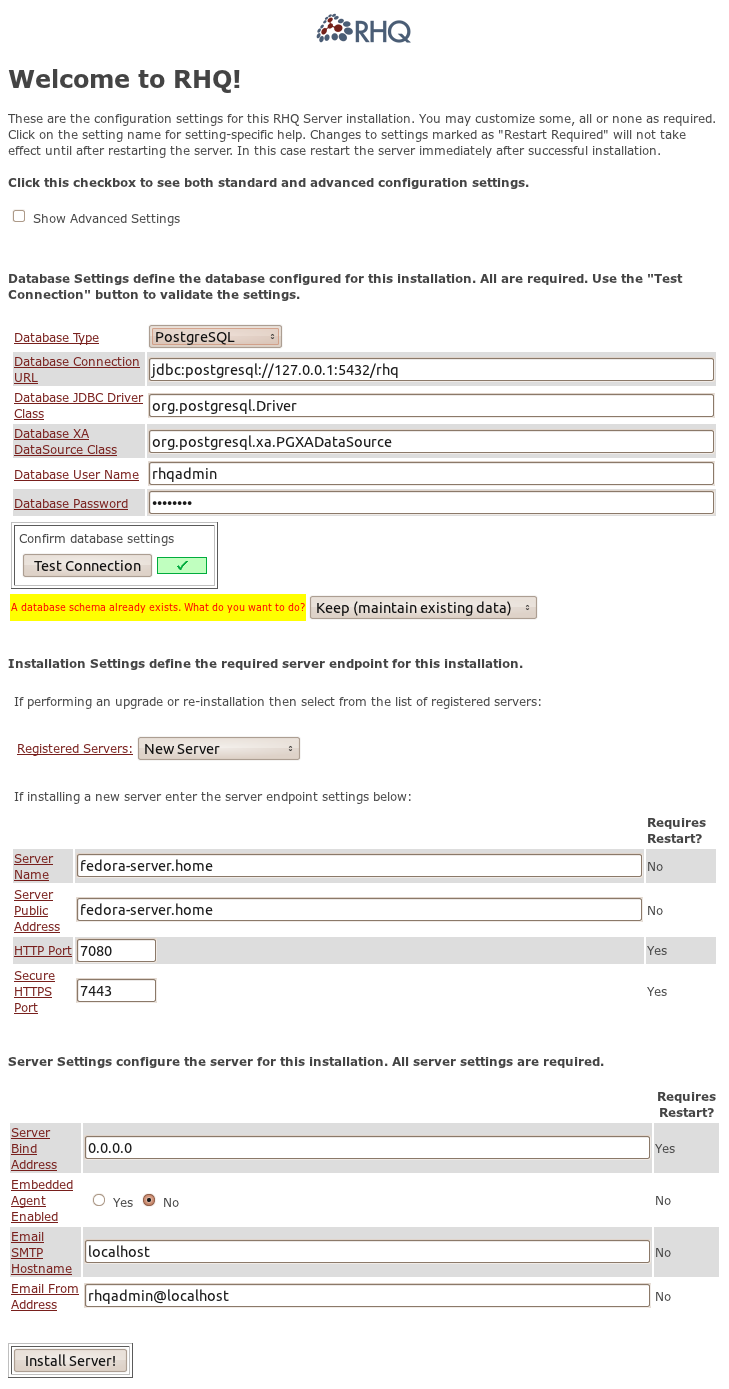
Existing Database options: If an existing RHQ Server schema is discovered (e.g. from a previous RHQ installation) the installer will give you the choice of either upgrading it to the latest schema version or overwriting it and losing all existing data. Take the default (Keep (maintain existing data)) unless you are confident you want to lose all previous RHQ data. If any errors occur during the DB schema installation, check the logs.
Base Installation Settings
The base installation settings page will differ slightly depending on whether a server has previously been installed for the configured database. If this is a server installation going against new database, you will not see a drop down menu of server names (since there are no existing servers yet). If this is an upgrade, reinstallation, or the installation of a new server into an existing High Availability cloud, the installer page will allow to preserve data and to select the registered server.
Registered Servers
The Registered Servers drop down list does not appear unless a server has been previously installed to the configured database. This drop down displays the servers currently registered. For single server environments, only one entry is displayed. For High Availability environments, the list contains an entry for each server in the server cloud. When upgrading or reinstalling an existing server, select that server from the list. When you select a server from the drop down list, the installation settings configured for that selected server will be displayed; you should ensure the values are correct and are the values that you want.
Server Name
The Server Name uniquely identifies the RHQ Server being installed. It defaults to the resolved hostname of the machine but can be set to a different value if necessary (it actually doesn't have to be a hostname at all). Selecting a Registered Server from the drop down and then modifying the Server Name will result in a new Server registration. The installer treats this as an additional server being added to the HA Server Cloud. When adding a new server, it is not necessary to select from the drop down list.
Avoid using generic names such as server, localhost or s1. Use more explicit names that easily identify the RHQ Server - IP addresses, FQDN hostnames or simply more descriptive names are more appropriate.
Public Server Endpoint
The remaining fields define the public server endpoint information for the Server-Agent communication. After installation, you can update the Server Endpoint information via the RHQ GUI Administration pages.
The Server Endpoint Address must be public so that all RHQ Agents are able to resolve the supplied value. This is particularly important in High Availability (multi-Server) environments where RHQ Agents are connecting to various RHQ Servers in the cloud.
Server Settings
The server settings displayed depend on whether the Show Advanced Settings option is enabled.
Standard settings
The standard installation process contains the typical settings required to install RHQ. The default values are usually appropriate for most standard and advanced settings. If necessary, the server settings can be modified at a later time by editing the <server-install-dir>/bin/rhq-server.properties file.
If you bind the server to an address other than 0.0.0.0, you must also edit the <server-install-dir>/bin/rhq-server.properties file. Enable the java.rmi.server.hostname property and set it to the same address to which the server is bound.
Ensure your SMTP settings are set correctly to enable email notification of alerts. You can update these settings if your SMTP server is not on the same machine as the RHQ Server.
Advanced settings
All advanced settings are explained in detail on the Startup Properties page.
If you change any startup properties that require a restart, restart the server immediately after the installation so the settings can take effect. The server will not correctly function until this is done.
Complete the Install
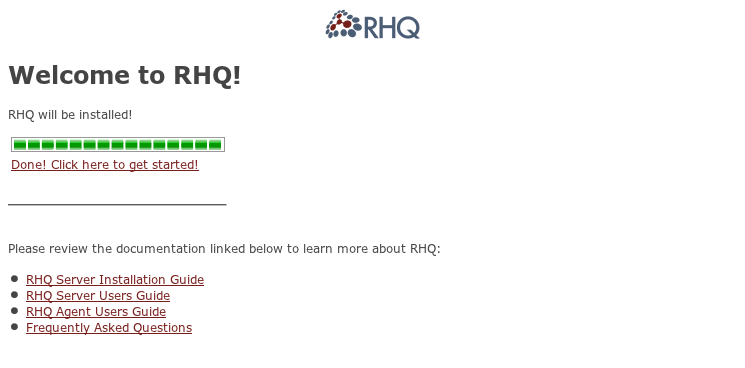
Click on the "Install" button and an intermediate page is displayed while the installation completes. Once the installation has completed, the message "Starting up, please wait..." changes to "Done! Click here to get started" - click that link to begin using your RHQ server.
Note that some browsers such as Safari and Opera cannot display the login page, but instead show the last page. If this happens, press the refresh button on your browser and click on the link again.
There have been some cases where the installation of PostgreSQL failed with an error "Relation RHQ_Principal does not exist". Refer to PostgreSQL for a workaround.
Auto-Installation
If you wish to circumvent the installer webapp and auto-install the server immediately upon first startup, you need to simply pre-configured the server. You do this by modifying rhq-server.properties, making sure all of the settings are correctly set for your server's deployment environment. You must also make sure the following rhq.autoinstall properties are defined appropriately in rhq-server.properties:
-
rhq.autoinstall.enabled: must be true to trigger the automatic install
-
rhq.autoinstall.database: allowed values: auto, overwrite, skip
-
"auto" will create a new schema if one does not yet exist or, if a schema does exist, will simply update it as needed (which keeps existing data).
-
"overwrite" if you want to create an empty schema, even if one already exists (loses existing data).
-
"skip" if you don't want to do any database upgrade or creation. WARNING! You must ensure your database schema already exists and is up to date.
-
-
rhq.autoinstall.public-endpoint-address: public IP/hostname that all agents will use to talk to this server. If not set, a value to use is determined at auto-install time.
Note that you must ensure the database password property specified in "rhq.server.database.password" is encrypted. Use the generate-db-password.sh script found in the server's /bin directory to convert your database password to an encrypted string suitable for this property value.
Also note that the auto-installer will only work the first time you start the server. Once you complete the installation (either via the auto-installation procedure or via the GUI installer), the rhq.autoinstall.* settings will be ignored and the auto-installer will be disabled. If you wish to re-install the server, you must remove the currently installed server files, unzip the original server distribution and repeat the steps as if you are installing the server for the first time.
Installing as a Boot Time Service
You can install the RHQ Server to run when your computer boots up. On Windows, this means installing the RHQ Server to start as a Windows Service. On UNIX, it means installing the RHQ Server startup script as an init.d startup script. To install as a boot-time service on either Windows or UNIX, refer to Running the RHQ Server.