The WebDAV protocol enables you to use the third party tools to communicate with hierarchical content servers via HTTP. It is possible to add and remove documents or a set of documents from a path on the server. DeltaV is an extension of the WebDav protocol that allows managing document versioning. Locking guarantees protection against multiple access when writing resources. The ordering support allows changing the position of the resource in the list and sort the directory to make the directory tree viewed conveniently. The full-text search makes it easy to find the necessary documents. You can search by using two languages: SQL and XPATH.
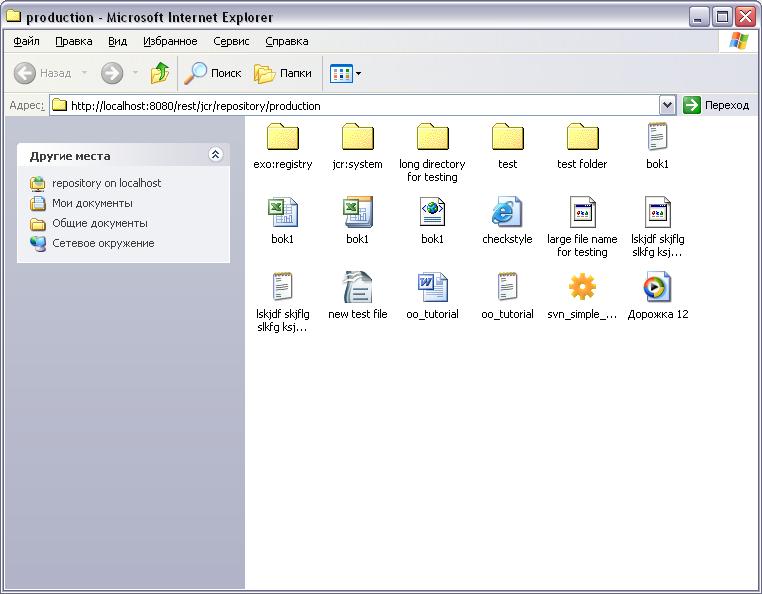
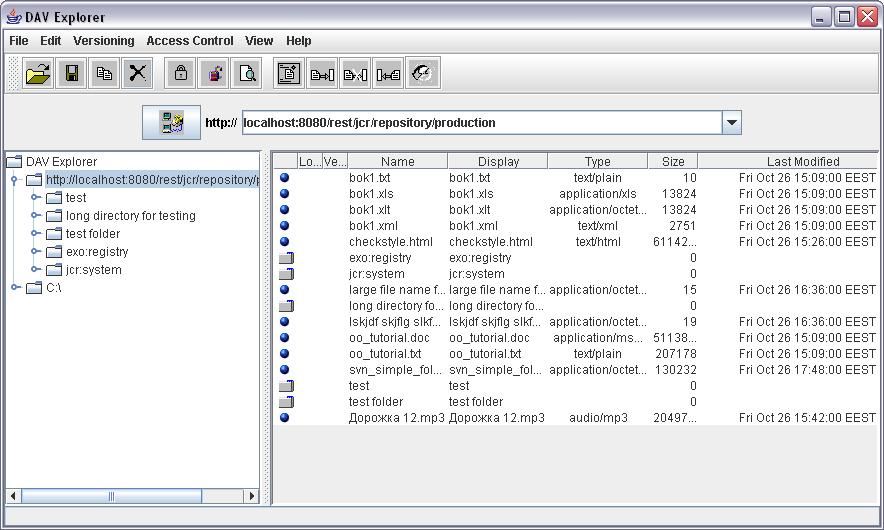
In eXo JCR, we plug in the WebDAV layer - based on the code taken from the extension modules of the reference implementation - on the top of our JCR implementation so that it is possible to browse a workspace using the third party tools (it can be Windows folders or Mac ones as well as a Java WebDAV client, such as DAVExplorer or IE using File->Open as a Web Folder).
Now WebDav is an extension of the REST service. To get the WebDav server ready, you must deploy the REST application. Then, you can access any workspaces of your repository by using the following URL:
Standalone mode:
http://host:port/rest/jcr/{RepositoryName}/{WorkspaceName}/{Path}
Portal mode:
http://host:port/portal/rest/private/jcr/{RepositoryName}/{WorkspaceName}/{Path}
When accessing the WebDAV server with the
URLhttp://localhost:8080/rest/jcr/repository/production, you
might also use "collaboration" (instead of "production") which is the
default workspace in eXo products. You will be asked to enter your login
and password. Those will then be checked by using the organization service
that can be implemented thanks to an InMemory (dummy) module or a DB
module or an LDAP one and the JCR user session will be created with the
correct JCR Credentials.
Note
If you try the "in ECM" option, add "@ecm" to the user's password. Alternatively, you may modify jaas.conf by adding the domain=ecm option as follows:
exo-domain {
     org.exoplatform.services.security.jaas.BasicLoginModule required domain=ecm;
};<component>
<key>org.exoplatform.services.webdav.WebDavServiceImpl</key>
<type>org.exoplatform.services.webdav.WebDavServiceImpl</type>
<init-params>
<!-- this parameter indicates the default login and password values
used as credentials for accessing the repository -->
<!-- value-param>
<name>default-identity</name>
<value>admin:admin</value>
</value-param -->
<!-- this is the value of WWW-Authenticate header -->
<value-param>
<name>auth-header</name>
<value>Basic realm="eXo-Platform Webdav Server 1.6.1"</value>
</value-param>
<!-- default node type which is used for the creation of collections -->
<value-param>
<name>def-folder-node-type</name>
<value>nt:folder</value>
</value-param>
<!-- default node type which is used for the creation of files -->
<value-param>
<name>def-file-node-type</name>
<value>nt:file</value>
</value-param>
<!-- if MimeTypeResolver can't find the required mime type,
which conforms with the file extension, and the mimeType header is absent
in the HTTP request header, this parameter is used
as the default mime type-->
<value-param>
<name>def-file-mimetype</name>
<value>application/octet-stream</value>
</value-param>
<!-- This parameter indicates one of the three cases when you update the content of the resource by PUT command.
In case of "create-version", PUT command creates the new version of the resource if this resource exists.
In case of "replace" - if the resource exists, PUT command updates the content of the resource and its last modification date.
In case of "add", the PUT command tries to create the new resource with the same name (if the parent node allows same-name siblings).-->
<value-param>
<name>update-policy</name>
<value>create-version</value>
<!--value>replace</value -->
<!-- value>add</value -->
</value-param>
<!--
This parameter determines how service responds to a method that attempts to modify file content.
In case of "checkout-checkin" value, when a modification request is applied to a checked-in version-controlled resource, the request is automatically preceded by a checkout and followed by a checkin operation.
In case of "checkout" value, when a modification request is applied to a checked-in version-controlled resource, the request is automatically preceded by a checkout operation.
-->
<value-param>
<name>auto-version</name>
<value>checkout-checkin</value>
<!--value>checkout</value -->
</value-param>
<!--
This parameter is responsible for managing Cache-Control header value which will be returned to the client.
You can use patterns like "text/*", "image/*" or wildcard to define the type of content.
-->
<value-param>
<name>cache-control</name>
<value>text/xml,text/html:max-age=3600;image/png,image/jpg:max-age=1800;*/*:no-cache;</value>
</value-param>
<!--
This parameter determines the absolute path to the folder icon file, which is shown
during WebDAV view of the contents
-->
<value-param>
<name>folder-icon-path</name>
<value>/absolute/path/to/file</value>
</value-param>
<!--
This parameter is responsible for untrusted user agents definition.
Content-type headers of listed here user agents should be
ignored and MimeTypeResolver should be explicitly used instead
-->
<values-param>
<name>untrusted-user-agents</name>
<value>Microsoft Office Core Storage Infrastructure/1.0</value>
</values-param>
</init-params>
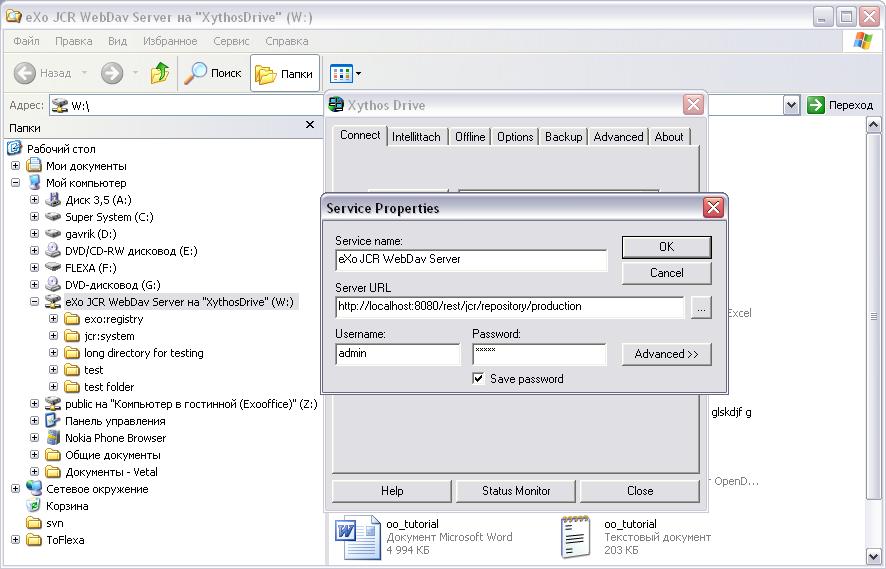
</component>At present, eXo JCR WebDav server is tested by using MS Internet Explorer, Dav Explorer, Xythos Drive, Microsoft Office 2003 (as client), and Ubuntu Linux.
(as client) (File->Open with typing http://... href in the file name box)
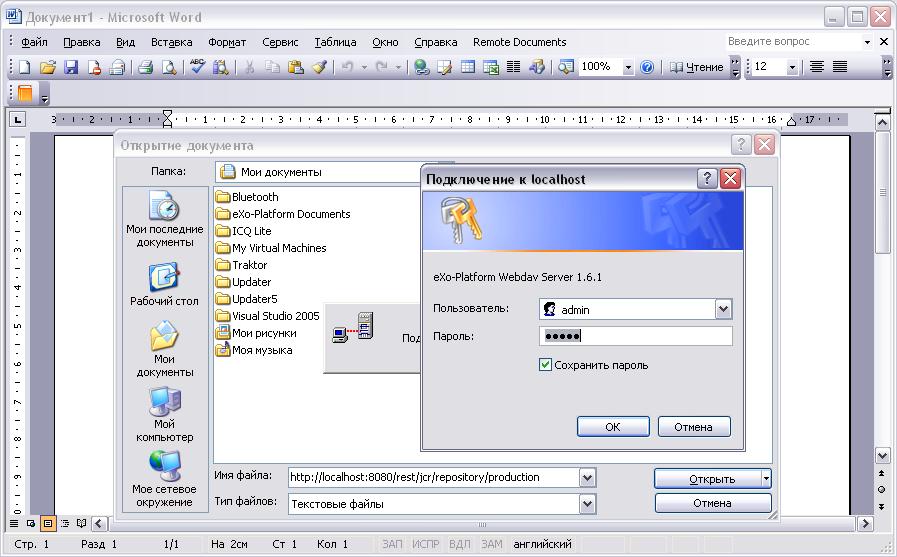
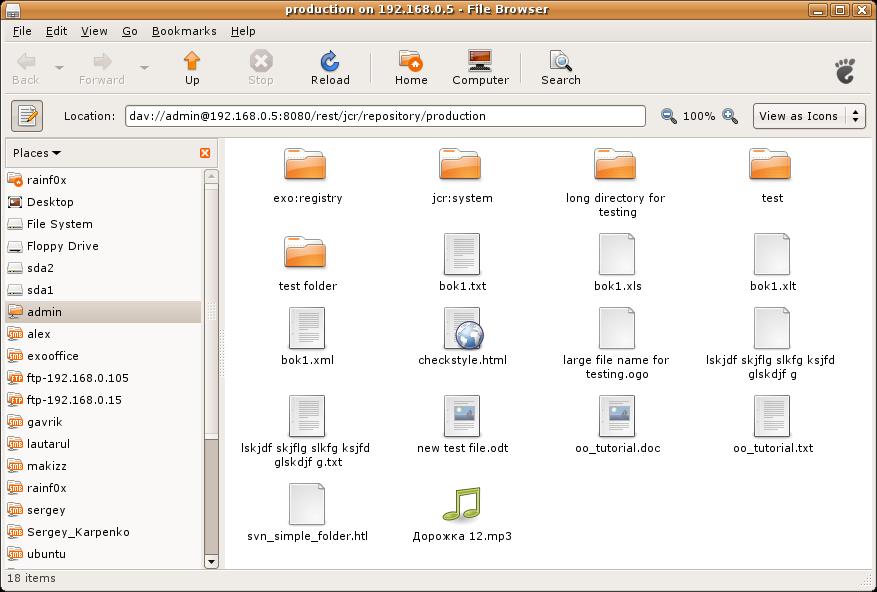
Table 30.1.
| WebDav | JCR |
|---|---|
| COPY | Workspace.copy(...) |
| DELETE | Node.remove() |
| GET | Node.getProperty(...); Property.getValue() |
| HEAD | Node.getProperty(...); Property.getLength() |
| MKCOL | Node.addNode(...) |
| MOVE | Session.move(...) or Workspace.move(...) |
| PROPFIND | Session.getNode(...); Node.getNode(...); Node.getNodes(...); Node.getProperties() |
| PROPPATCH | Node.setProperty(...); Node.getProperty(...).remove() |
| PUT | Node.addNode("node","nt:file"); Node.setProperty("jcr:data", "data") |
| CHECKIN | Node.checkin() |
| CHECKOUT | Node.checkout() |
| REPORT | Node.getVersionHistory(); VersionHistory.getAllVersions(); Version.getProperties() |
| RESTORE | Node.restore(...) |
| UNCHECKOUT | Node.restore(...) |
| VERSION-CONTROL | Node.addMixin("mix:versionable") |
| LOCK | Node.lock(...) |
| UNLOCK | Node.unlock() |
| ORDERPATCH | Node.orderBefore(...) |
| SEARCH | Workspace.getQueryManager(); QueryManager.createQuery(); Query.execute() |
There are some restrictions for WebDAV in different Operating systems.
When you try to set up a web folder by “adding a network location” or “map a network drive” through My Computer, you can get an error message saying that either “The folder you entered does not appear to be valid. Please choose another” or “Windows cannot access… Check the spelling of the name. Otherwise, there might be…”. These errors may appear when you are using SSL or non-SSL.
To fix this, do as follows:
Go to Windows Registry Editor.
Find a key: \HKEY_LOCAL_MACHINE\SYSTEM\CurrentControlset\services\WebClient\Parameters\BasicAuthLevel .
Change the value to 2.
If you have Microsoft Office 2010 applications or Microsoft Office 2007 applications installed on a client computer. From that client computer, you try to access an Office file that is stored on a web server that is configured for Basic authentication. The connection between your computer and the web server does not use Secure Sockets Layer (SSL). When you try to open or to download the file, you experience the following symptoms:
The Office file does not open or download.
You do not receive a Basic authentication password prompt when you try to open or to download the file.
You do not receive an error message when you try to open the file. The associated Office application starts. However, the selected file does not open.
To enable Basic authentication on the client computer, follow these steps:
Click Start, type regedit in the Start Search box, and then press Enter.
Locate and then click the following registry subkey:
HKEY_CURRENT_USER\Software\Microsoft\Office\14.0\Common\Internet
On the Edit menu, point to New, and then click DWORD Value.
Type BasicAuthLevel, and then press Enter.
Right-click BasicAuthLevel, and then click Modify.
In the Value data box, type 2, and then click OK.