Before installing the server, you need to check your system to make sure you have a suitable Java installation. JBoss 4 requires either a Java 1.4 or Java 5 (sometimes referred to as Java 1.5) JVM (Java Virtual Machine) to run. Java 5 is only required to use the newer simplified EJB3 technologies. The choice of JVMs is yours otherwise, but we do recommend considering the Java 5 JVM where possible to take advantage of the latest JVM performance improvements and monitoring capabilities. No matter what JVM is chosen, you should generally prefer the latest stable versions and keep an eye on future bug fix releases for issues that might affect your installation.
To verify your Java environment execute the java -version command. This will ensure that the java executable is in your path and that you are using the intended Java version. The following output shows a Java 5 (sometimes called Java 1.5) JVM. If you don't see the appropriate version, check your JVM installation instructions.
$ java -version
Java(TM) 2 Runtime Environment, Standard Edition (build 1.5.0_02-56)
Java HotSpot(TM) Client VM (build 1.5.0_02-36, mixed mode, sharing)
JBoss AS is distributed as part of the Red Hat JBoss Media Kit. Recent JBoss releases are also available (both in binary and source form) online from the JBoss AS downloads page, http://labs.jboss.org/portal/jbossas/download/, and as part of the JEMS distribution, available online at http://labs.jboss.com/portal/jemsinstaller/downloads.
JBoss is released in two forms. The first is a ZIP or tgz archive containing a base JBoss installation. We'll talk about the ZIP version, as any system containing a Java installation will have the tools to extract the archive. The gzipped tar file requires a gnutar-compatible tar program that can handle the long pathnames in the archive. The default tar binaries on Solaris and OS X do not currently support the long pathnames.
The standard JBoss 4.0.4 ZIP distribution is named jboss-4.0.4.GA.zip. If service pack releases later become available, they will contain the SP designation, jboss-4.0.4SP1.zip for example. You can use the JDK jar tool (or any other ZIP extraction tool) to extract the archive contents into a directory of your choice. It does not matter where on your system you install JBoss. Note, however, that installing JBoss into a directory that has a name that contains spaces causes problems on some platforms with Sun-based VMs.
The resulting JBoss installation is a raw installation containing the entire set of JBoss AS services in a completely unconfigured state. It is the quickest way to get a runnable JBoss instance, but the latter work to configure the server can be quite intensive. JBoss now provides a GUI installer that can simplify the installation process. In addition to the basic installation, the installer allows you to select the which services are installed, ensuring all service dependencies are met, secure the installation and configure a default datasource. Using a custom JBoss install created by the installer can greatly simplify the installation and configuration of JBoss.
The installer can be run directly from a web browser using Java Web Start or can be downloaded as an executable JAR file. If you choose the Java Web Start option, you only need to click the Run Installer link for the desired JBoss version on the downloads page. The Java Web Start installer is quick and easy. However, options like command-line install will require manually downloading and running the installer executable JAR. On many operating system, you can run executable JARs by double-clicking them. If your system doesn't support that, you can run the installer directly from the command line: (The remainder of this guide will assume the JEMS 1.2.0 installer, available from http://labs.jboss.com/portal/jemsinstaller/downloads)
$ java -jar jems-installer-1.2.0.jar
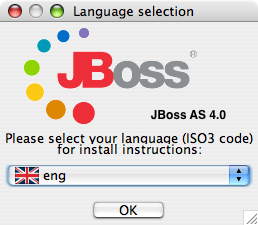
When you launch the installer, you will be given the option to select the installer language as shown in Figure 1.1, “The installer language selection screen.”. This screen only selects the language that the installer will display choices in and has no effect on the language used by JBoss or the applications deployed in JBoss.
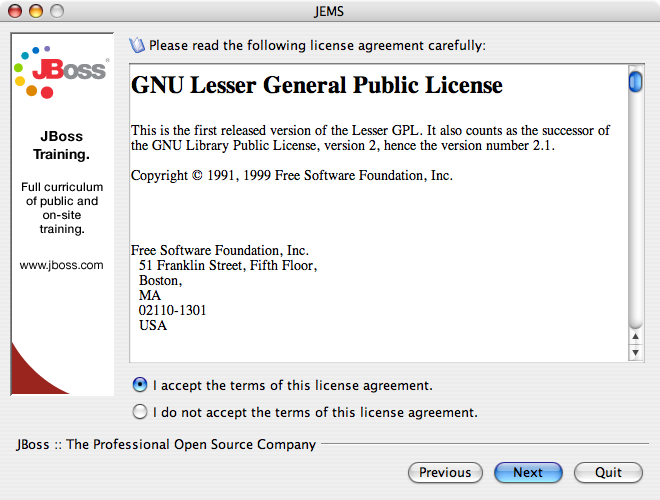
After language selection, the installer will present a series of screens presenting the release notes and asking you to accept the JBoss license. JBoss is completely open source and is released under the GNU LGPL license. The license screen (shown in Figure 1.2, “The license screen”) displays the full text of the LGPL license. More information on why JBoss uses the LGPL license and the advantages the LGPL provides to JBoss users can be found at http://www.jboss.com/company/licensing.
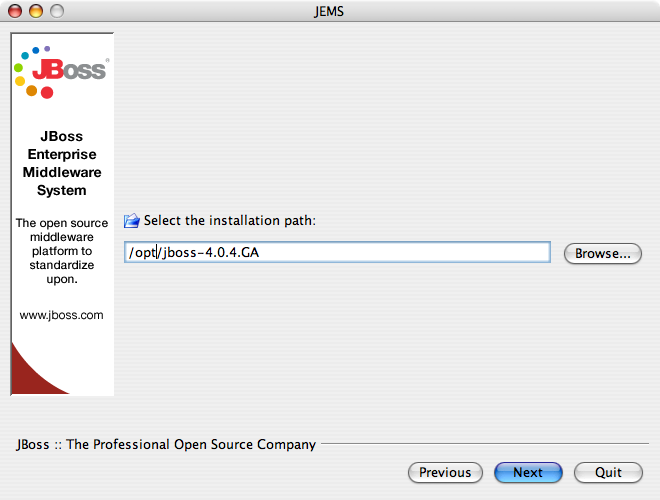
The installer will ask for the directory to use for the installation. This is shown in Figure 1.3, “Selecting the installation directory”. The installer does not write the installation directory into any of the scripts or into any form of registry, so you will be free to move or rename the JBoss installation directory after installation. On some platforms, installation directories that contains spaces can cause problems, so we recommend sticking to simple directory names.
After that you able to select the starting server configuration set, as shown in Figure 1.4, “Selecting the installation group”.
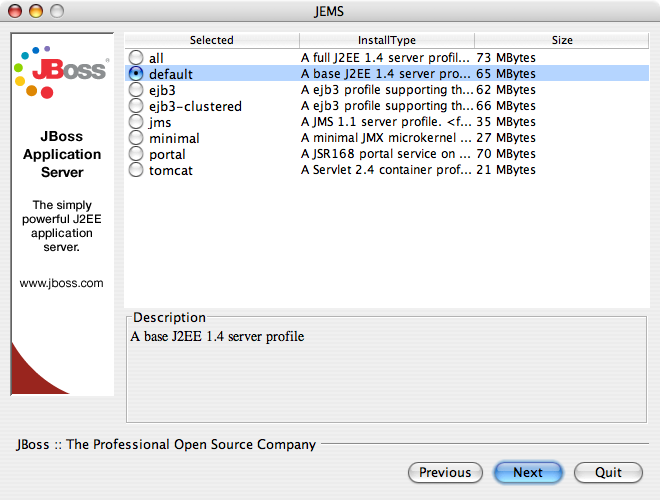
The starting configuration determine which sets of packages are available for installation. The following table describes each of the configuration sets.
Table 1.1. The JBoss AS installer configuration sets
| Name | Description | Notes |
|---|---|---|
| all | A full J2EE 1.4 server profile with enterprise extensions such as clustering and IIOP. | |
| default | A base J2EE 1.4 server profile. | |
| ejb3 | An EJB3 profile supporting the full EJB3 specification with Tomcat | This requires a Java 5 runtime and is not a J2EE 1.4 compatible configuration. |
| ejb3-clustered | An EJB3 profile supporting the full EJB3 specification with Tomcat and clustering. | This requires a Java 5 runtime and is not a J2EE 1.4 compatible configuration. |
| jms | A JMS 1.1 server profile | This is not a J2EE 1.4 compatible configuration. |
| minimal | A minimal JMX microkernel | This is not a J2EE 1.4 compatible configuration. |
| portal | A JBoss Portal 2.4 profile | This is not a J2EE 1.4 compatible configuration. |
| tomcat | A Servlet 2.4 container profile | This is not a J2EE 1.4 compatible configuration. |
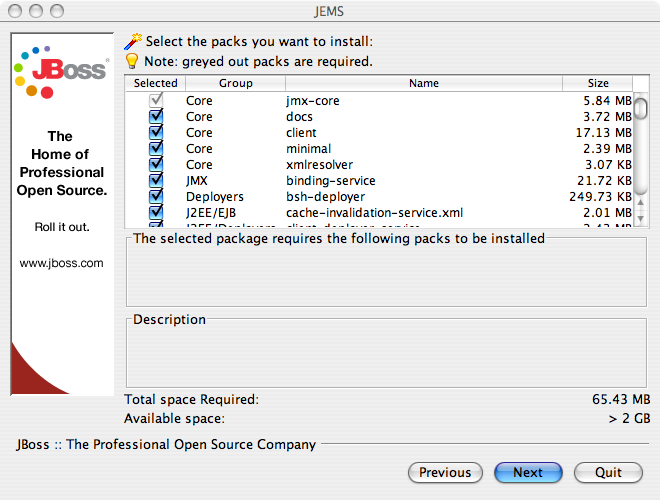
After selecting the configuration set, you have the option to further customize the installation, customizing the set of services installed. Figure 1.5, “Selecting the packages to install” shows the package selection screen. The installer knows the dependencies between services and will not allow you to configure services in an incompatible way. This is much safer than the trial and error approach of configuring services by hand from a raw ZIP install. When choosing configuration sets, be aware that you can not add packages that are not a part of the selected configuration set. If you wanted a simple web container (the tomcat configuration) that also had JMS support (the jms configuration), it would be necessary to go to a larger configuration, such as the default configuration, and remove the unwanted packages. There are some combinations of JEMS components that are not supported directly through the installer.
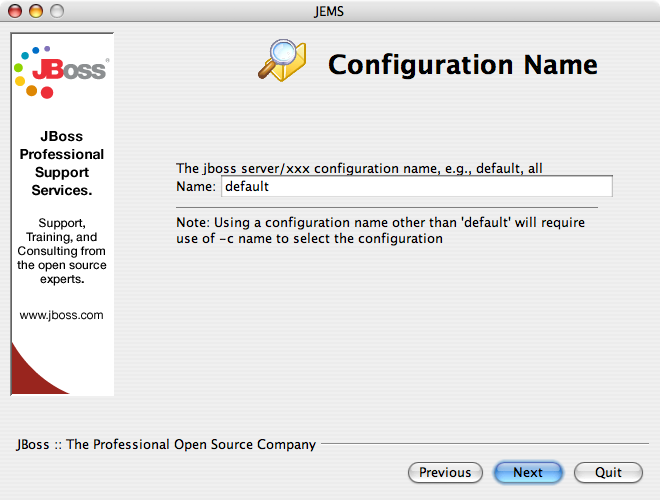
The following screen (Figure 1.6, “Name the configuration”) allows for the customization of the server configuration name. Unless you need to create multiple configurations, you should use a configuration name of default. Using any other configuration name requires you to start JBoss with the -c option to specify the configuration JBoss should use.
Almost all applications require a datasource to connect to a back-end database. JBoss provides an embedded Hypersonic database along with a default datasource to connect applications to. Being able to run applications out of the box makes JBoss very developer friendly. All projects will eventually need to move to a more capable database, but most will choose to do so at the very beginning of the project. The datasource configuration screen, shown in Figure 1.7, “Configure the default datasource”, gives you the option to use the default hypersonic datasource to configure a replacement datasource.
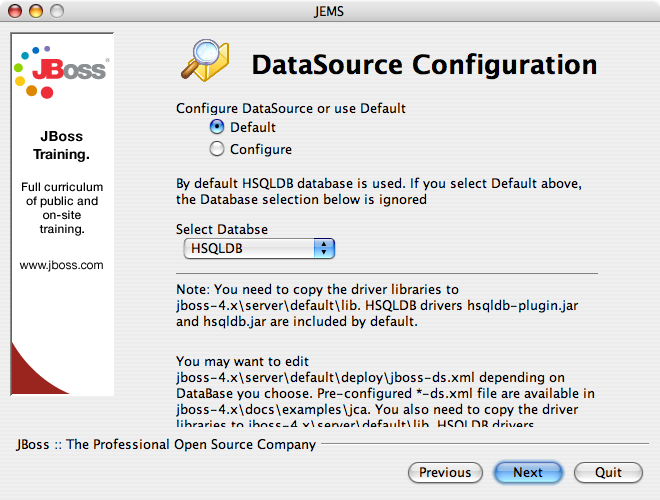
If you want to configure the datasource, choose the configure option and select the database type. You'll then be given the opportunity to enter database connection information as shown in Figure 1.8, “Configure the default datasource”.

Note that when installing a datasource this way, you must place the correct JDBC driver JAR file the lib directory of your server configuration. The datasource will not be usable until this is done. See Chapter 3, Directory Structure for more information about JBoss directory structure, including the lib directory.
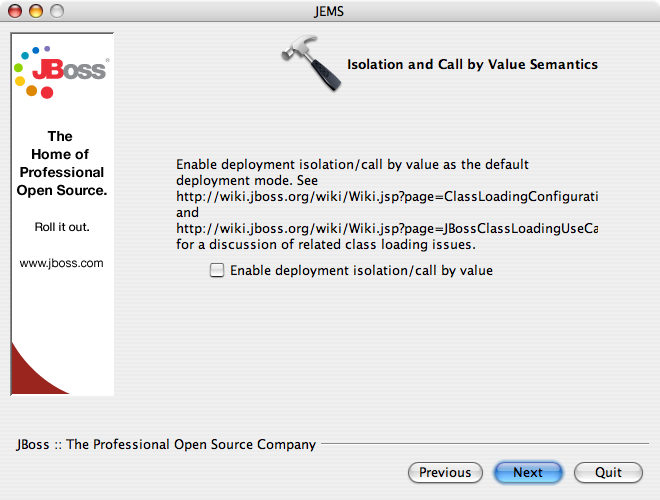
The next screen allows you to enable applications isolation, completely separating the classloading space of all applications. Application isolation can be helpful in some instances, but it comes with the cost of requiring slow pass-by-value semantics for passing data between applications. In most cases, it is preferable to use loader repositories to control the sharing of classes on an application-by-application basis rather than enabling isolation for the entire server.
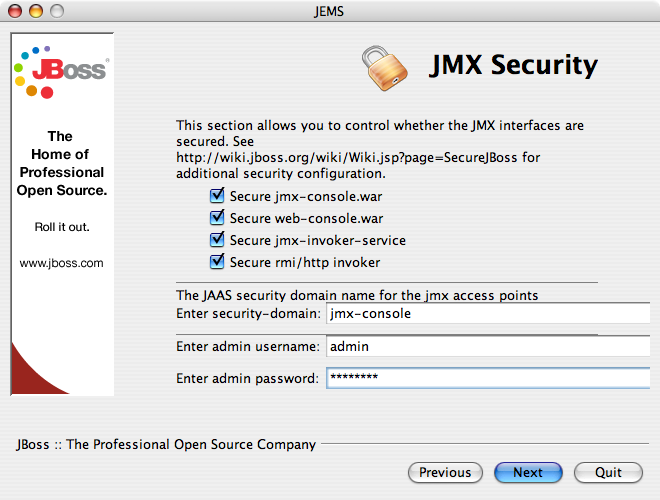
When installed from a raw archive, all JBoss services are left in a developer-friendly state requiring no authentication to access most JBoss services, including administrative services. The installer gives you a chance to secure those services on the security screen, shown in Figure 1.10, “JBoss security settings”. It is recommended that you enable security for all services. You will be required to enter a password for the admin user. We strongly recommend not using the default password, "admin".
The following screens will ask you to confirm your installation and then show you the installation progress. When your installation is done, the completion screen (Figure 1.11, “The installation is completed”) gives you the option to save an installation script that can be used to recreate your installation configuration. The installation script will be covered in Chapter 2, Command-line installation

Your JBoss installation can be found in the directory that you specified at the beginning of the install. The installer image may contain different services than the archive distribution, depending on the type of installation performed. However, the basic structure and layout of all JBoss instances are the same. The JBoss directory structure will be explained in Chapter 3, Directory Structure.