Let's add a portlet from Portletswap to the JBoss Portal we have running. Open a browser to the following URL: http://www.portletswap.com (Figure 47).
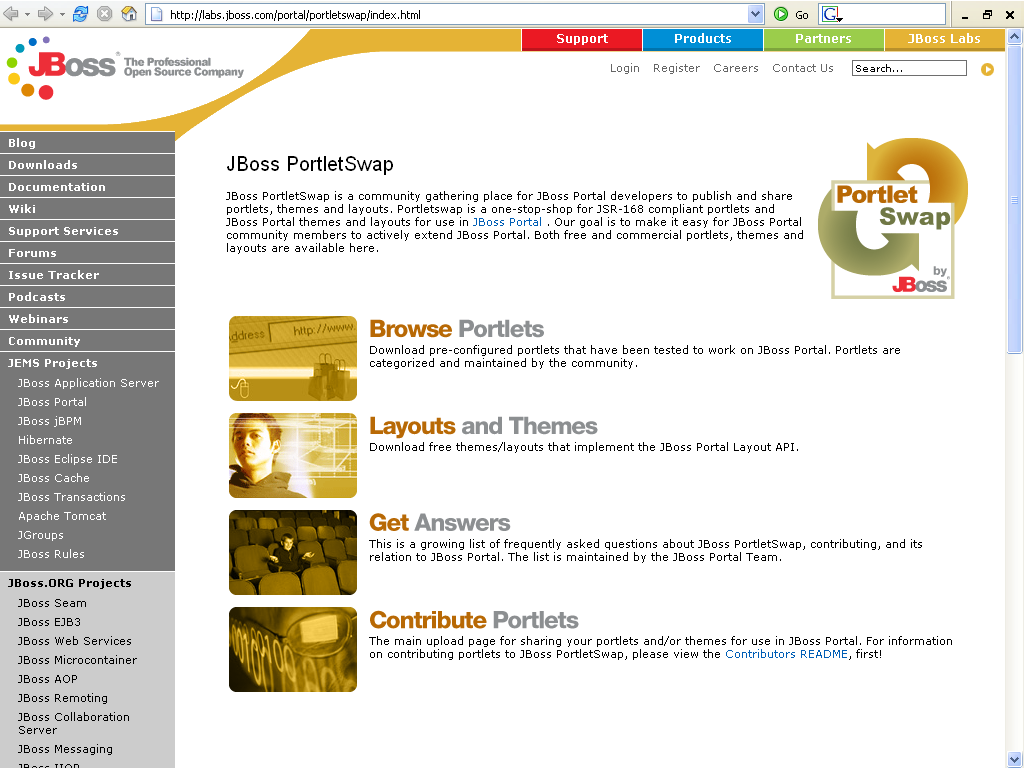 |
Figure 47. Portletswap website
Click on the "Browse Portlets" link to see the categories of portlets available (Figure 48).
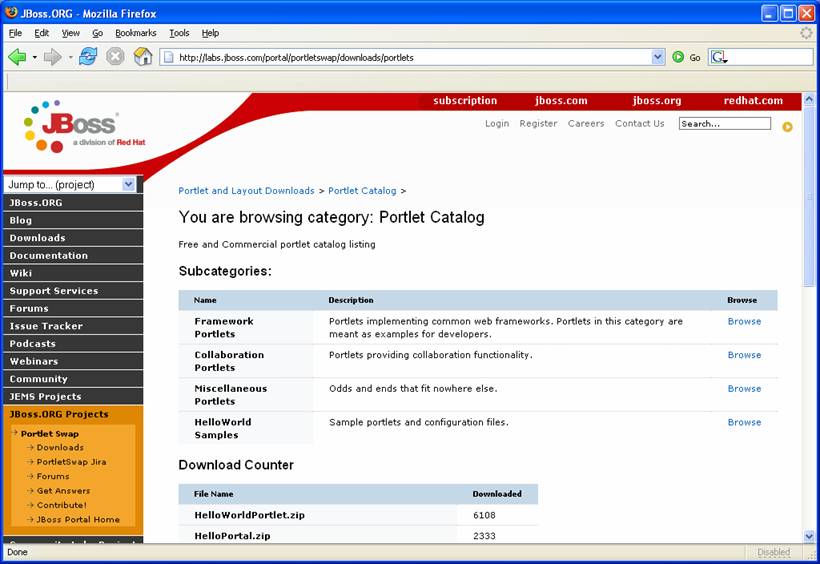 |
Figure 48. Portlet categories on portletswap.
Click on the Miscellaneous Portlets browse link to see a list of portlets (Figure 49).
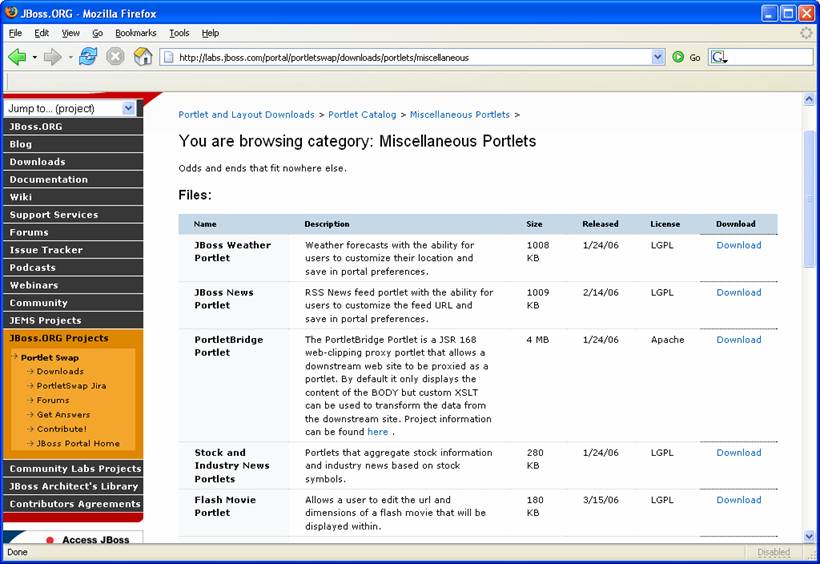 |
Figure 49. List of portlets on portletswap.
Click on the download link next to the Flash MoviePortlet. The download dialog will appear (Figure 50).
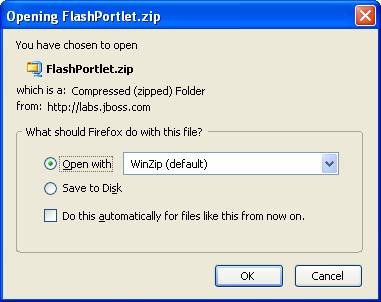 |
Figure 50. Download dialog.
This zip file contains both the binary and the source for the portlet. Open the zip and extract the flash.war file. Place this file in the jboss-portal-2.4\server\default\deploy directory. The console for the JBoss Portal will show the portlet being deployed (Figure 51).
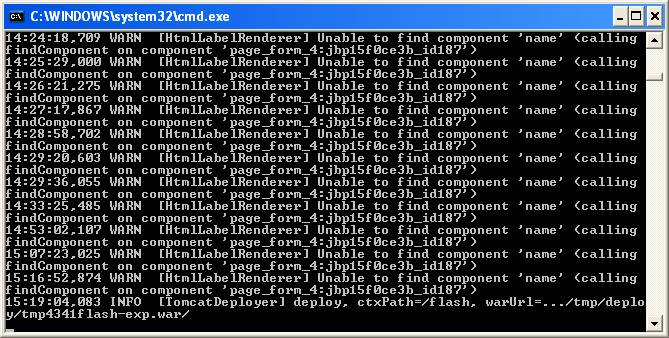 |
Figure 51. Flash portlet is deployed to JBoss Portal.
To see the deployed portlet, we need to add it to our Starter portal page. First, we need to create an instance of the portlet. Go to the Admin portal page (Figure 52).
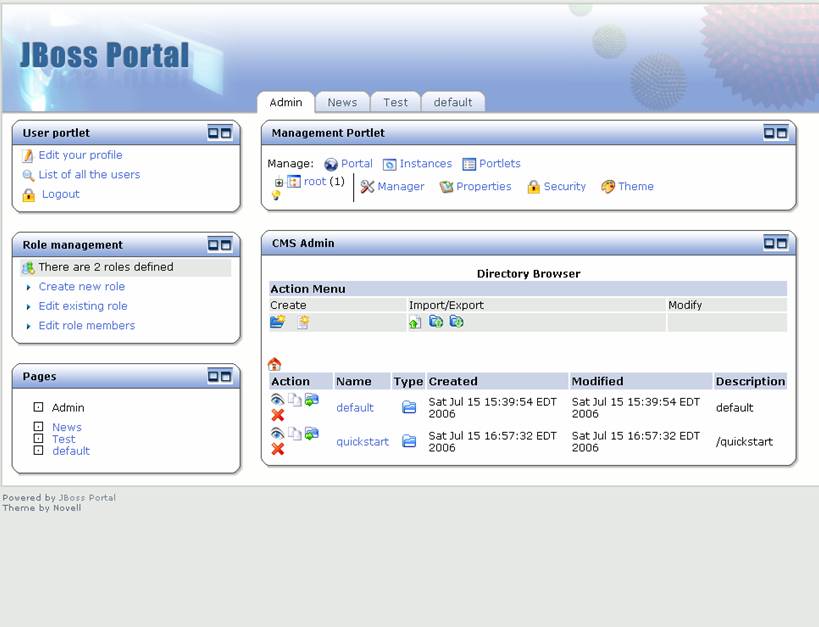 |
Figure 52. Admin portal page.
Click on the Portlets link. A list of all portlets will be displayed. Click on the FlashPortlet link. A dialog to create an instance will appear (Figure 53).
 |
Figure 53. Portlets admininstration.
Type in "Flash Portlet " as the instance name and click on the create instance button. Now there is an instance of the portlet that can be added to the Starter portal page. Click on the Instances link to see all portlet instances (Figure 54).
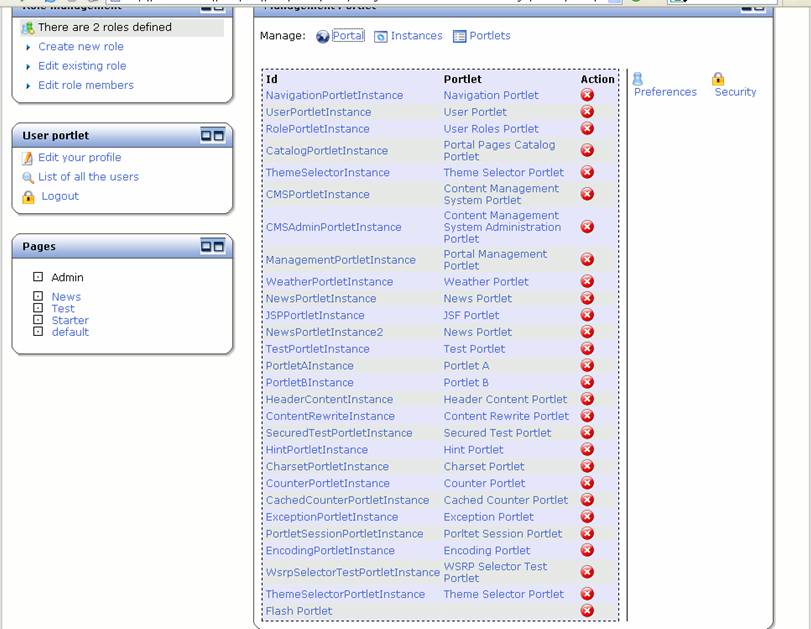 |
Figure 54. Portlet instances admininstration.
Click on the Portal link and expand the tree to the Starter portal page. Select the Flash Portlet from the portlet list, and add it to the Starter portal page with a name of "flash" (Figure 55).
 |
Figure 55. Starter portal page with flash portlet added.
Click on the Starter portal page, and the flash portlet is displayed (Figure 56).
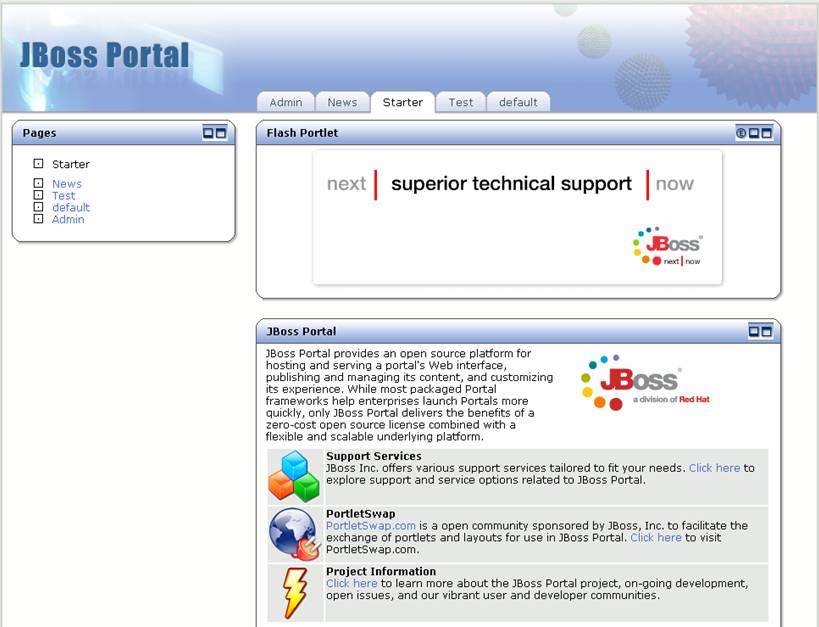 |
Figure 56. Starter portal page with flash portlet.