Depending on your needs, there are several different methods to get JBoss Portal up and running.
Note
Pre-configured clustered versions are available from the download page , in the same 3 flavors as the non-clustered version. The installation differences, being that they must be deployed in the all configuration in JBoss AS and all your instances must reference the same datasource. Read Chapter 12, Clustering Configuration for more details on how to customize your clustered install, once deployed.
Installation of JBoss Portal on former version of JBoss AS
If you need to install JBoss Portal on JBoss AS 4.0.x, please refer to the dedicated wiki page.
This is the easiest and fastest way to get JBoss Portal installed and running. The reason, is that the download bundle contains JBoss Application Server, and JBoss Portal uses the embedded Hypersonic Database.
Get the Bundle: The download bundle is available from our download page . Bundles are noted with the 'JBoss Portal + AS' naming convention.
Extract the bundle: Extract the zip archive to a directory of your choosing. In windows, we recommend, C:\jboss-X.X.X
Start the Server: Go to JBOSS_INSTALL_DIRECTORY/bin and execute run.bat (run.sh, if Linux)
Note
During the first boot (ever), SQL errors in the log, like the one below, can be safely ignored. They are thrown when the portal checks for the existence of the initial tables, before it creates them for you.16:43:39,234 WARN [JDBCExceptionReporter] SQL Error: -22, SQLState: S0002 16:43:39,234 ERROR [JDBCExceptionReporter] Table not found in statement ...
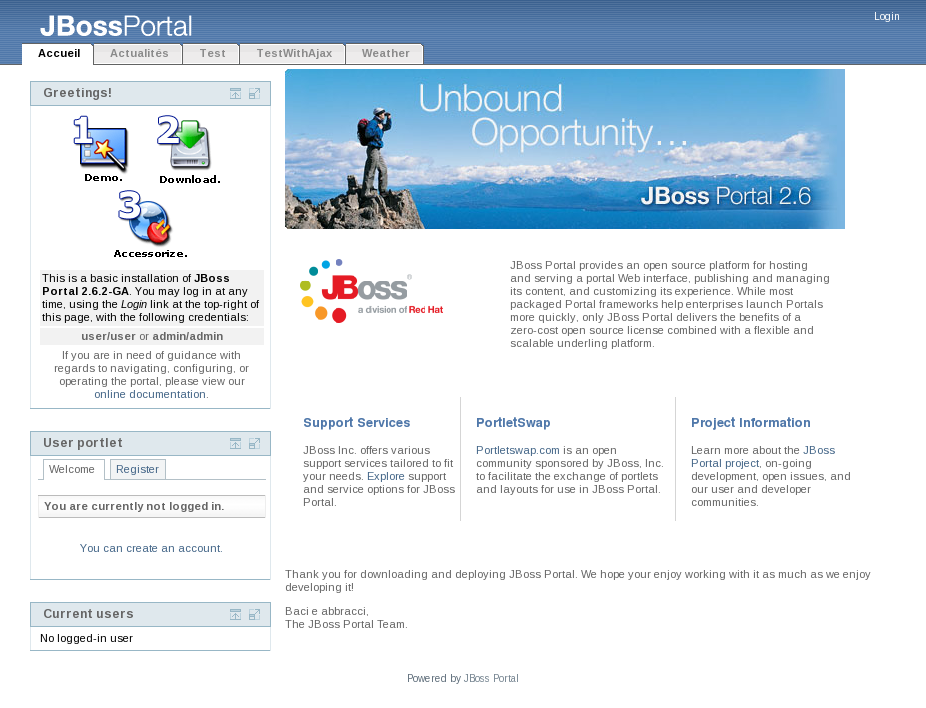
Point your browser to http://localhost:8080/portal , and you should see the Portal HomePage. You can now login using one of the two default accounts: user/user or admin/admin .
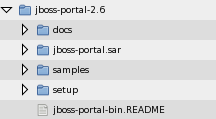
The binary download package typically consists of the jboss-portal.sar , documentation (which you are already reading), and a set of preconfigured datasource descriptors that allow JBoss Portal to communicate with a database.
This installation method is preferred by those who already have JBoss Application Server installed or those we need to install the version ready for clustering.
The binary download is available from our download page .
Once downloaded and extracted, the folder hierarchy should look like this:
 |
We will be using files contained in this download in the further sections, so please download and extract it first.
Of course you will need to install JBoss Application Server prior to installing JBoss portal, if you didn't do so yet, please install JBoss EAP 4.2 or JBoss AS 4.2.1. If you have a subscription contract with Red Hat, can have access to the EAP version from the support portal. For the other versions you can get them here .
Warning
Make sure to download the JBoss AS Zip version. DO NOT ATTEMPT to deploy JBoss Portal on the installer version of JBoss AS! We are currently working on aligning the Application installer with JBoss Portal.
You will need a database for JBoss Portal to run, you can use any database supported by Hibernate.
Create a new Database: For example purposes we call this new database jbossportal
Grant access rights for a user to your database: You must make sure the user has access to this new DB, as JBoss Portal will need to create the tables and modify data within them.
Deploy your JDBC connector: You must make available a JDBC connector for JBoss Portal to communicate with your database. The connector lib should be placed in JBOSS_INSTALL_DIRECTORY/server/default/lib/*
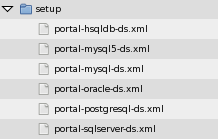
The JBoss Portal download you extracted in Section 2.2.1.1, “Getting the Binary” contains pre-configured datasource descriptors, you can use for most popular RDBMS under the setup directory. For more details about the datasource descriptor or if your database server is not part of the pre-built descriptors, please refer to: the dedicated wiki page.
 |
At this point, you should configure the one that suits you best with your Database and JDBC driver.
<?xml version="1.0" encoding="UTF-8"?>
<datasources>
  <local-tx-datasource>
    <jndi-name>PortalDS</jndi-name>
    <connection-url>jdbc:postgresql:jbossportal</connection-url>
    <driver-class>org.postgresql.Driver</driver-class>
    <user-name>portal</user-name>
    <password>portalpassword</password>
  </local-tx-datasource>
</datasources>
Please verify that the username, password, url, and driver-class are correct for your flavor of DB. You can deploy the datasource file by itself to test, in advance.
Deploy: Copy the datasource descriptor file (*-ds.xml) you modified above AND the jboss-portal.sar from the download folder to JBOSS_INSTALL_DIRECTORY/server/default/deploy/.
Start the Server: Go to JBOSS_INSTALL_DIRECTORY/bin and execute run.bat (run.sh, if Linux)
Note
During the first boot (ever), SQL errors in the log, like the one below, can be safely ignored. They are thrown when the portal checks for the existence of the initial tables, before it creates them for you.16:43:39,234 WARN [JDBCExceptionReporter] SQL Error: -22, SQLState: S0002 16:43:39,234 ERROR [JDBCExceptionReporter] Table not found in statement ...
Point your browser to http://localhost:8080/portal , and you should see the Portal HomePage. You can now login using one of the two default accounts: user/user or admin/admin .
There are two ways for you to obtain the JBoss Portal source files:
From our download page
From SVN, using the following URL:
- http://anonsvn.jboss.org/repos/portal/branches/JBoss_Portal_Branch_2_6 : For the latest sources of the 2.6 branch
- http://anonsvn.jboss.org/repos/portal/trunk/ : For the latest sources
Note
For more information on Portal SVN, and accessing different versions of the Portal codebase, please visit this wiki article.
After checking out of SVN or extracting the Source zip, your directory structure should look like this:
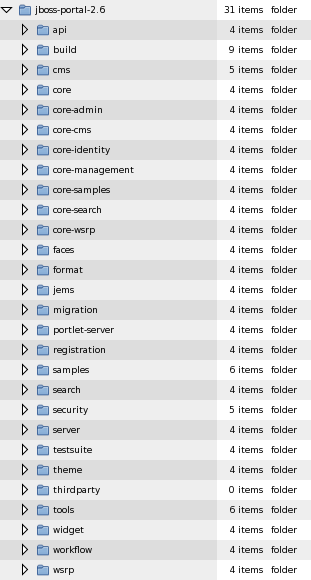 |
Note
The screenshot above, shows the downloaded source directory. Those of you checking out from SVN, will get an empty thirdparty directory. This directory will be filled when you first run the build in the following steps.
Of course you will need to install JBoss Application Server prior to installing JBoss portal, if you didn't do so yet, please install JBoss EAP 4.2 or JBoss AS 4.2.1. If you have a subscription contract with Red Hat, can have access to the EAP version from the support portal. For the other versions you can get them here .
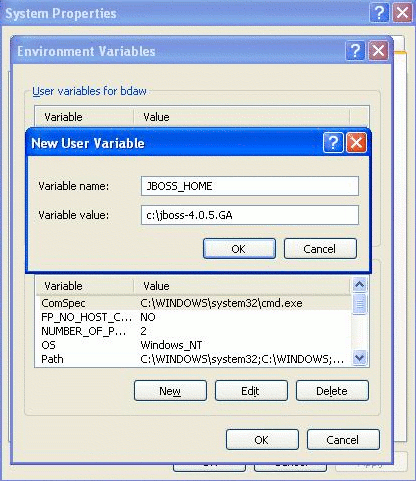
For the build targets to work, you must first set the JBOSS_HOME environment variable in your operating system, to the root directory of the JBoss Application Server installation.
In Windows, this is accomplished by going to Start > Settings > Control Panel > System > Advanced > Environment Variables . Now under the System Variables section, click New . You will be setting the JBOSS_HOME environment variable to the location of your JBoss Application Server installation:
 |
On a Unix-like Operating System, you would accomplish this by typing: export JBOSS_HOME=/path/to/your/jboss/directory
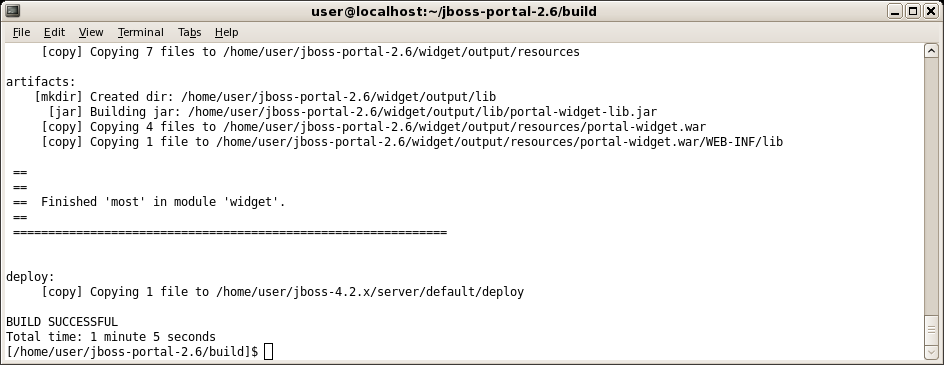
To build and deploy the JBoss Portal service, go to JBOSS_PORTAL_HOME_DIRECTORY/build and type:
build deploy
 |
Note
During the first compilation, third-party libraries will be obtained from an online repository, you need to be connected to Internet and if you are behind a proxy, you also need to define your proxy address and host by adding: JAVA_OPTS=-Dhttp.proxyHost=<Proxy Host> -Dhttp.proxyPort=<Proxy Port> in your environment.
Note
To build the clustered version, you will need to go to JBOSS_PORTAL_HOME_DIRECTORY/build and type: build main Then, go to JBOSS_PORTAL_HOME_DIRECTORY/core and type: build deploy-ha This will copy the jboss-portal-ha.sar to your all configuration for you.At the end of the build process, the jboss-portal.sar is copied to JBOSS_HOME/server/default/deploy.
You will need a database for JBoss Portal to function, you can use any database supported by Hibernate.
Create a new Database: For example purposes we call this new database jbossportal
Grant access rights for a user to your database: You must make sure the user has access to this new DB, as JBoss Portal will need to create the tables and modify data within them.
Deploy your JDBC connector: You must make available a JDBC connector for JBoss Portal to communicate with your database. The connector lib should be placed in JBOSS_HOME/server/default/lib/*
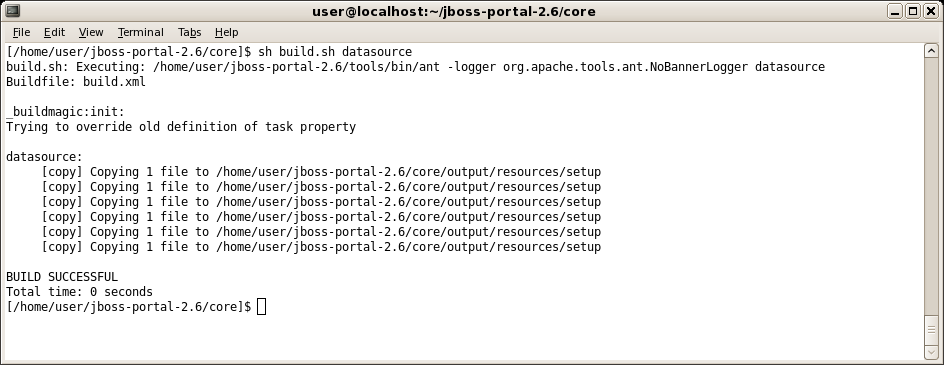
You will need a valid datasource descriptor, for JBoss Portal to communicate with your database. Having obtained the sources and having set your JBOSS_HOME environment variable ( Section 2.3.2.2, “Operating System Environment Setting” ), you can now have the JBoss Portal build system generate preconfigured datasources for you.
Navigate to JBOSS_PORTAL_HOME_DIRECTORY/core and type:
build datasource
 |
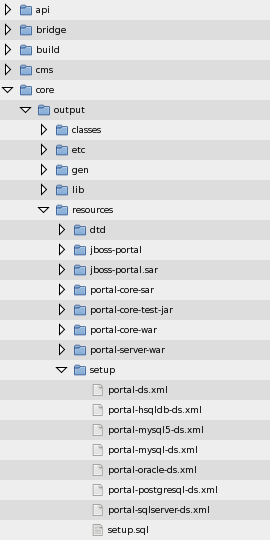
Once complete, the datasource build should produce the following directory and file structure:
 |
At this point, you should configure the one that suits you best with your Database and JDBC driver.
<?xml version="1.0" encoding="UTF-8"?>
<datasources>
  <local-tx-datasource>
    <jndi-name>PortalDS</jndi-name>
    <connection-url>jdbc:postgresql:jbossportal</connection-url>
    <driver-class>org.postgresql.Driver</driver-class>
    <user-name>portal</user-name>
    <password>portalpassword</password>
  </local-tx-datasource>
</datasources>
Please verify that the username, password, url, and driver-class are correct for your flavor of DB.
Now copy your datasource descriptor to JBOSS_HOME/server/default/deploy
Start the Server: Go to JBOSS_HOME/bin and execute run.bat (run.sh, if Linux)
Note
During the first boot (ever), SQL errors in the log, like the one below, can be safely ignored. They are thrown when the portal checks for the existence of the initial tables, before it creates them for you.16:43:39,234 WARN [JDBCExceptionReporter] SQL Error: -22, SQLState: S0002 16:43:39,234 ERROR [JDBCExceptionReporter] Table not found in statement ...
Point your browser to http://localhost:8080/portal , and you should see the Portal HomePage. You can now login using one of the two default accounts: user/user or admin/admin .
Note
This installs a bare version of Portal. In previous versions, several additional modules were deployed as well but this has since been modularized to provide greater flexibility. You might want to deploy additional modules to augment Portal (see Portal's module list for more information). You can also deploy all the modules all at once using build deploy-all in the build directory.
 |