This section describes the installation procedure for SAVARA tools and runtime modules.
The pre-requisites for the SAVARA Eclipse Tools are:
- Eclipse JEE (3.5 or higher) http://www.eclipse.org
- SAVARA (version 1.0.0 or higher), available from http://www.jboss.org/savara/downloads
- JBoss Tools (3.1 or higher) http://www.jboss.org/tools available from an update site
The pre-requisites for the SAVARA Service Validator (for JBossESB) are:
- JBossAS (5.1.0.GA or higher) http://www.jboss.org/jbossas
- JBossAS (4.8 or higher) http://www.jboss.org/jbossesb
- SAVARA (version 1.0 or higher), available from http://www.jboss.org/savara/downloads
The installation instructions for the SAVARA Eclipse tools are:
-
Eclipse
Download the latest version of Eclipse JEE, and install in your environment.
-
BPMN Modeller
When Eclipse has been lauched, go to the Help->Install New Software.. menu item. Select the Eclipse update site for the version of Eclipse (e.g. Galileo or Helios). Within the SOA Development category, select the BPMN Project Feature. Follow the instructions to accept the license and then restart Eclipse after the plugins have been installed.
-
JBoss Tools
Start up your Eclipse environment, and go to the Help->Install New Software.. menu item. Select the appropriate update site URL from the JBoss Tools download page, and enter it into the top text field in the dialog window, and press the Add button. Once the contents of the update site is available, then select the appropriate components and follow the instructions to install them within your Eclipse environment.
The pi4soa core feature should be selected from the All JBoss Tools category.
If you wish to view the generated BPEL using a BPEL editor, rather than XML, then you should also select the JBoss BPEL Editor from the All JBoss Tools category.
NOTE: If you don't install the BPEL Editor, then you will have to install GMF. This can be found on the Galileo/Helios update site, under the Modeling category. Select the Graphical Modeling Framework entry, and following the instructions to install.
-
Install SAVARA Eclipse plugins
The Eclipse plugins for SAVARA are installed via an update site referenced on the SAVARA download page.
The installation instructions for the SAVARA Service Validator (for JBossESB) are:
-
JBossAS
Download the latest version and follow its installation instructions.
-
JBossESB
Download the latest version and follow the instructions for installing it into the JBossAS environment.
-
SAVARA
Unpack the SAVARA distribution and edit the
deployment.propertiesfile in this${SAVARA}/installfolder. Set the org.jboss.as.home property to the root directory where the JBossAS environment is located, and change the org.jboss.as.config property from default if you wish to start your JBossAS using a different configuration. Set the org.jboss.esb.home property to the root directory where the JBossESB environment is located.Start a command window and execute the command ant deploy.
Once the SAVARA Eclipse Tool distribution has been correctly installed, if you wish to try out any of the examples then the following steps should be followed to import the relevant projects into the previously configured Eclipse environment.
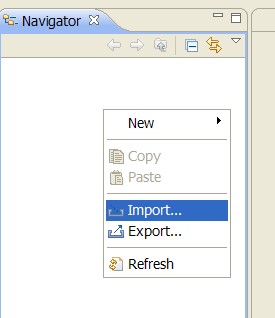
Select the 'Import...' menu item, associated with the popup menu on the background of the left panal (Navigator or Package depending on perspective being viewed).
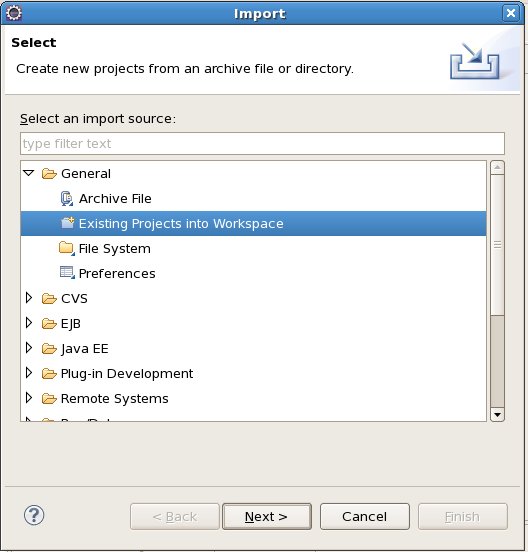
When the import dialog appears, select the General->ExistingProject from Workspace option and press the 'Next' button.
Ensuring that the 'Select root directory' radio button is selected, press the 'Browse' button and navigate to the
${SAVARA-Tools}/samplesfolder, then press 'Ok'.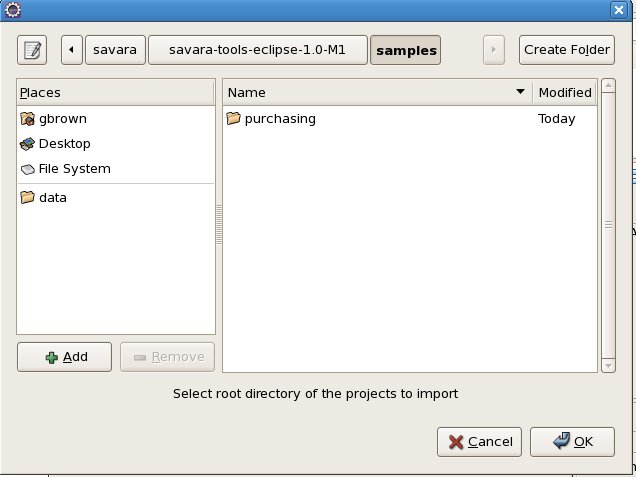
All of the Eclipse projects contained within the
${SAVARA-Tools}/samplesdirectory structure will be listed. Press the 'Finish' button to import them all.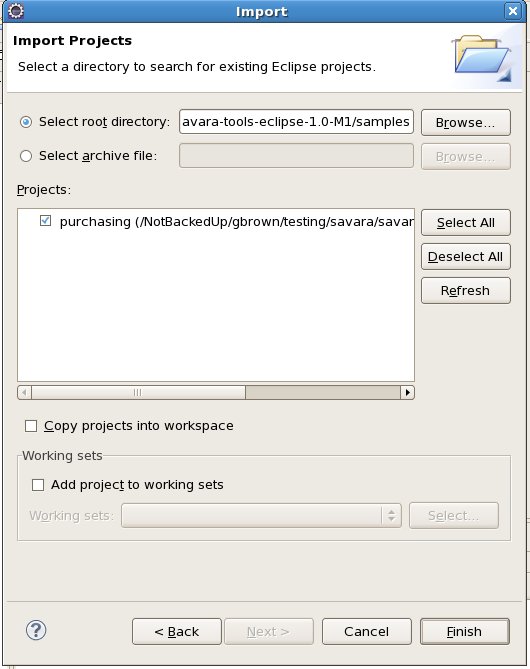
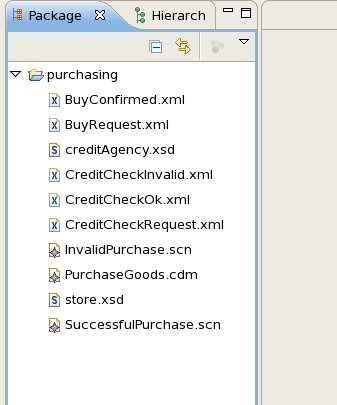
Once imported, the Eclipse navigator will list the sample projects:
