This section describes the installation procedure for the SAVARA tools.
The installation instructions for the SAVARA Eclipse tools are:
Eclipse
Download the latest version of Eclipse JEE, from http://www.eclipse.org , and install in your environment.
Savara Eclipse Tools
Start up your Eclipse environment, and go to the Help->Install New Software.. menu item. Select the appropriate update site URL from the SAVARA Downloads page. Once the contents of the update site is available, then select the Savara and Savara Dependencies categories and follow the instructions to install them within your Eclipse environment.
For the purpose of the Getting Started Guide, we will be using the Purchasing example located here: http://downloads.jboss.org/savara/examples/savara2-example-purchasing.zip
Once the SAVARA Eclipse Tool distribution has been correctly installed, and the example zip downloaded, then use the following steps to import the project:
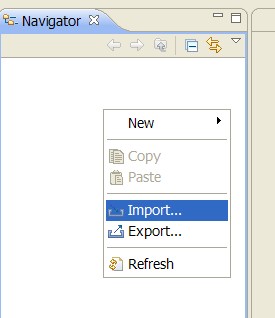
Select the 'Import...' menu item, associated with the popup menu on the background of the left panel (Navigator or Package depending on perspective being viewed).
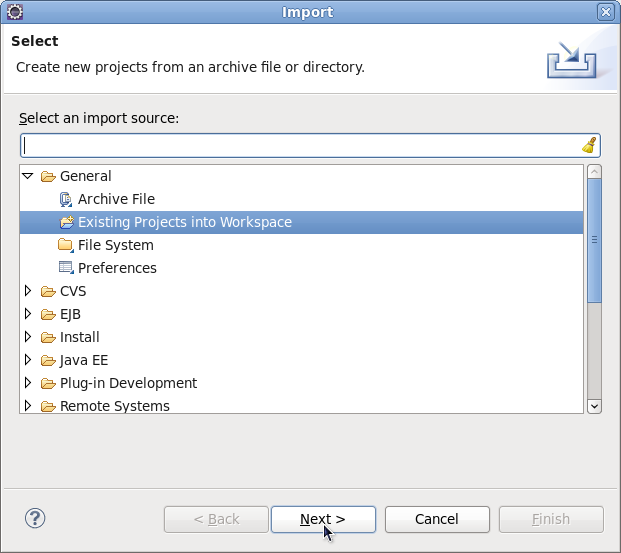
When the import dialog appears, select the "General->Existing Projects from Workspace " option and press the 'Next' button.
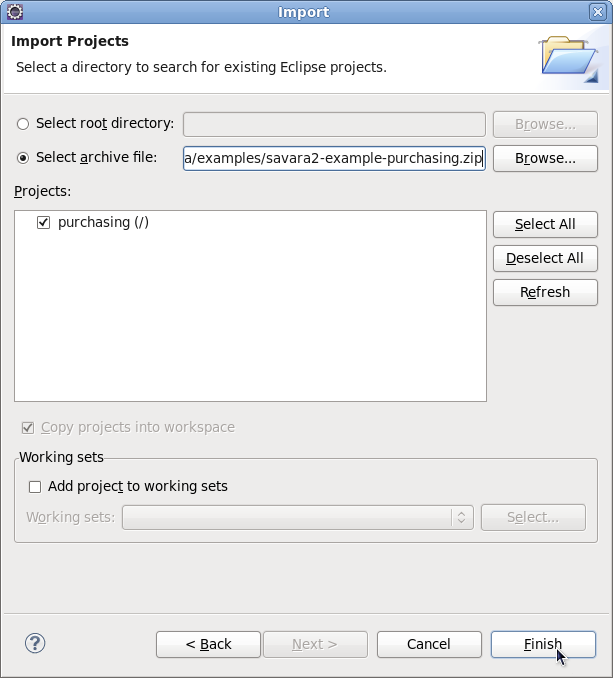
Ensuring that the 'Select archive file' radio button is selected, press the 'Browse' button and locate the downloaded example zip, and then press 'Ok'. Press the 'Finish' button to import the project.
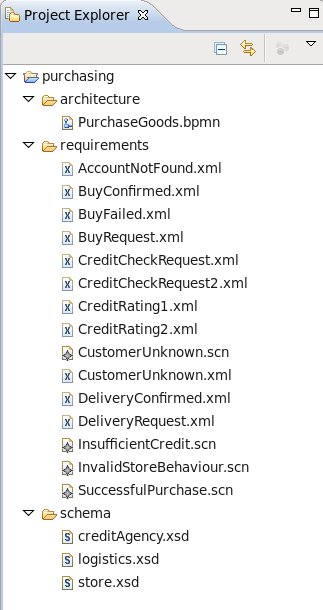
Once imported, the Eclipse navigator will list the sample project:


