Teiid Designer offers three basic model edit actions: Rename, Move and Save As... and one project-related action, Clone Project. These actions are described below.
To rename a model in your workspace:
Step 1 - Select a model in the Section D.2.1, “Model Explorer View”.
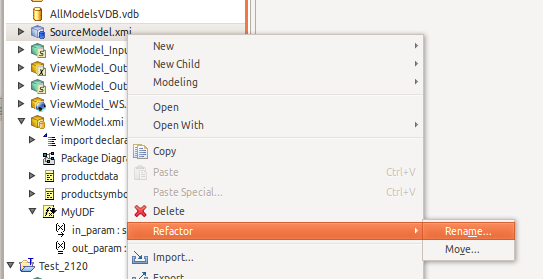
Step 2 - Right-click select the Refactor > Rename action.
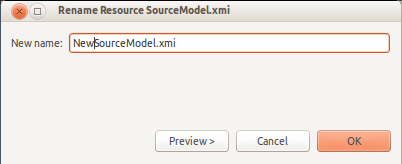
Step 3 - Specify unique model name in the Rename Model File dialog. Click OK.
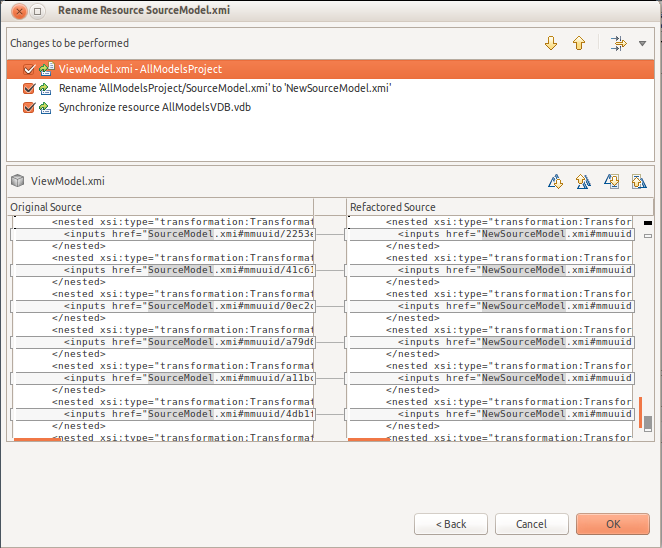
Step 4 (Optional) - The next Rename Resource File dialog will preview the changes that will be applied as part of renaming your model. Click OK to execute the changes or Cancel.
Note
Renaming a model that is a dependency to another model will automatically change the model imports for those models. If source model CustomerSource is renamed to OldCustomerSource, for instance, the import statement for the view model CustomerAccounts which imports CustomerSource will be changed to reflect the new name.
To move a model in your workspace:
Step 1 - Select a model in the Section D.2.1, “Model Explorer View”.
Step 2 - Right-click select the Refactor > Move action.
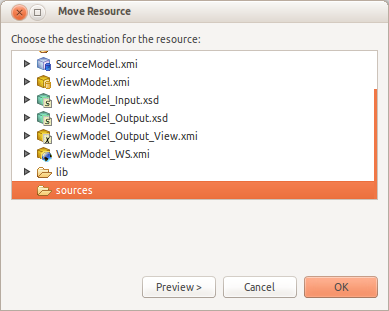
Step 3 - Select a new location (i.e. Project or Folder) and click OK.
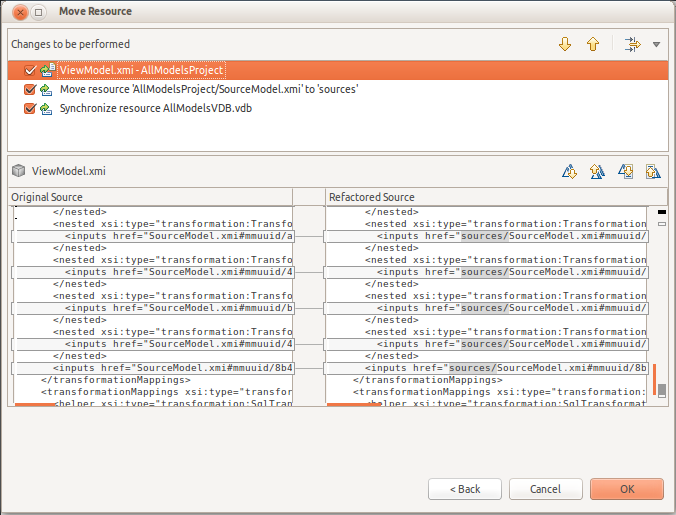
Step 4 (Optional) - The next Move Resource File dialog will preview the changes that will be applied as part of mvving your model. Click OK to execute the changes or Cancel.
The Save As... action performs a similar function as the Refactor > Rename action except the renamed model is a structural copy of the original model.
Note
Each model object maintains it's own unique ID, so copying a model will result in a exact structural copy of your original model but with re-generated unique object IDs. Be aware that locating and copying your models via your local file system may result in runtime errors within Designer. Each model is expected to be unique and duplicate models are not permitted.
To create a duplicate model using Save As...:
Step 1 - Open the model you wish to copy in a Model Editor by double-clicking the model in Section D.2.1, “Model Explorer View” or right-click select Open action.
Step 2 - Select the editor tab for the model you opened.
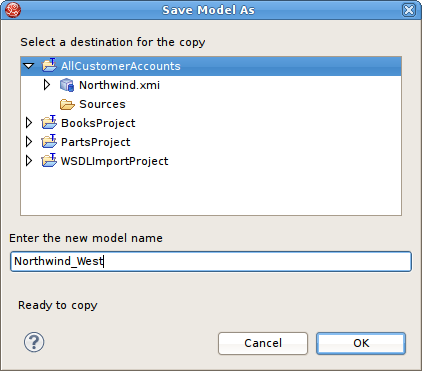
Step 3 - Select File > Save As... action to open the Save Model As dialog.
Step 4 - Enter a unique model name in the new model name text field and click OK.
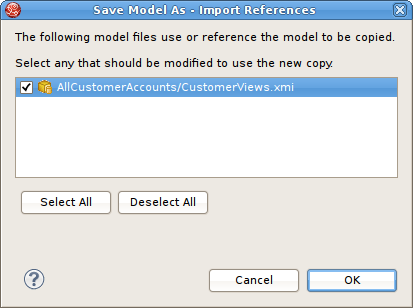
Step 5 - If dependent models are detected, the Save Model As - Import References dialog is presented to give you the opportunity to change any of the dependent models imports to reference the new model or not.
Because each instance of of a model contains a unique ID and each object in each model contains a unique ID, copying a project is a delicate task. For this reason, the Clone Project action was created to manage the creation of exact structural copies of all models in the source project.
The following lists specific rules and limitations for this action.
This action clones a complete model project containing any number of model (XMI or XSD) files organized in a user-defined directory structure.
All object references (UUIDs) within the original project will be replaced with new unique references.
Any model dependencies or internal object references are refactored to reflect the dependencies within the cloned project.
Any model references to models in projects external to the original project will NOT be replaced.
Only XMI and XSD files are cloned. All other file types in your project will NOT be processed nor copied into your newly cloned project including VDBs
If one or more editors that require "save" are open, the user will be asked to save them before continuing with the cloning process.
To clone a model project::
Step 1 - Select an existing model project in the Section D.2.1, “Model Explorer View”.
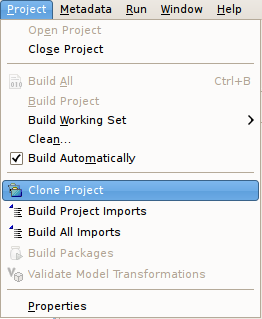
Step 2 - Right-click, then select Model Project > Clone in the context menu. Otherwise you can select the Project > Clone Project action, located in Teiid Designer’s main menu bar.
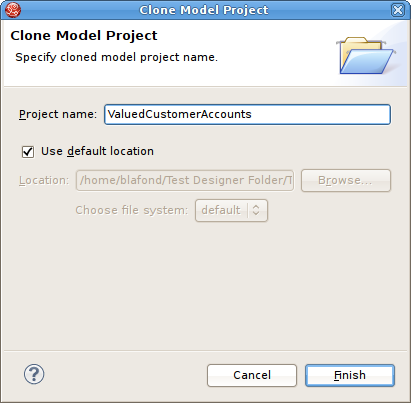
Step 3 - On the Clone Project wizard page, provide a name for your new project.
Step 4 - (Optional) If you wish to create your cloned project in a location other than your default workspace location, uncheck the Use default location check-box and specify (type in or browse to) a new directory location on your local file system.
Step 5 - Click Finish to generate your new project.
