This chapter discusses the interface to the JBoss Developer Studio IDE.
Providing a container for all development work performed with JBoss Developer Studio allows for control over the application server, the applications on it and the interface through which you can develop your own applications.
Start JBoss Developer Studio by double-clicking on the jbdevstudio executable in your installation directory.
Following this you will be asked to specify a workspace. A workspace is the location on your computer where your project files will be stored. If you wish to change your workspace location after this step you can do so by selecting → → .
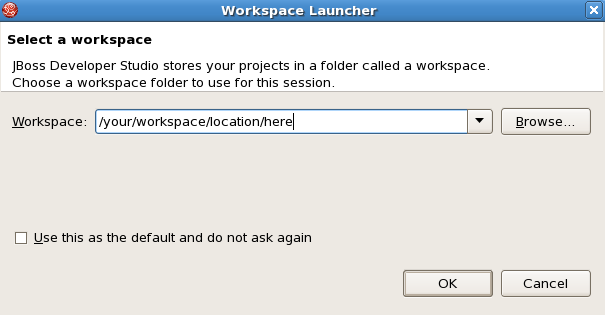
After selecting the location of the workspace, you will be greeted with the Welcome screen and a button that will take you to JBoss Central and your workbench.

When starting JBoss Developer Studio you will see JBoss Central in the workspace. From JBoss Central you can quickly Create Projects, run Project Examples, view Documentation, read the latest News and Blogs, and change JBoss Central Settings.
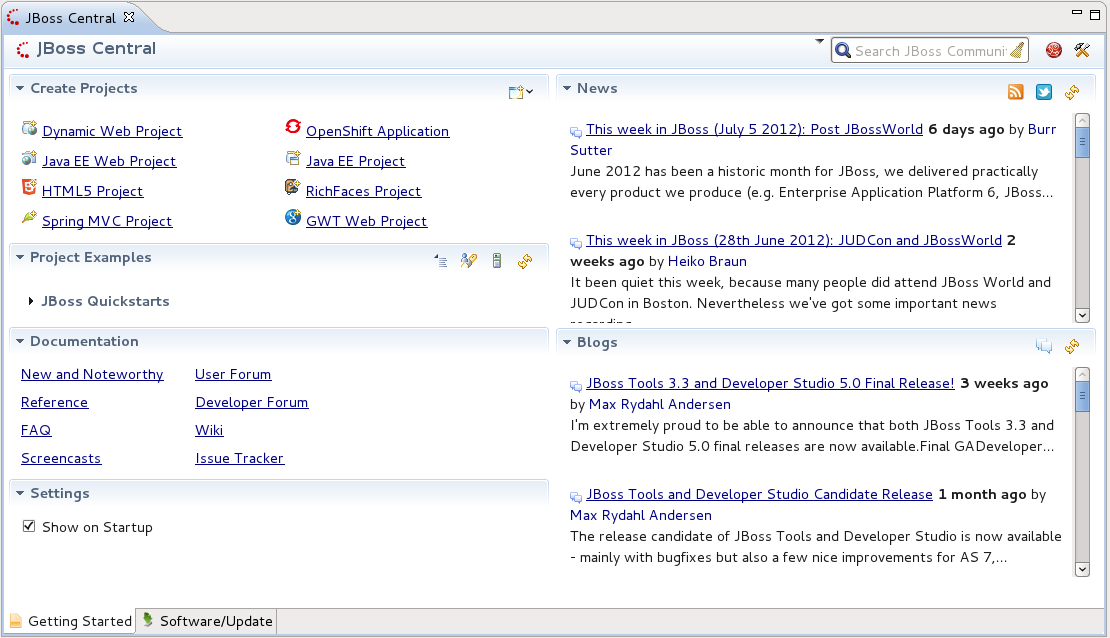
For further information on JBoss Central see the Getting Started Guide for this realease.
The JBoss Enterprise Application Server provides the full range of Java EE 5 features as well as extended enterprise services including clustering, caching, and persistence.
To add a new server runtime follow these steps:
From your workbench, click on → → → .
Click on the button.
Select the runtime environment type of your application server from the list provided.
Tick the box for the Create a new local server option.
Click on the button.
Provide a name for your server runtime and then click on the button, next to the Home Directory location space.
Navigate to the directory where the server you wish to add is installed and click on the button.
Select the Java Runtime Environment (JRE) you wish to use for this server from the drop-down menu. If the required JRE is not listed, click on the button beside the list, click the button in the Preferences dialog box, and follow the prompts to install the correct JRE.
The Configuration section should automatically list the profiles available for your server. Select the server configuration you wish to use by clicking on its name in the list.
If the profile you wish to use is not listed click on the button, navigate to the profile location and click the button.
If all the information is correct click the button.
If you need to change any information click the button until you reach the screen with the information that needs to be altered and then navigate back to the JBoss RunTime screen and click the button.
Once the new sever has been added, you can select it for use by clicking on its name in the Server Runtime Environment list and then clicking the button, which will then take you back to the main interface.
To start your new server, select it from those available in the view and click the button displaying a white arrow in a green circle.
Note
If the view is not displayed at the bottom of your Workbench, you can activate it through → → → → and then click the button.
The JBoss Application Server can be started by selecting it in the Servers view, which can be found in the lower part of the window, and then clicking the green arrow to the right.

After the server has been successfully started the status field next to the server name will change from Stopped to Started, Synchronized.

Once the server has started, double click on the server name to see an Overview screen.
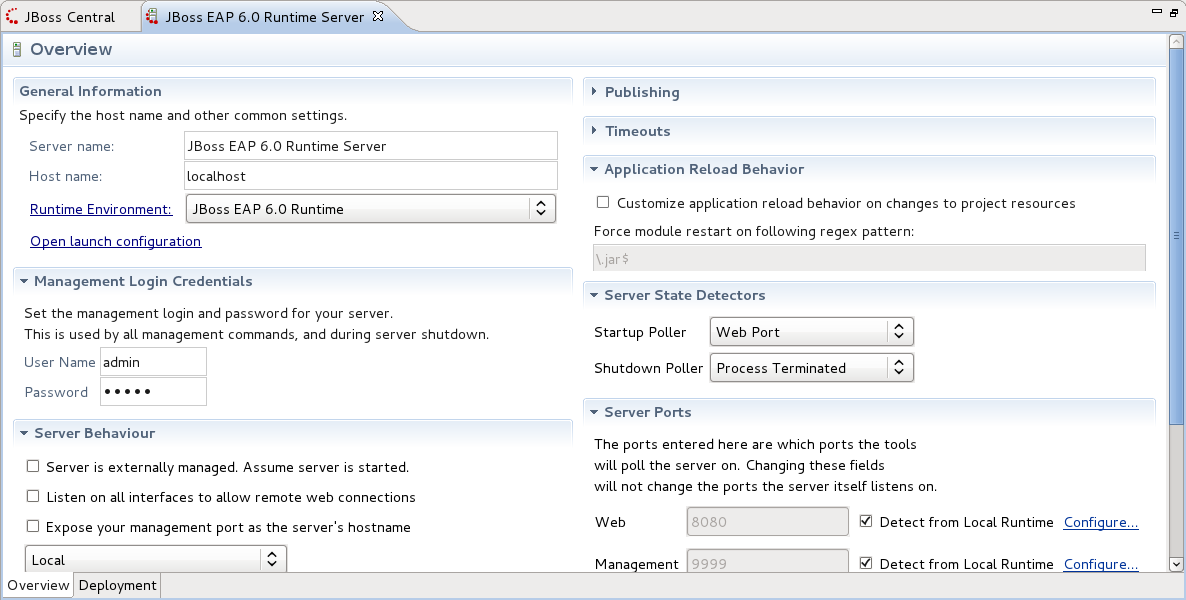
The Overview section contains the subsections: General Information, Management Login Credentials, Server Behaviour, Publishing, Timeouts, Application Reload Behavior, Server State Detectors and Server Ports.
The General Information subsection allows you to change the value for the Server name and Host name. By clicking on the Runtime Environment label a dialog box will be shown with options to change the name of the server runtime, the home directory, the Java Runtime and the server configuration that will be used when running the application server. The button displays a dialog box that allows you to configure the technical details of the application server instance.
Below the General Information subsection is the Management Login Credentials subsection. Here you can set the User Name and Password that will be used to provide secure access to your server.
The last subsection on the left is dedicated to Server Behaviour. This section allows you to specify how JBoss Developer Studio should interact with the server and whether it is local or remote.
The Publishing subsection at the top right of the Overview section allows you to specify when applications will be published to the location specified (whether the applications will be made available through the application server depends on the server running and if it is configured to recognize dynamic changes). You can select to either never have an application be published automatically or for a check of new applications yet to be published to occur at a certain timed interval.
The Timeouts subsection below the Publishing subsections allows you to set the start and stop times (in seconds) in which the server should complete all of its operations. This setting is made available in order to decrease the chance of the server freezing or hanging.
The Application Reload Behavior subsection allows you to specify how and when applications associated with the server, are reloaded.
Below the Application Reload Behavior subsection is the Server State Detectors subsection. A server poller gathers information about the server at certain points in time, capturing information about processes and applications. This section allows you to select the pollers to be used during server startup and shutdown.
The final subsection is called Server Ports, below the Server Polling subsection. This section allows you to alter the port numbers that the server pollers gather their information from. The two settings JNDI Port and Web Port are set to be automatically detected by default; normally there should be no reason to manually select the port numbers.
Note
Changing the Server Ports subsection configuration will not alter which ports the server itself listens on.
The default address of the server is http://localhost:8080, which you can type into your Internet browsers address bar.
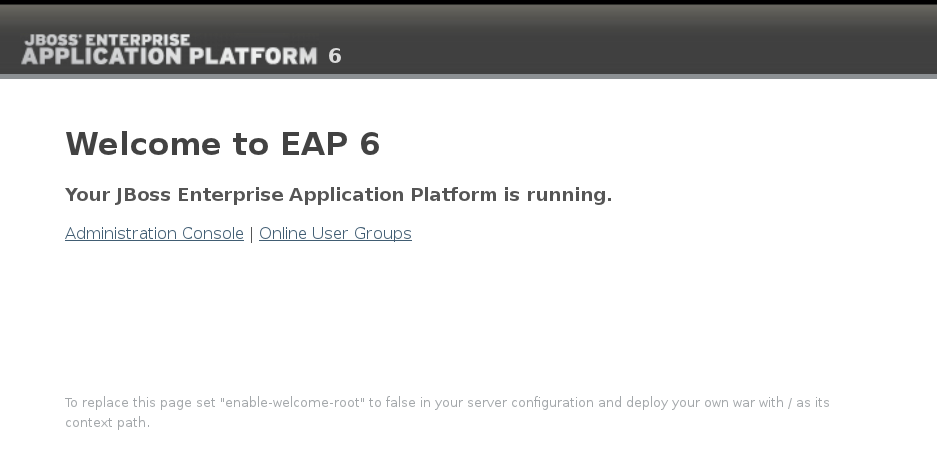
Refer to the JBoss Server Manager guide for further details.