Configuring the various JBoss Developer Studio features is done via the Preferences screen by selecting → → from the menu bar.

From this screen, you can select these more specific sets of JBoss Tools preferences:
The Preferences dialog ( → ) also allows to adjust settings for Section 9.14, “Server Preferences” and Section 9.15, “XDoclet” module.
Click on the Project Archives to open the page for changing Project Archives preferences.
Here you can determine settings for Core Preferences, Project Archives View, Project Explorer Preferences and Fileset Preferences.
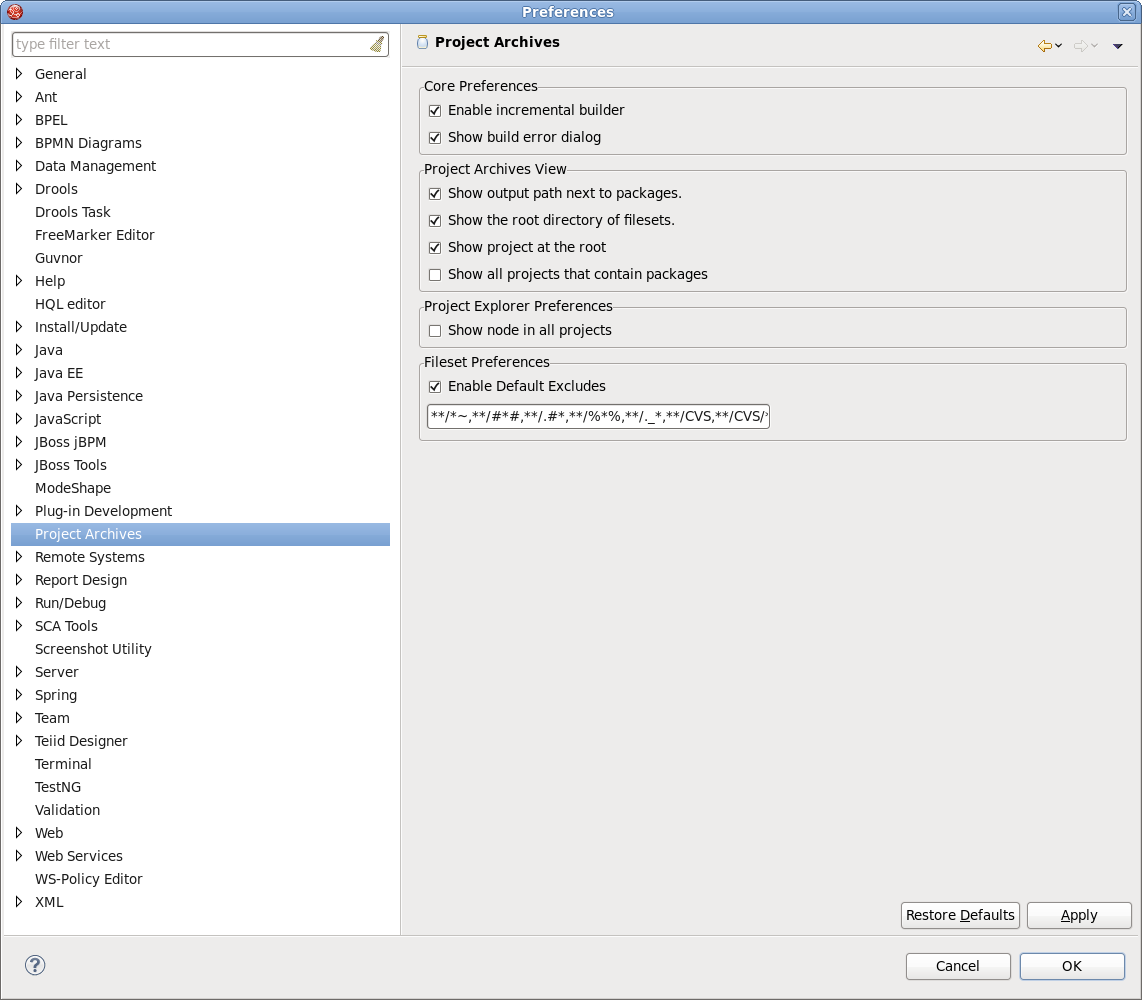
The next table lists all available preferences for Project Archives and their description.
Table 9.1. Project Archives Preferences
| Option | Description | Default |
|---|---|---|
| Enable incremental builder | Uncheck this option if you don't want to enable incremental builder for your resources | On |
| Show build error dialog | If on, the Project Archives will show an error dialog in case of a build or incremental update fails. | On |
| Show output path next to packages | This option allows you to show or hide an output path next to packages . | On |
| Show the root directory of filesets | If on, the root directory is displayed next to filesets. Otherwise, it's hidden . | On |
| Show project at the root | This option allows you to choose whether to display a project name at the root of the packages or not. When checked, 'Show all projects that contain packages' is enabled . | On |
| Show all projects that contain packages | Selecting this setting enables the Projects Archiving view to show or hide all projects that contain packages. The option is available when the previous one is checked. | Off |
| Show node in all projects | Selecting this setting enables the Projects Archiving view to show node in all projects. | Off |
| Enable Default Excludes | You can set the list of files which will be excluded by default. Other files will be omitted. | On |
To adjust settings common for all editors supplied with JBoss Developer Studio you should select → → .
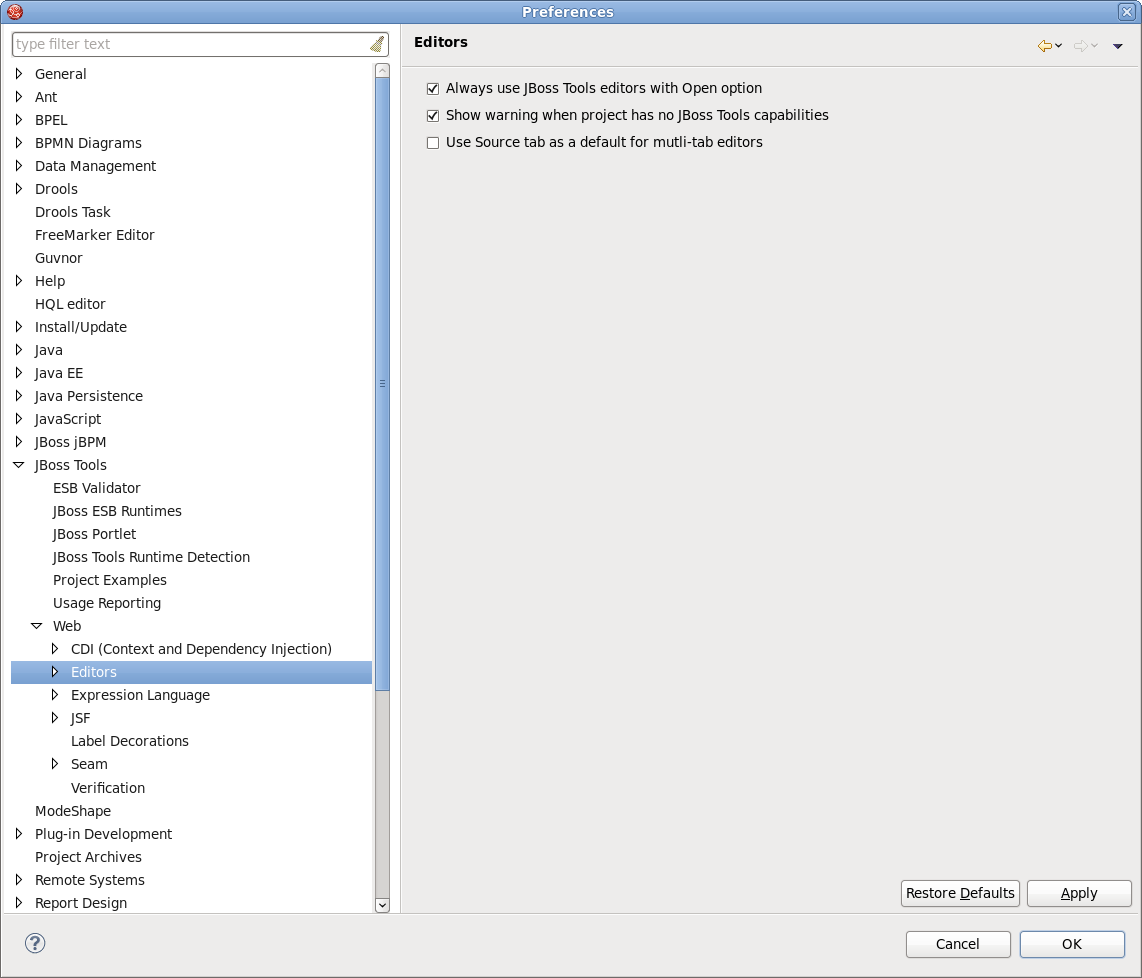
On the Editors page the following preferences are available:
Table 9.2. Editors Preferences
| Option | Description | Default |
|---|---|---|
| Always use JBoss Tools editors with Open option | On | |
| Show warning when project has no JBoss Tools capabilities | Check this option to be sure that any JBoss Tools editor is fully available for a particular type of file. If no, you'll be warned about this. | On |
| Use Source tab as a default for multi-tab editors | If on, an editor will open the files in the Source view by default | Off |
→ → → screen allows you to control some aspects of the behavior of the Visual Page Editor (VPE) for JSF/HTML files.
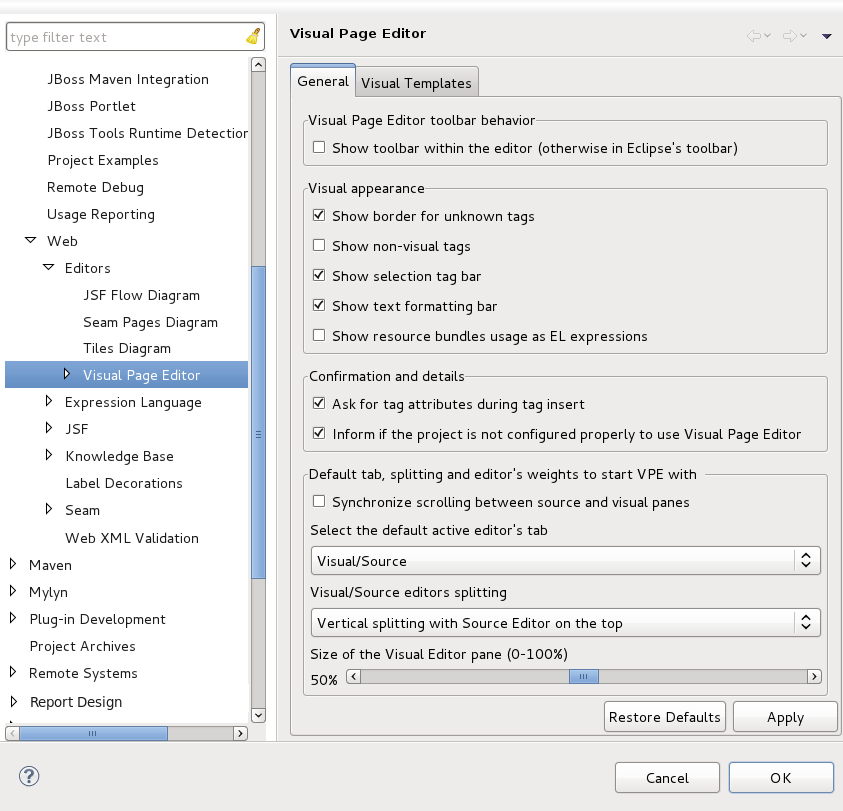
The next table lists the possible settings that you can adjust on the General tab of the VPE Preferences page.
Table 9.3. VPE General Preferences
| Option | Description | Default |
|---|---|---|
| Show toolbar within the editor (otherwise in Eclipse's toolbar) | The option allows to select where the Visual Page Editor toolbar appears. By default it appears as part of the Eclipse toolbar. | Off |
| Show border for unknown tags | The option allows to place the border around unknown tags or undo this | On |
| Show non-visual tags | Check this box, if you want the editor shows non-visual elements on the page you're editing | Off |
| Show selection tag bar | The option allows to show/hide the Selection Bar | On |
| Show text formatting bar | Check this box in order to show/hide the Text Formatting bar | On |
| Show resource bundles usage as EL expressions | If the option is checked, the editor will show EL expressions instead of the resource values | Off |
| Ask for tag attributes during tag insert | Having this option off, the dialog with possible attributes for inserting tag won't appear if all its attributes are optional | On |
| Inform if the project is not configured properly to use Visual Page Editor | If this option is deselected you will not be notified that a project is not configured for use with the Visual Page Editor. This may cause unexpected results. | On |
| Synchronize scrolling between source and visual panes | This option allows you to set the scrollbars of the source and visual panes of the editor to be synchronized by default. An option to activate and deactivate this option exists as part of the toolbar. | Off |
| Select the default active editor's tab | The option provides possibility to choose one of the following views - Visual/Source, Source or Preview, as default when opening the editor | Visual/Source |
| Visual/Source editors splitting | The option allows to choose one of the following Visual,Source layouts - Vertical Source on top, Vertical Visual on top,Horizontal Source to the left or Horizontal Visual to the left, as a default one when opening the Visual/Source view | Vertical splitting with Source Editor on the top |
| Size of the Visual Editor pane (0 – 100%) | With the help of this scroll bar you can adjust the percentage rating between the Source and Visual modes of the Visual/Source view | 50% |
On the Visual Templates tab you can add, edit or remove Section 3.2.3, “Visual Templates for Unknown Tags”.
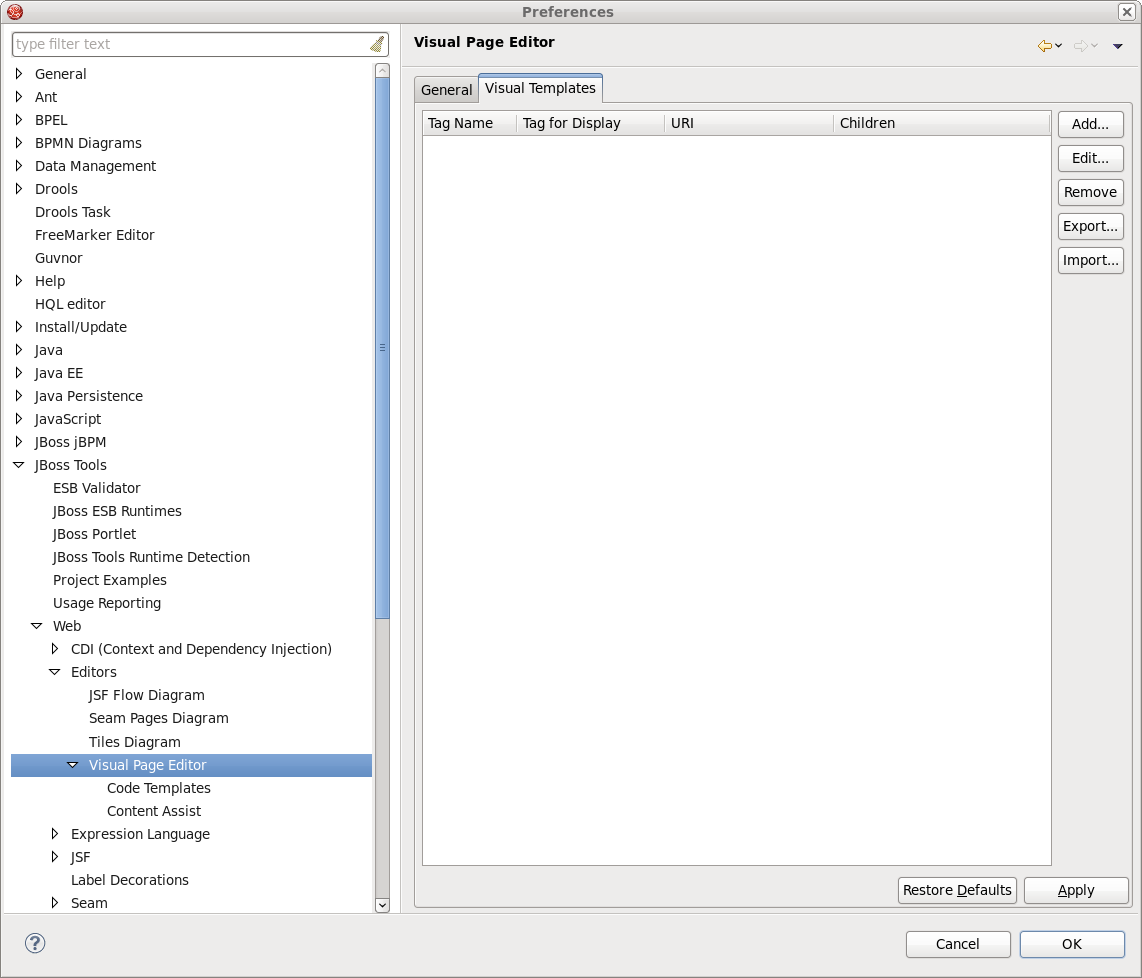
Select a template for editing from the available list and press Edit button. It will pick up the Section 3.2.3, “Visual Templates for Unknown Tags” where you can adjust new settings.
On the → → → → preferences page you can create new and edit existing XHTML templates. Such a template allows you to quickly insert an often used snippet of XHTML code.
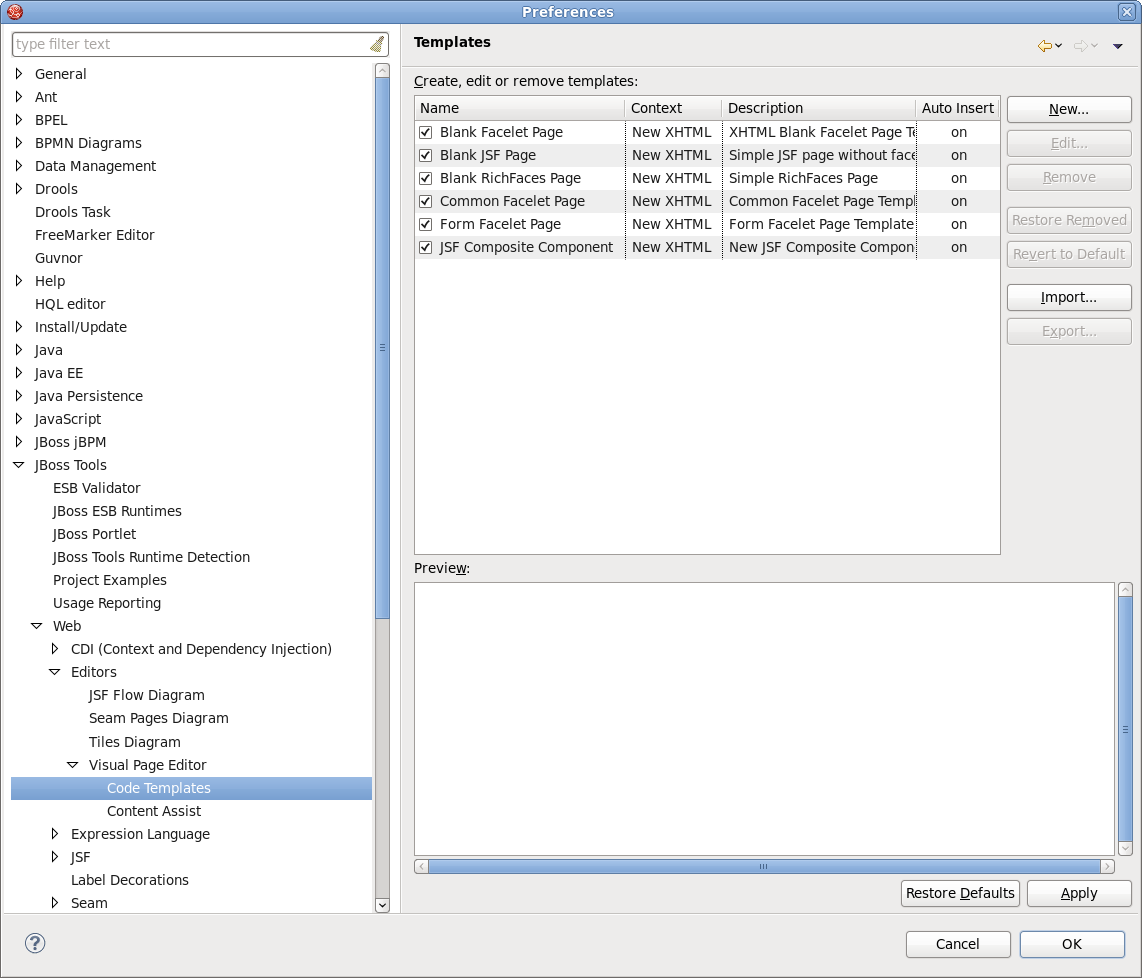
VPE provides four predefined templates:
XHTML blank facelet page template
Common facelet page template
Form facelet page template
New JSF composite component template
The following table lists the configuration options for the code templates.
Table 9.4. VPE Code Templates Options
| Option | Description |
|---|---|
| New | Opens the dialog to create a new template. |
| Edit | Opens the dialog to edit the currently selected template. |
| Remove | Removes all selected templates. |
| Restore Removed | Restores the removed templates. |
| Revert to Default | Reverts the code templates list to default. |
| Import | Allows you to import templates from the file system. |
| Export | Allows you to export all selected templates to the file system. |
To specify necessary EL variables globally, i. e. for all projects and resources in your workspace, you should go to → → → .
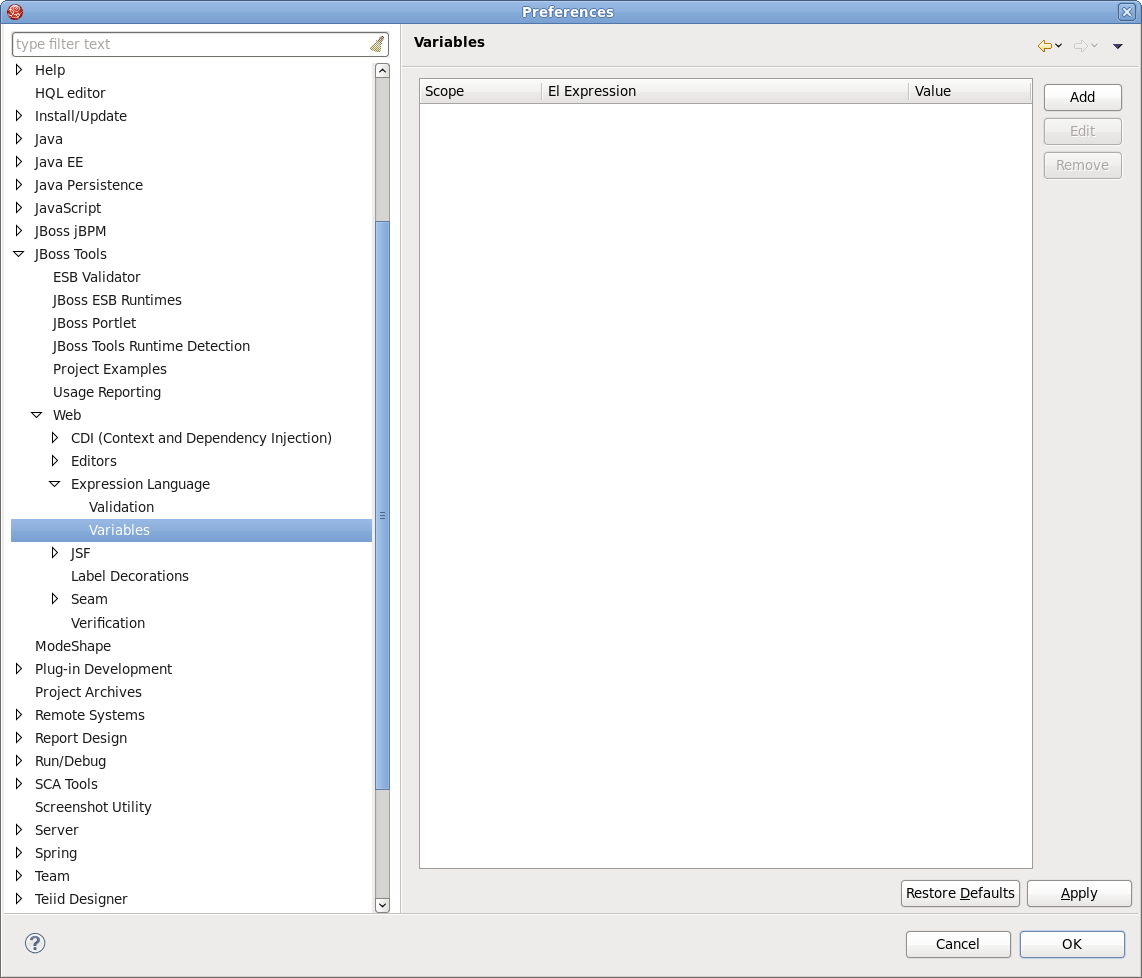
Click to set value for a new EL variable. In the appeared wizard you should specify the global values and press .
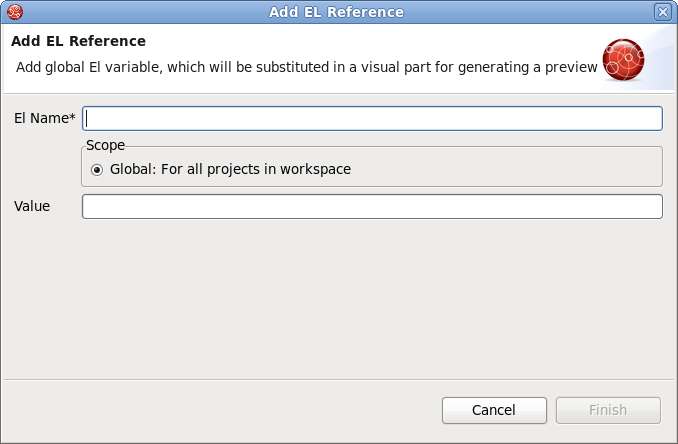
Tip:
If you specify an equal variable in Section 3.2.5.4, “Page Design Options” and in Preference EL dialog, variable from preference dialog will have priority.

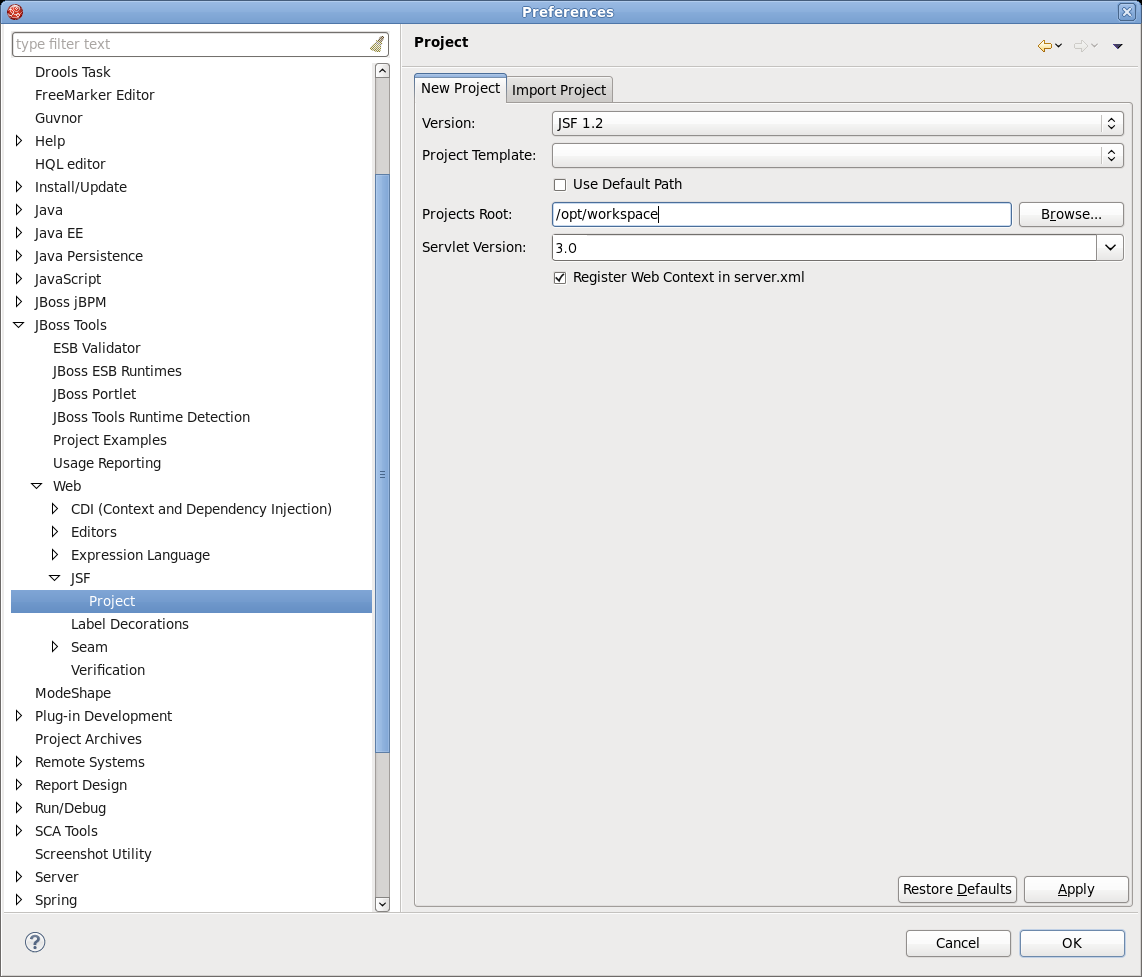
Select → → → to see JSF Project preferences page.
On the New Project tab you can set default values for New JSF Project wizard:
Version for setting the default JSF Environment
Project Template so as New JSF Project wizard shows this template as default for the chosen JSF Environment
Project Root for specifying default location for a new JSF project
If you check Use Default Path here, this box will be also checked in the New JSF Project wizard.
Servlet Version for setting the default Servlet version of a new JSF project
Here it's also possible to define whether to register Web Context in
server.xmlwhile organizing a new project or not. Check the proper box in order to do that.
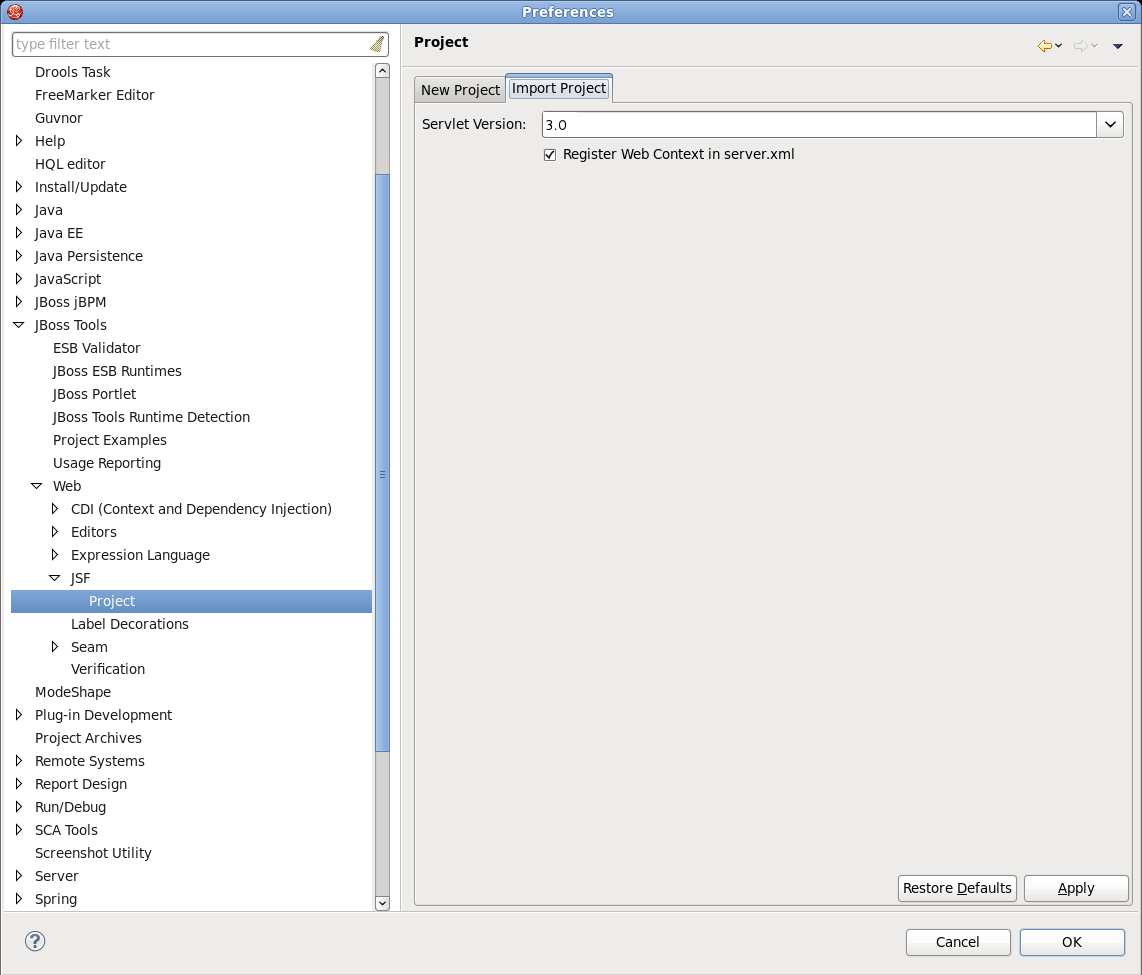
On the Import Project tab in the JSF Project screen you can determine the default Servlet version for the Import JSF Project wizard and also whether to register Web Context in server.xml or not.
Selecting → → → → allows you to specify some aspects of the Diagram mode of the JSF configuration file editor.
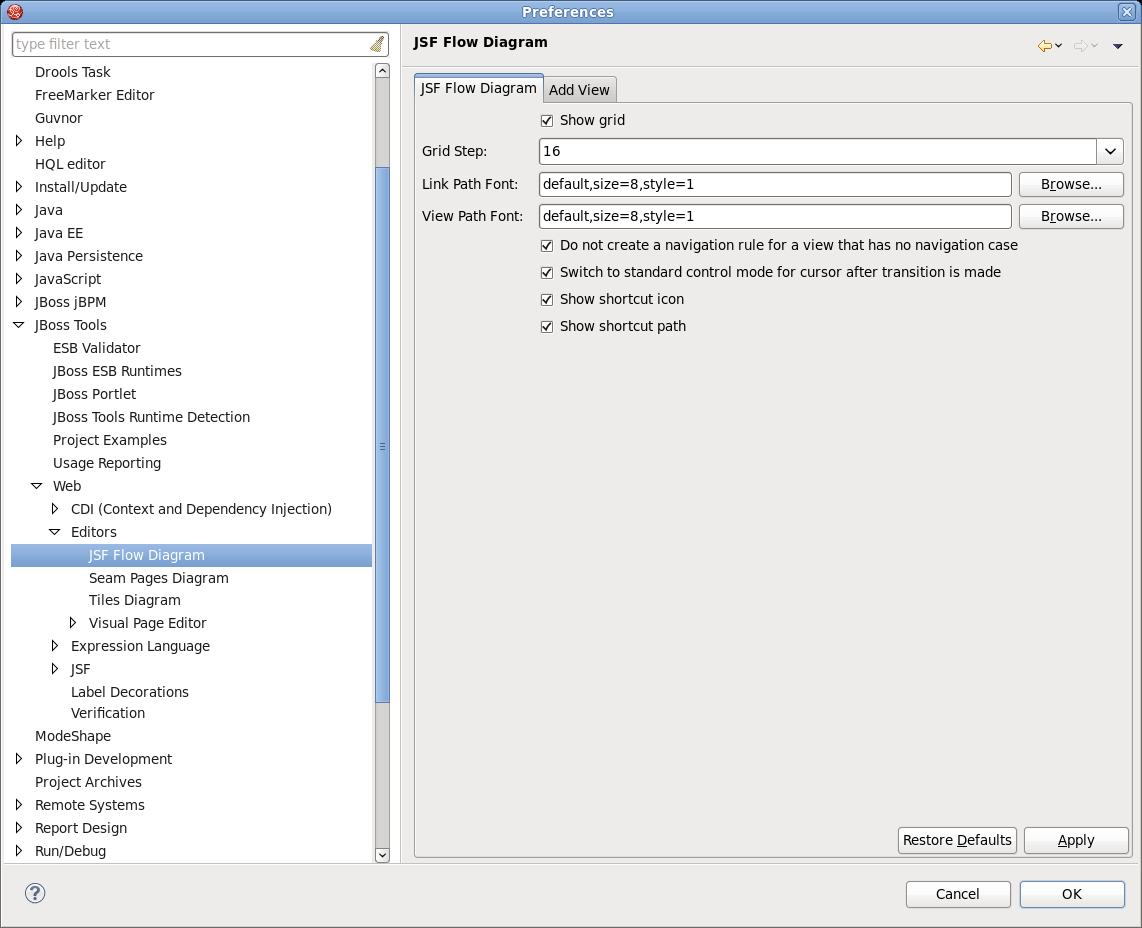
The first two items control the background grid for the diagram. The next two items allow you to control the appearance of the labels for views (pages) and the transitions between views. For these two items clicking the button allows you to assign a font with a dialog box.
The first check box determines whether a view in the diagram that doesn't have a transition connecting it to another view yet should be written to the source code as a partial navigation rule. The next check box determines whether the diagram cursor reverts immediately to the standard selection mode after it's used in the transition-drawing mode to draw a transition. Finally the last two check boxes concern shortcuts. A shortcut is a transition that is there but isn't actually displayed in the diagram as going all the way to the target view it's connected to, in order to make the diagram clearer. With the check boxes you can decide whether to display a small shortcut icon as part of the shortcut and also whether to display the target view as a label or not.

Selecting the Add View tab in the JSF Flow Diagram screen allows you to determine the default template and file extension for views (pages) you add directly into the diagram using a context menu or the view-adding mode of the diagram cursor.
The Label Decorations page is opened from → → .
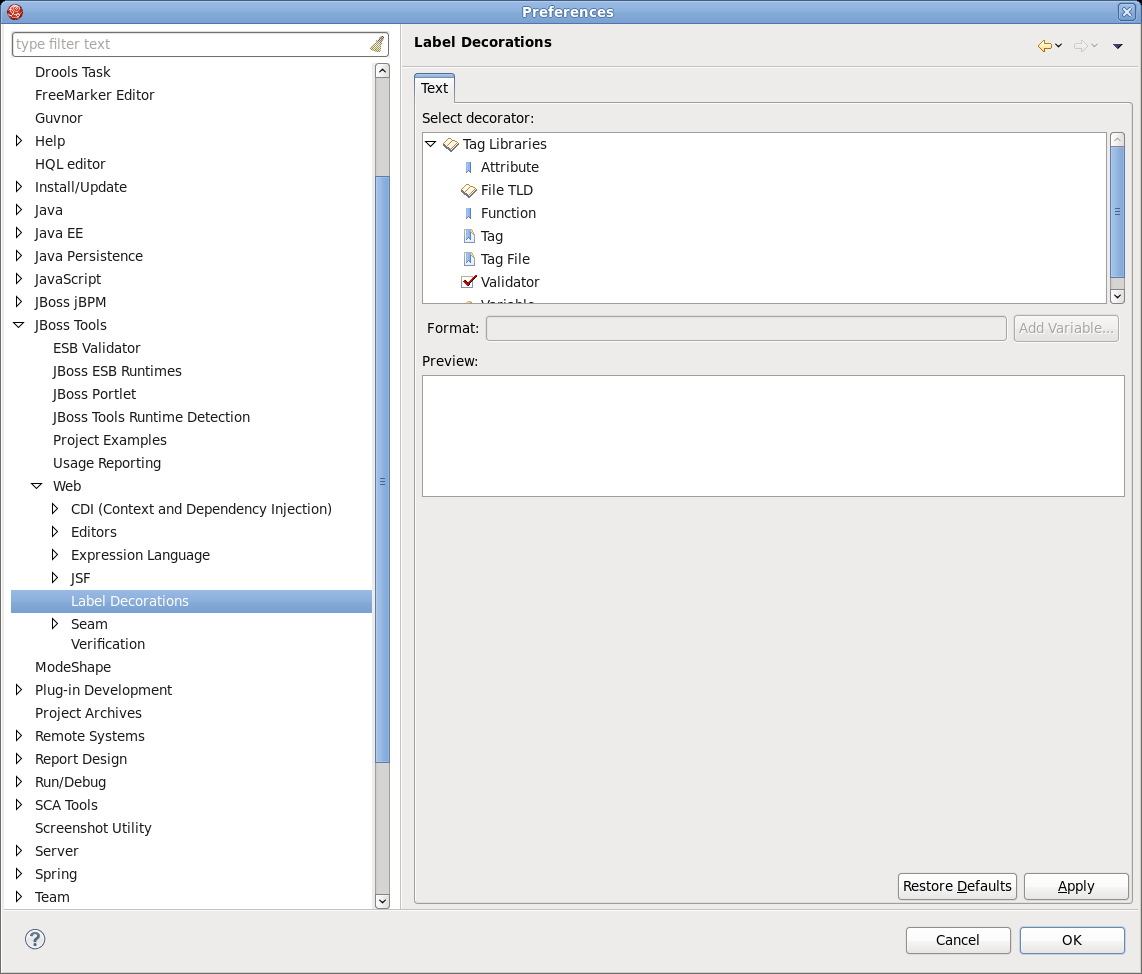
On this page you can determine the format for a text output near to the decoration label for different Web resources. To change the value for selected element, click button next to Format field. Appeared wizard will prompt you to select one from the available list.
The following preferences can be changed on the → → page.
On Seam screen you can add and remove Seam runtimes.
Here is what Seam preference page looks like:

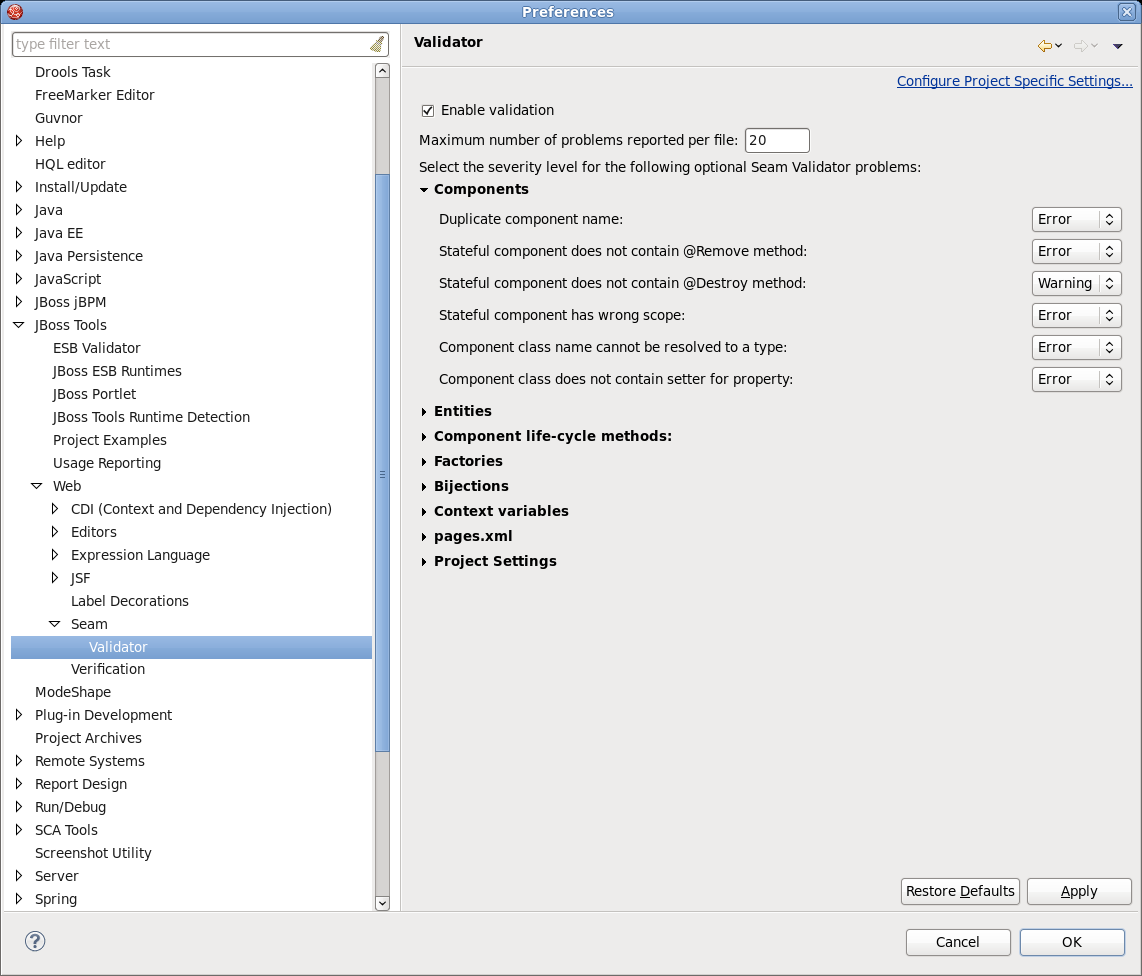
The following preferences can be changed on the → → page.
In Validator panel you configure seam problems that will be processed by validator.
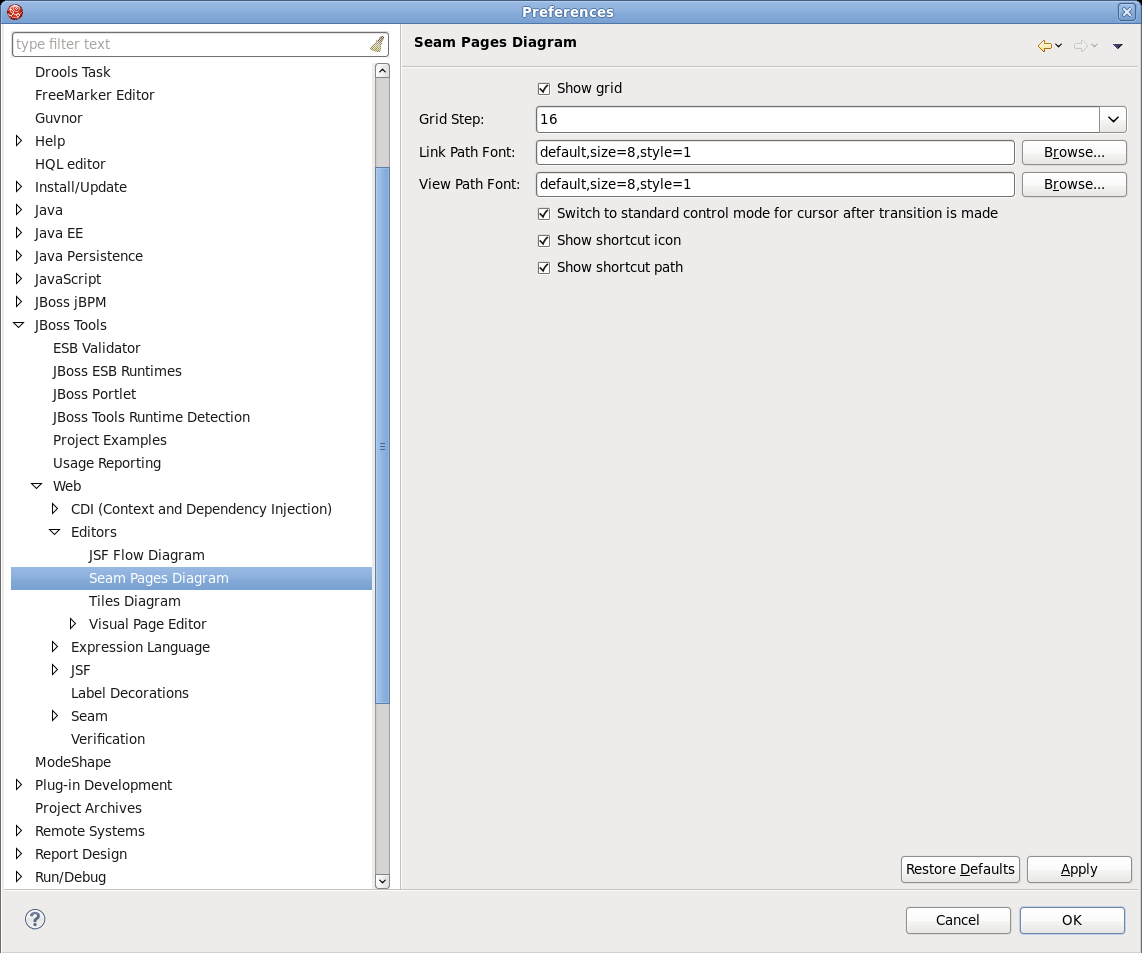
In order to customize the layout of the Diagram used for editing and composing page.xml file in Graphical mode of Seam Pages Editor you can go to → → → → → .
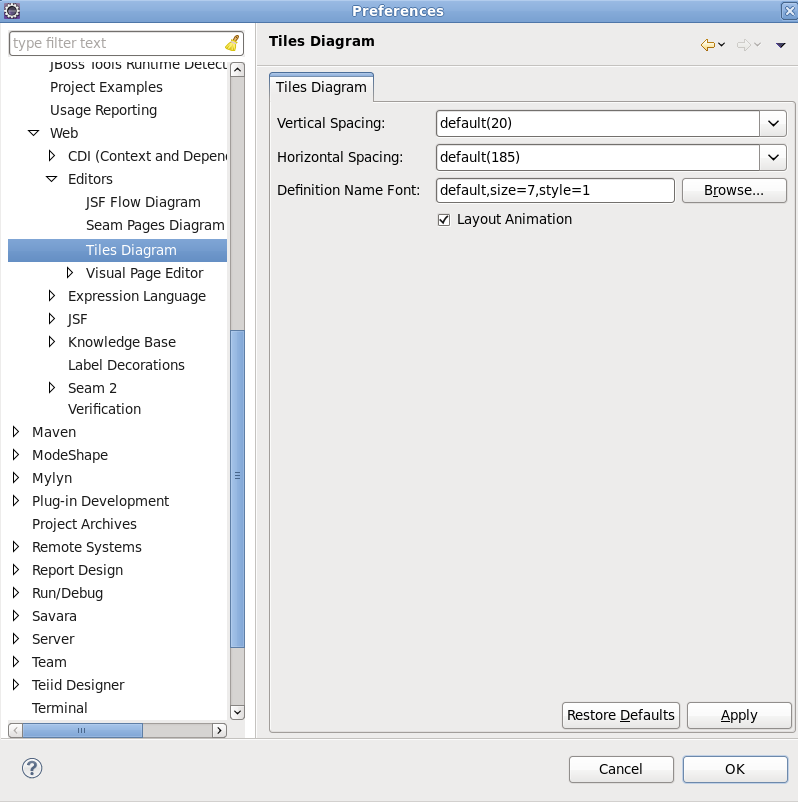
→ → → screen allows you control some settings for the placement of Tiles definitions in the Diagram mode of the JBoss Tools Tiles editor.
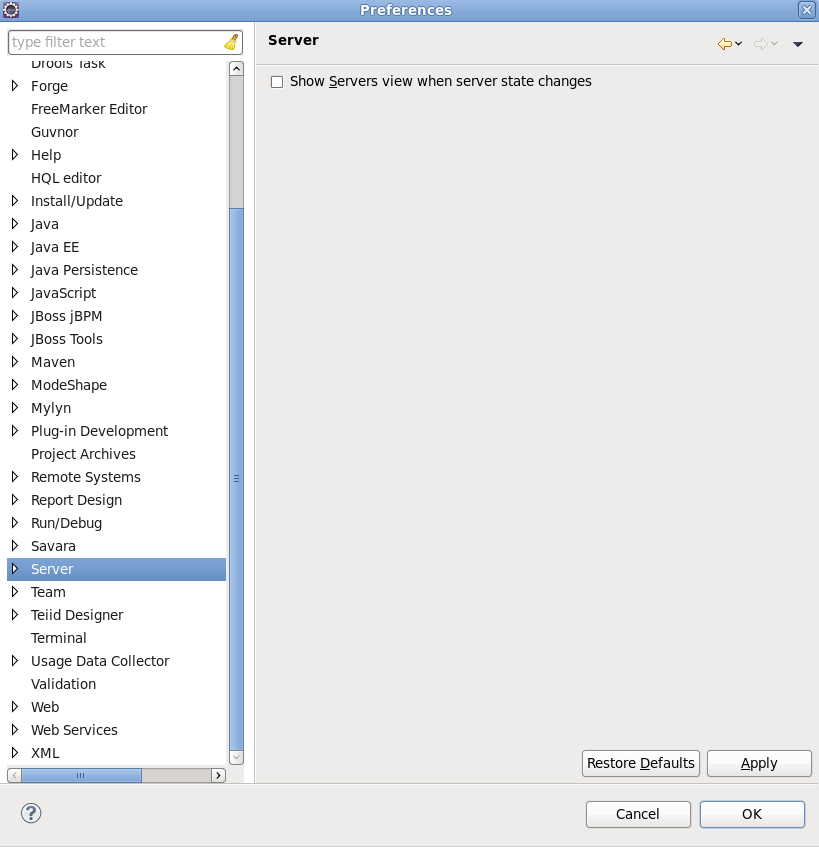
Preferences for JBoss Server and other servers can be changed on the Server page.
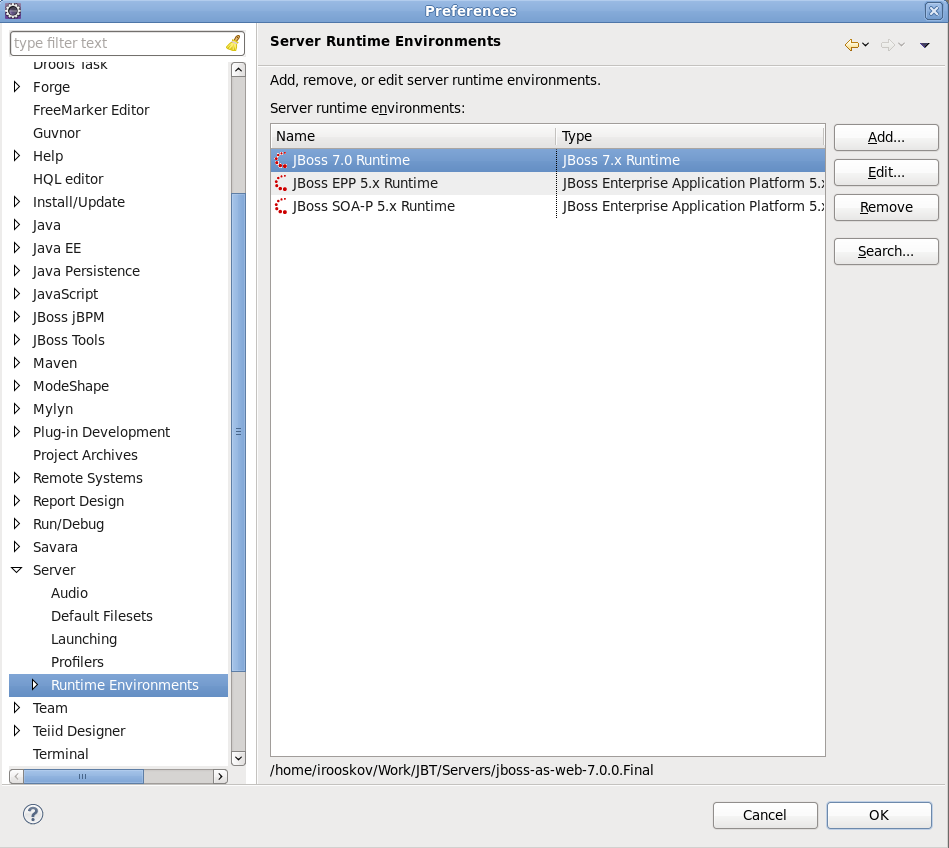
On the → page you can add new or modify already defined Server Runtime.
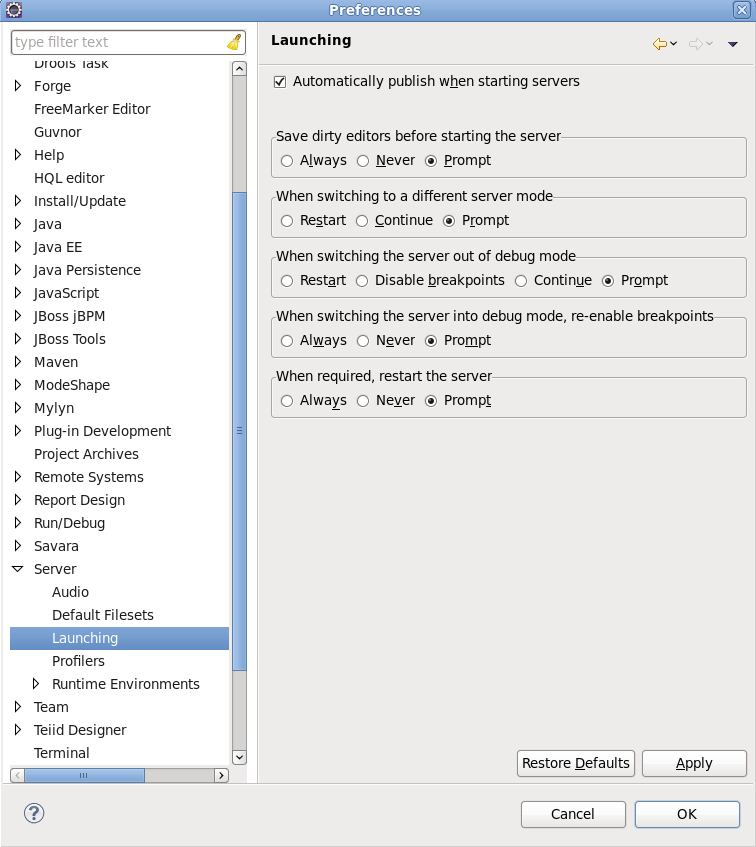
Server Launching preferences can be configured on the → page.
Going to → you can enable or disable the sound notification for different Server states and actions and set the sound volume as well.

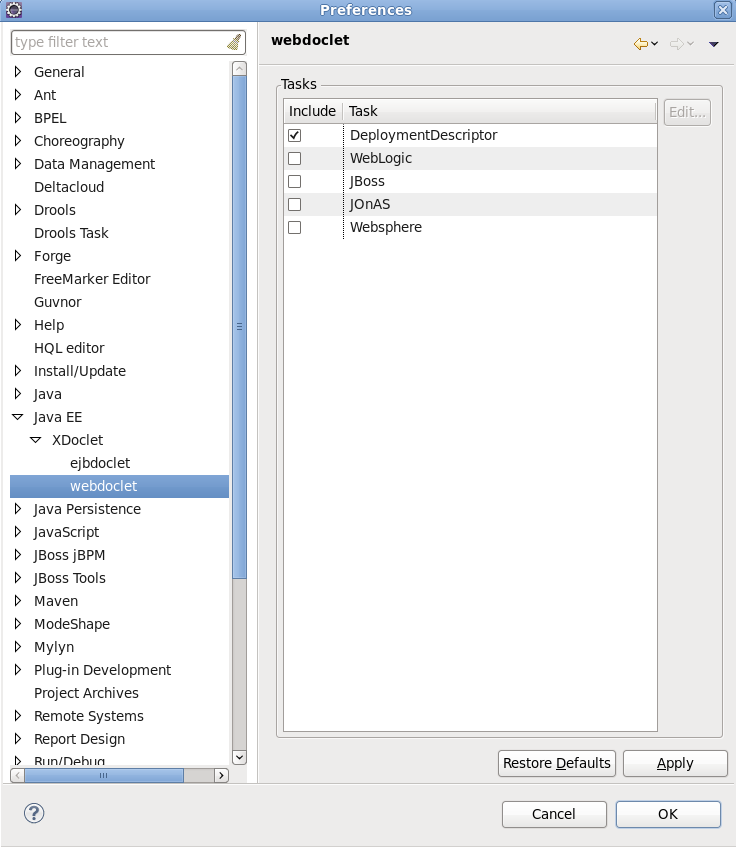
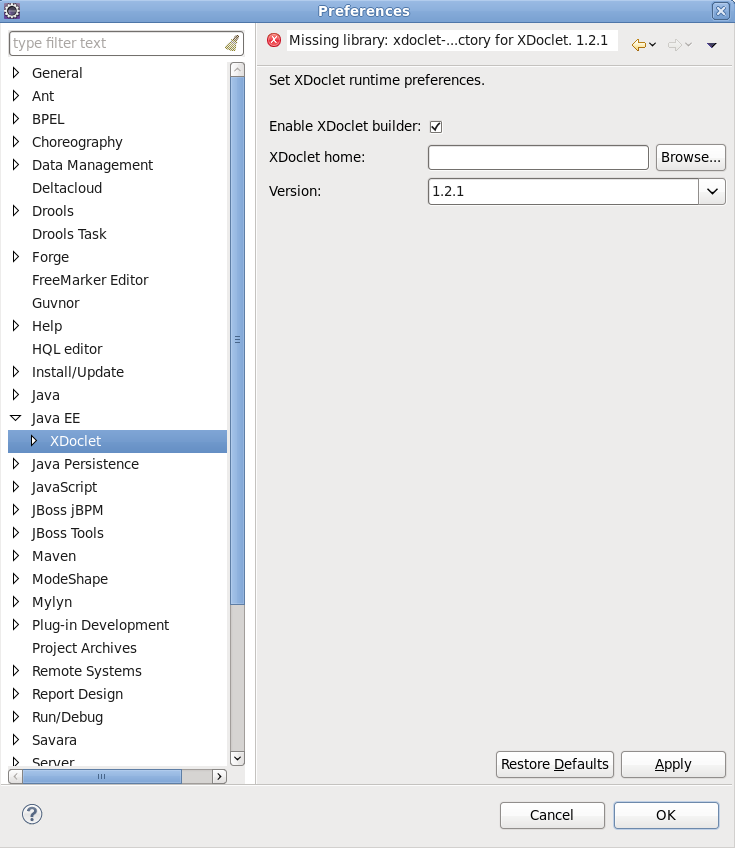
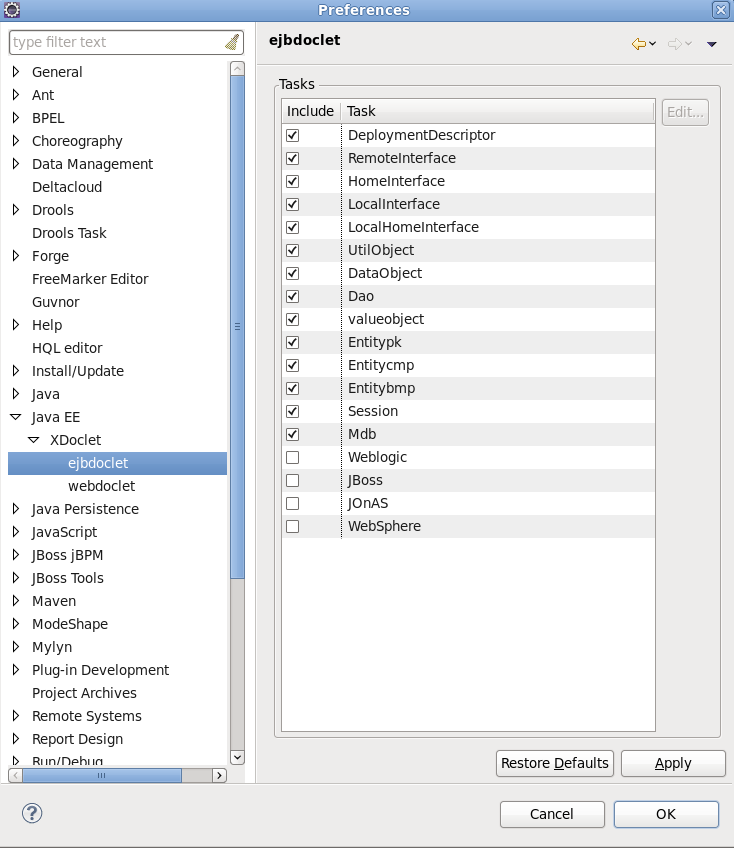
The preferences for XDoclet can be changed if you click → on the left navigation bar.
On the XDoclet screen it is possible to enable or disable XDoclet builder by checking proper box, specify XDoclet home and determine XDoclet module version as well.
Switch to → → page in order to adjust settings for EJB-specific sub-tasks.
To configure settings for various web-specific XDoclet sub-tasks, follow to → → page.