In this section you will learn how to create a Seam project in JBoss Developer Studio, how to start the server and what structure your project has after it is created.
Before opening the JBoss Developer studio you need to download and start the Workshop Database .
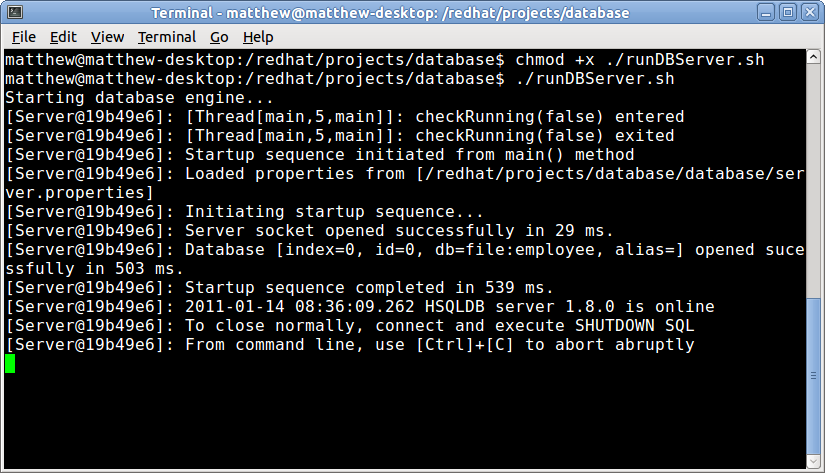
To start the database just run ./runDBServer.sh or runDBServer.bat from the database directory.
The end result should be a console window that looks like:
Tip
You may need to set the runDBServer.sh executable flag with the following command:
chmod +x runDBServer.sh
Minimize the terminal window and run JBoss Developer Studio from Applications Menu or from the desktop icon.
First you will see the Workspace Launcher. Change the default workspace location if it's needed. Click the button.

After startup, you see the welcome page. Select icon and then press on link.
The New Seam Project wizard is started. You need to enter a name (e.g., "workshop") and a location for your new project. The wizard has an option for selecting the actual Server (and not just WTP runtime) that will be used for the project. This allows the wizard to correctly identify where the destination folder for the required datasource and driver libraries.
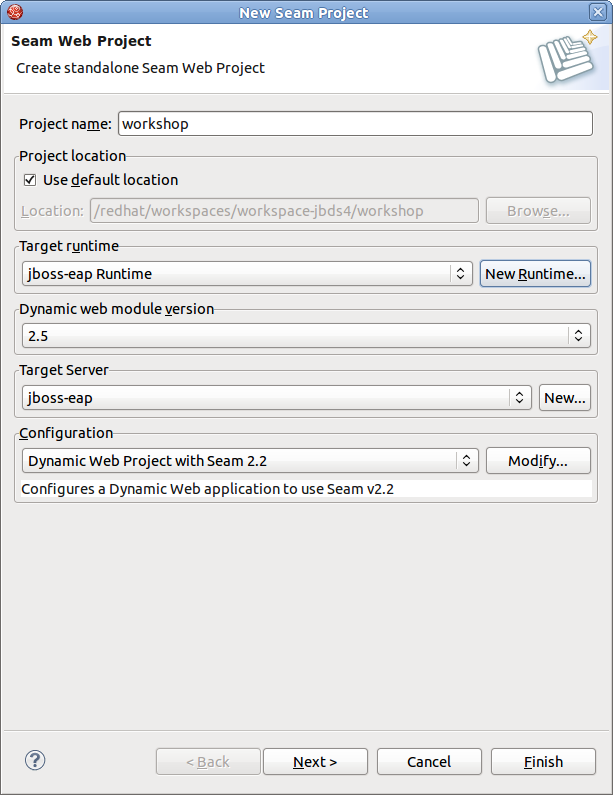
All settings are already specified here, you can just modify the Configuration. Click on the button to configure your custom facet options:
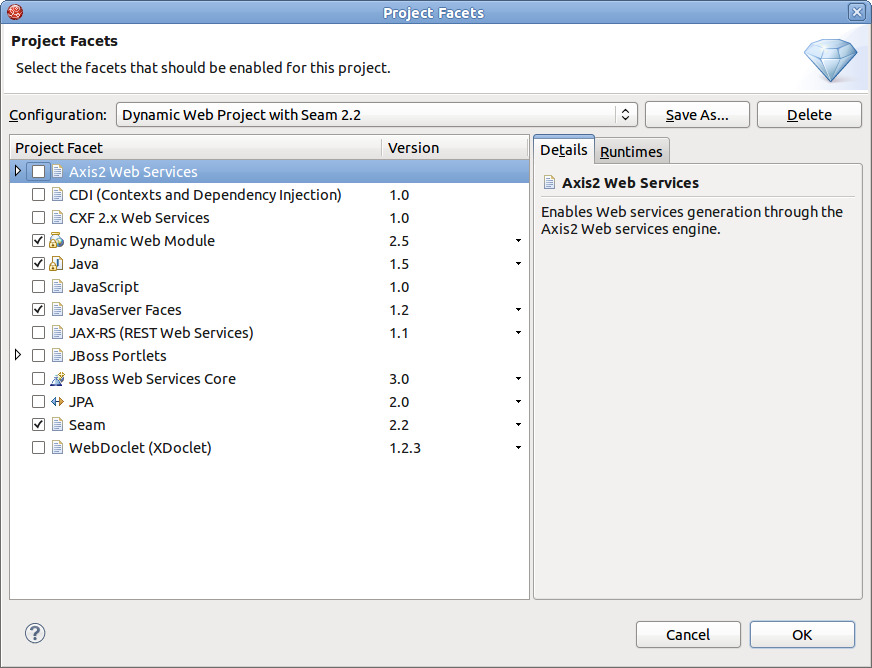
On the whole the dialog allows to select the "features" you want to use in your project. JBoss Developer Studio will then setup the appropriate tooling for your project. Since JBoss Seam integrates all popular Java EE frameworks, you can select any combination of technologies from the list. Here, for the default configuration, Dynamic Web Module, Java, JavaServer Faces (JSF), and Seam Facet are already selected for a typical database-driven web application. The default project facets should suffice.
In the Project Facets form you can also bring up server runtimes panel by clicking Runtimes tab on the right corner. This panel shows available server runtimes.
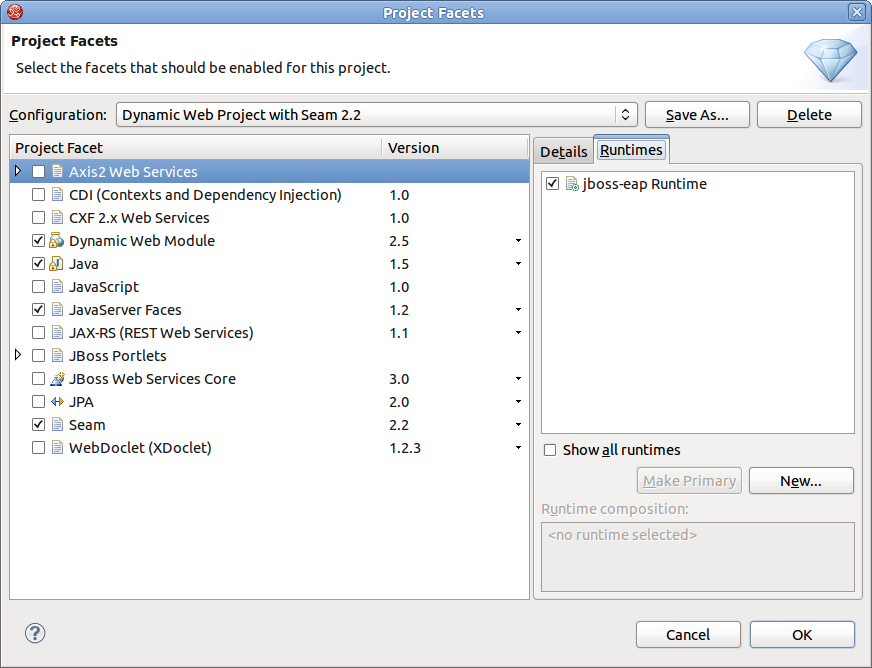
Click the and then the button to proceed to the next step.
A dynamic web application contains both web pages and Java code. The next wizard will ask you where you want to store Java files.
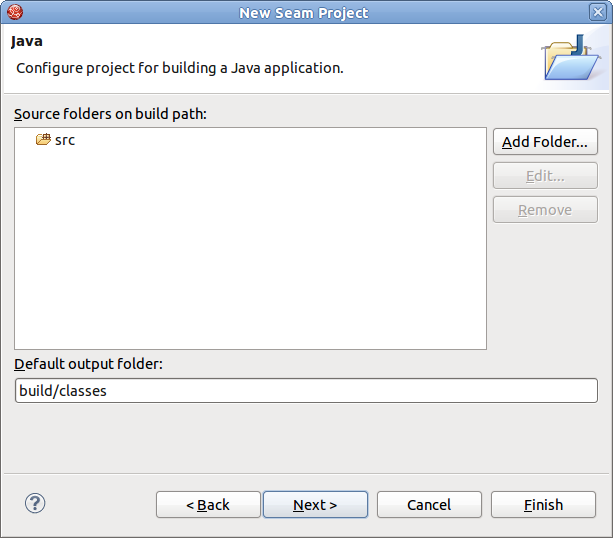
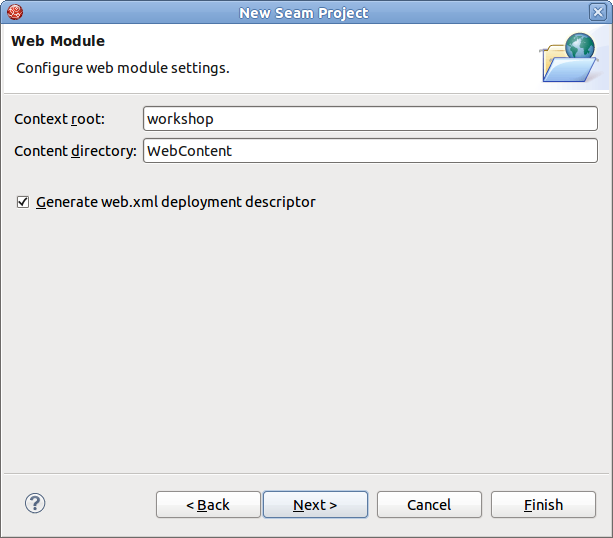
Following page provides you Web Module Settings .You can just leave the default values or choose another folder.
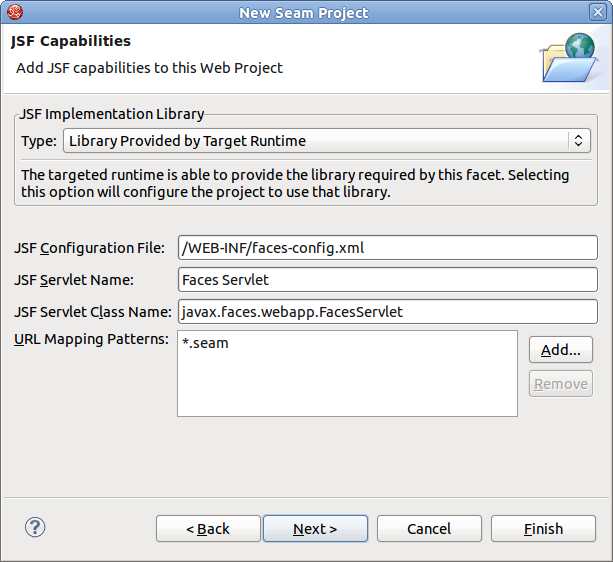
On the next form, you will be able to select where those library JARs come from. The easiest is just to select the JARs provided by the JBoss AS runtime associated with this project. That is why it is important to chose the right JBoss AS 4.2 runtime in the project setup window.
Select Library Provided by Target Runtime as Type of JSF Implementation Library. We will use the JSF implementation that comes with JBoss server.
Click the button
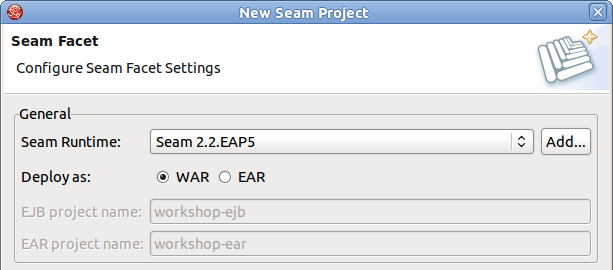
Next wizard step needs more settings that previous. Let's start with General section.
Leave the default Seam runtime and check a WAR deployment.
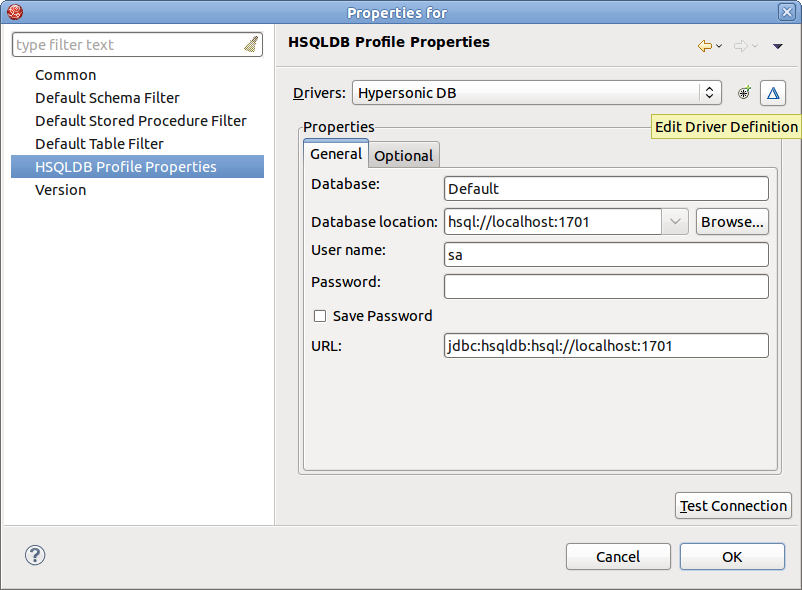
The Database section is a little tricky. The Connection Profile needs to be edited so that the new project works properly with the external HSQLDB server. By default the project wizard tries to use the JBoss embedded HSQLDB, but the tutorial uses an external database to replicate a more real world development scenario. Click on the button to modify the Connection Profile.

Select HSQLDB Profile Properties. Make sure the Database location is set to hsql://localhost:1701

Click the button. At this point it probably won’t work. This happens if the HSQL JDBC driver is not exactly the same. This can be solved by modifying the HSQLDB database driver settings. To modify the settings, click the button.
The proper Driver JAR File should be listed under Jar List. Select
the hsqldb.jar file found in the jbdevstudio/jboss-eap/jboss-as/common/lib/ directory and
click the button.

Now, the should succeed. After testing the connection, click the button.

You can leave the Code Generation section as is. It refers to Java packages in which the generated code will be placed.

Tip:
If you want to name your web project "MyProject-war" note that the Test project name should not be "MyProject-war-test", it should be "MyProject-test".
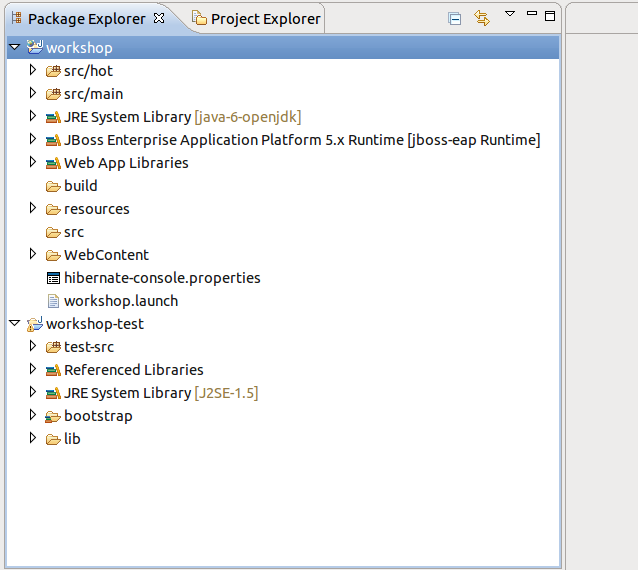
Click on button. Now, there should be a new Seam project called “workshop” listed in the Package Explorer view.
Start the server by clicking on the Start the server icon (
 ) in the Servers view.
Then run the project by selecting the project then selecting → .
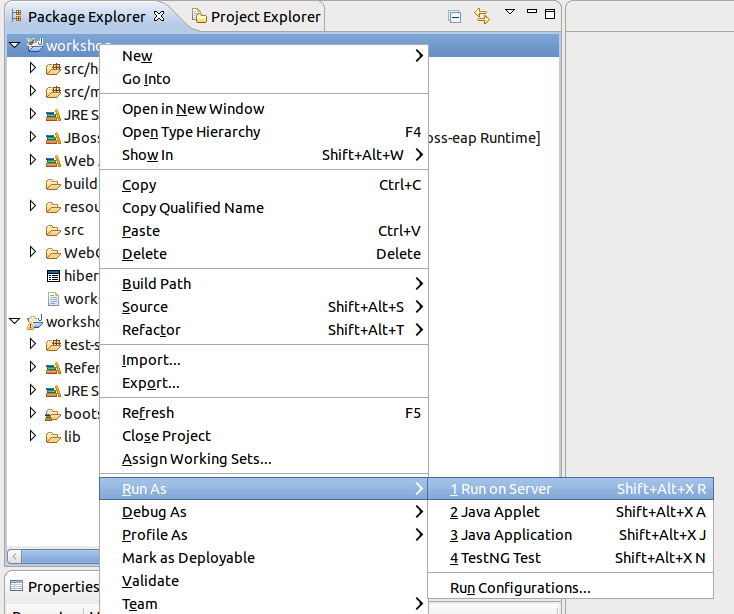
Select the server you want to run the project on, and click the button.

Note:
If the project does not show up, then you can use a normal browser and use http://localhost:8080/workshop/home.seam as the URL.
Your project looks like this:

Now let's examine the project and its structure. Go back to the Package Explorer view in JBoss Developer Studio.
It seems like it's not much for a project but this shell application contains a login screen with default login logic, a menu template that can be further modified, and other layout templates.
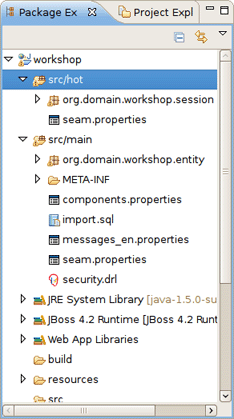
It's important to note that the business logic will reside in the src/hot folder, by default. And, the package naming conventions that were used in New Seam project wizard could have been changed to something
different from
org.domain.workshop.session. Also, notice that there is a
default Authenticator.java file. This is where custom security logic
can be added. Seam has a nice declarative security model that we will explore in more
detail later on. The src/main folder is a model directory. It stores the project's JPA entity
beans.
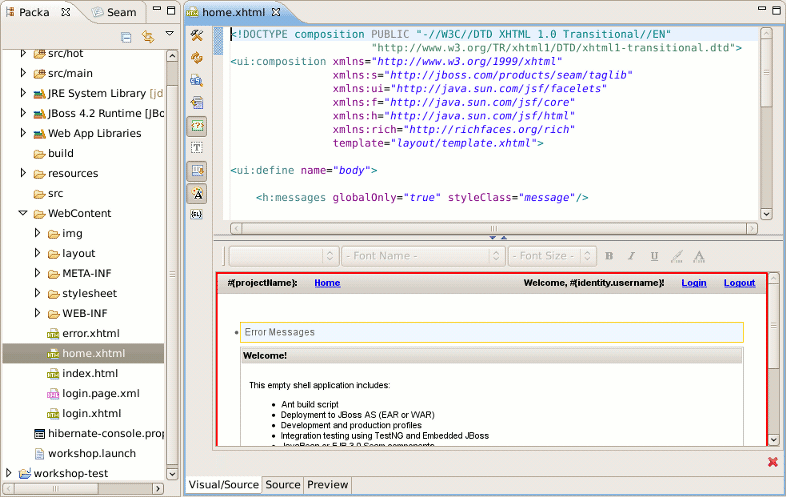
The view tier of the application is also important. Seam uses facelets and there is a
built-in facelets GUI editor that includes nice WYSIWYG and component drag/drop
functionality. Try this out by opening home.xhtml from WebContent folder.
Notice that the templates reside in the WebContent/layout folder. There is a stylesheet in the WebContent/stylesheet folder. There is also a login and default error page. The Facelet editor will be
explored in more detail later in the lab.
The project already has a datasource that was created via the Seam project wizard database settings. All of the Seam specific configuration files and JAR dependencies are included and located in their proper locations. On last noteworthy line item is related to the build script. There isn’t a build script because the Eclipse WTP (Web Tools Project) plugin is used to publish web application changes. As you can see, JBoss Developer Studio is removing a great deal of complexity from the enterprise Java project setup and deployment process. The end result is the developer is writing code, not spending time trying to figure out how to get a decent development environment and project build process.