To start working with Seam, select a Seam perspective via Window > Open Perspective > Other > Seam. Select File > New > Seam Web Project to run the New Seam Project wizard.
It's necessary to enter a name and a location directory for your new project. The next wizard forms allow you to create runtime and server instances in order to get started creating, running, and debugging J2EE applications.
Seam Web Project wizard has an option for selecting the actual Server (not just WTP runtime) that will be used for the project. This allows the wizard to identify correctly where the required datasource and driver libraries need to go.

Click on New... button in the Target Runtime section.
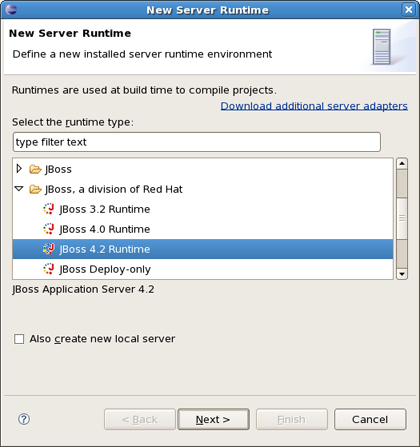
From this dialog you can choose what type of runtime you want to create. Let's create a JBoss 4.2 Runtime. Click on Next.
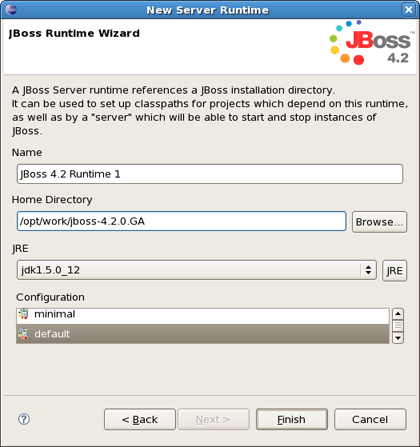
All what you need here is to name runtime, browse to its install directory, select a Java Runtime Environment, and select which configuration you want. Click on Finish.
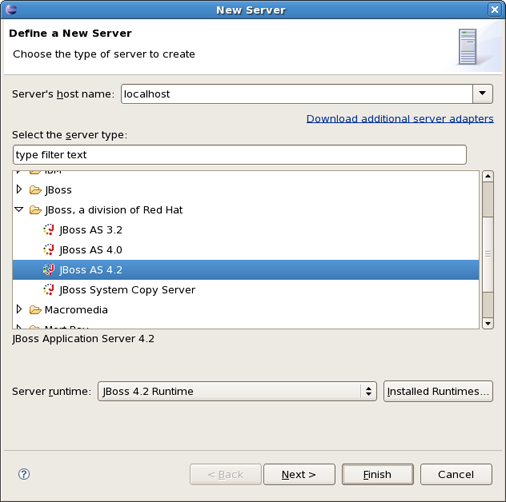
Now you should define an installed server by clicking on New... button in the Target section. It's possible to select a server version and a server runtime. Use Installed Runtimes button to see or edit what runtimes are installed. Click on Next
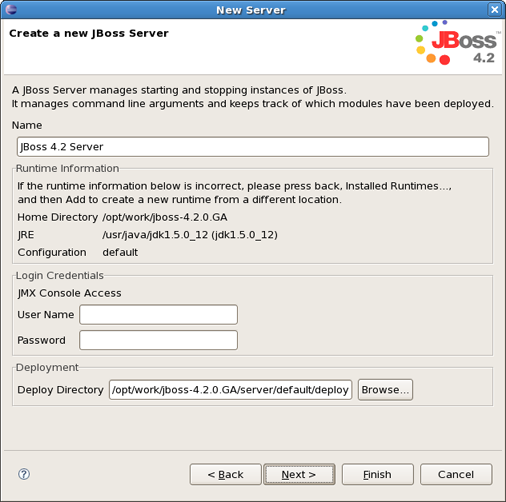
Leave everything as is and click on next.
On the last wizard step you can modify your project to configure it on server.
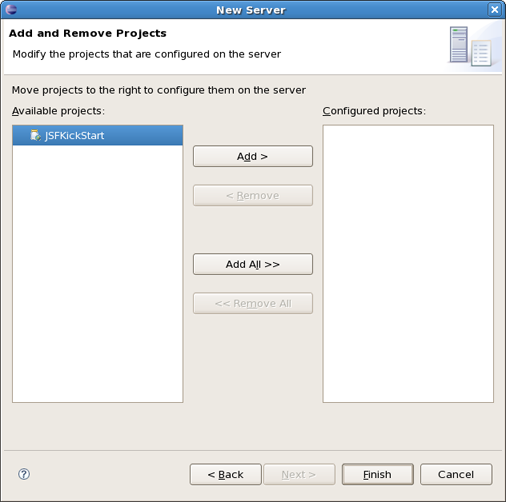
After clicking on Finish button you should have the following wizard view:
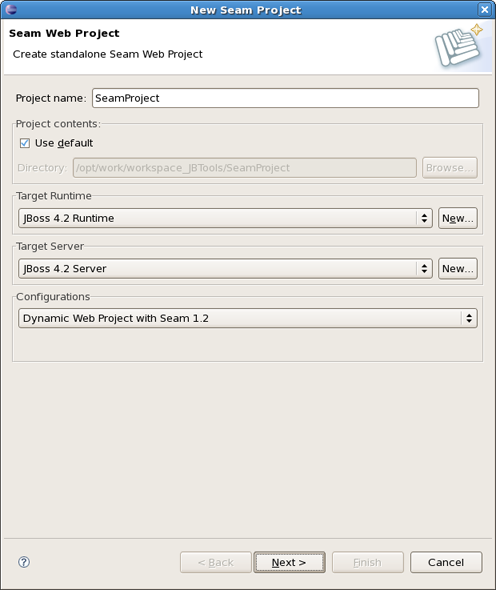
The last section on this wizard step is Configurations. You can select one of the pre-defined project configuration or create your own. Click on Next.
This page of the wizard allows you to enable or disable specific facets. You can save or delete your preset of selected facets clicking on Save button.
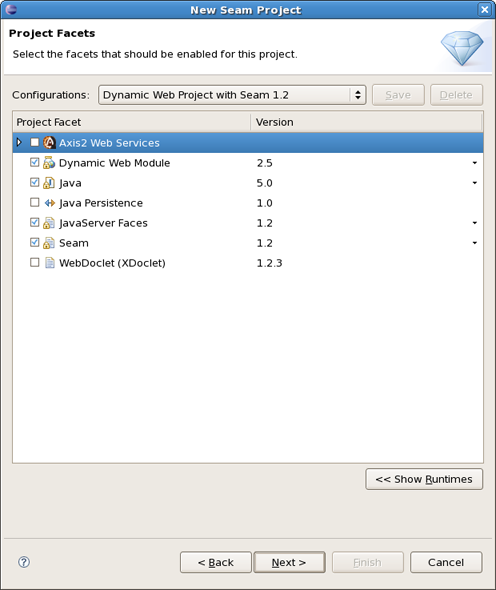
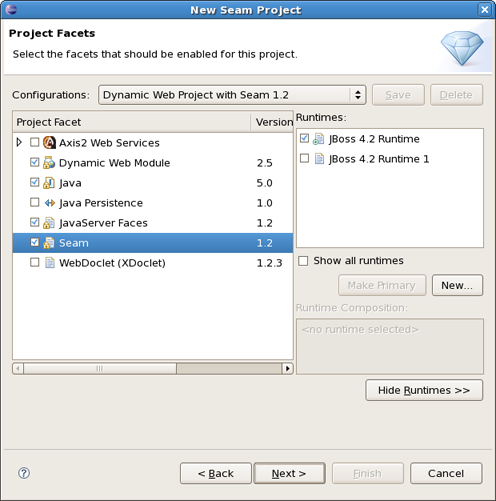
You can also see all available runtimes after clicking on Show Runtimes or create new ones using the New button.
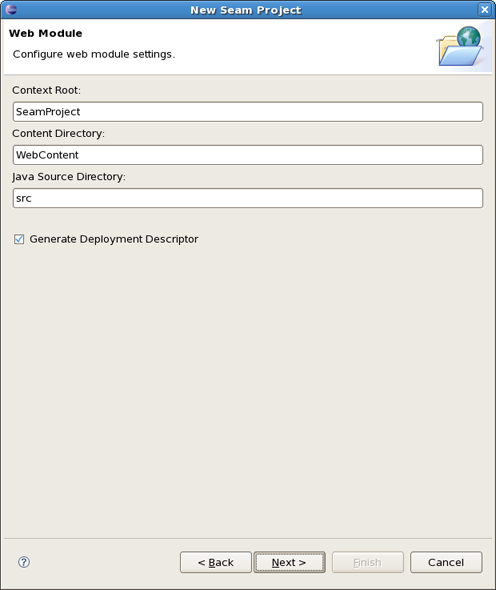
A dynamic web application contains both web pages and Java code. The wizard will ask you where you want to put those files. You can just leave the default values.
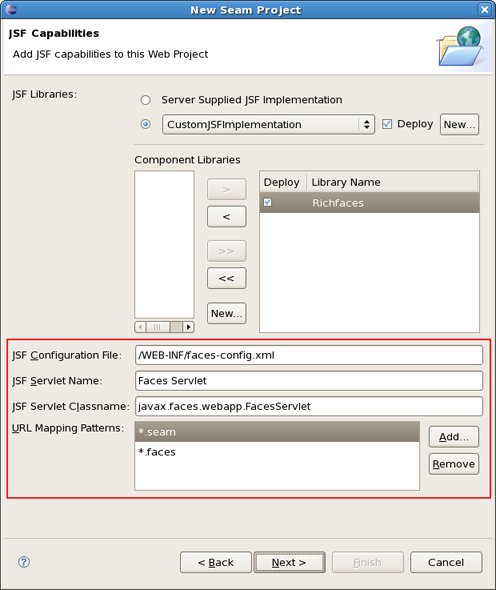
This wizard helps you to add JSF capabilities into your project.
Checking Server Supplied JSF Implementation means that you will have a default JSF implementation given by server.
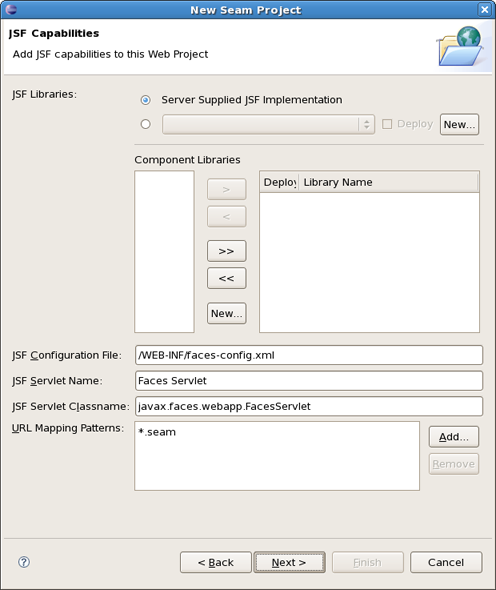
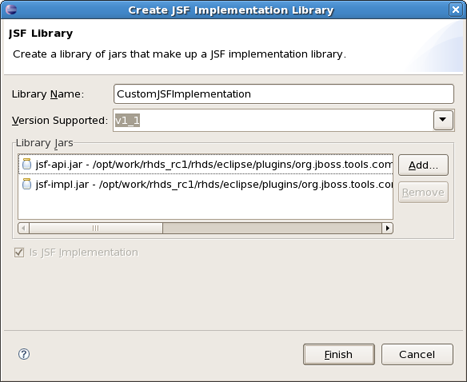
In case when you want to use your custom JSF implementation check a lower radio button. You are able to create a library of jars by clicking on New button.
Type a Library Name, select a Version Supported and add Library jars. Click on Finish.
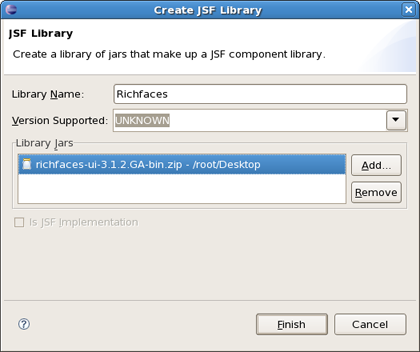
You can also add a Component Libraries (e.g. Richfaces) clicking on New button in the Component Libraries section.
The last wizard options allows to edit a path for JSF Configuration File, a name for JSF Servlet, JSF Servlet Classname and change an URL Mapping Patterns.
The last wizard step is related to Seam facet and allows you to do the following:
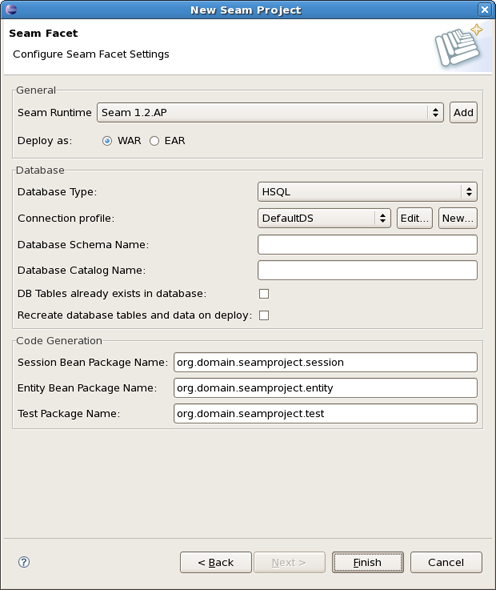
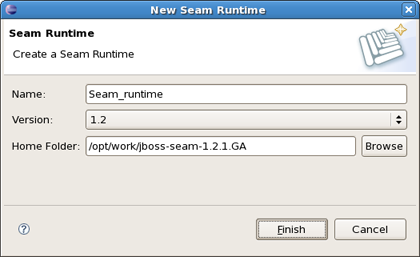
Create Seam runtime and define Seam home folder. Click on Add button in the General section.
Notice that in this wizard presented below you can create a Seam runtime only for that version which was selected in the Project Facets wizard (version 1.2 in our case).
Select EAR or WAR deployment by checking a necessary radio button.
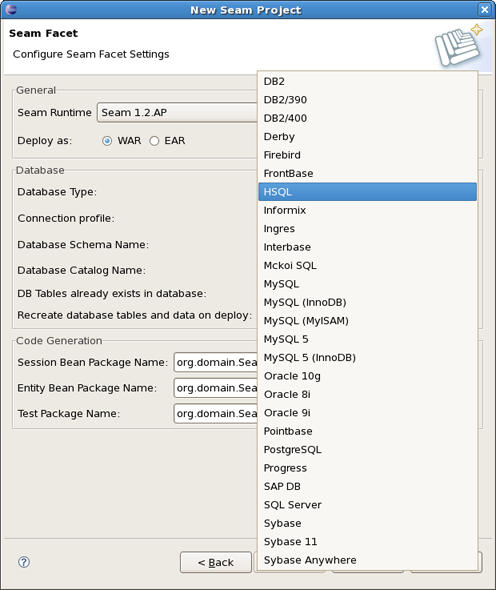
Select a Database Type
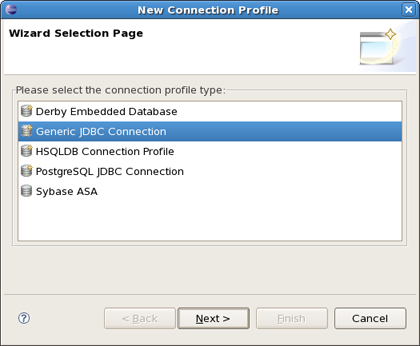
and create a Connection profile clicking on New button and selecting the necessary connection profile.
Other Database fields are describing a Database and a connection to it.
In the Code Generation section you can edit a package name for Session Bean, Entity Bean and Test.

Click on Finish to generate a project.