JBoss Developer Studio is a set of eclipse-based development tools that are pre-configured for JBoss Enterprise Middleware Platforms and Red Hat Enterprise Linux. Developers are not required to use JBoss Developer Studio to develop on JBoss Enterprise Middleware and/or Red Hat Linux. But, many find these pre-configured tools offer significant time-savings and value, making them more productive and speeding time to deployment.
This guide covers the first steps to get started working with JBoss Developer Studio. You will learn how to install and configure necessary software for your OS (currently Linux, Microsoft Windows or Mac OSX).
Thus this guide will provide you with detailed info on how to start JDK, JBDS and JBoss Tools.
You must have a working installation of JDK 5 before you install JBoss Developer Studio. Currently it will only fully work with a 32-bit JVM, not a 64-bit JVM. On a 64-bit JVM the visual editor fails to launch because of feature of OS architecture. Thus in this guide we will show you how to install a 32-bit Sun JDK 5.0 on a Linux Platform and Microsoft Windows Platform.
To install 32-bit Sun JDK 5.0 on Linux and configure it, you should follow the next steps:
Download the Sun JDK 5.0 (Java 2 Development Kit) from Sun's website. Choose "JDK 5.0 Update <x>" (where "x" is the latest update number) for download and then select "Red Hat Package Manager in self-extracting" file for Linux. Read the instructions on Sun's website for installing the JDK.
If you don't want to use SysV service scripts you can install the "self-extracting file" for Linux instead of choosing the "RPM in self-extracting" file. In that case you can skip the next step mentioned here. But it is recommended to use the SysV service scripts for production servers.
Download and install the appropriate -compat RPM from JPackage here. Please ensure you choose a matching version of the -compat package to the JDK you've installed.
Create an environment variable that points to the JDK installation directory and call it JAVA_HOME. Add $JAVA_HOME/bin to the system path to be able to run java from the command line. You can do this by adding the following lines to the .bashrc file in your home directory.
#In this example /usr/java/jdk1.5.0_11 is the JDK installation directory.
export JAVA_HOME=/usr/java/jdk1.5.0_11
export PATH=$PATH:$JAVA_HOME/bin
Note:
If you have JDK already installed and added in your system path, you should add $JAVA_HOME/bin before the old $PATH (not after it) so that the new version of JDK can be found first, i. e. export PATH=$JAVA_HOME/bin:$PATH This way, the machine will pick up the new JVM first. You only need to run "alternative" as a safe guard for the right JVM.
Set this variable for your account doing the installation and also for the user account that will run the server.
If you have more than one version of JVM installed on your machine, make sure you are using the JDK 1.5 installation as the default java and javac. You can do this using the alternatives system. The alternatives system allows different versions of Java from different sources to co-exist on your system.
As a root user, type the following command at the shell prompt and you should see something like this:
[root@vsr ~]$ /usr/sbin/alternatives --config java
There are 2 programs that provide 'java'.
Selection    Command
-----------------------------------------------
   1           /usr/lib/jvm/jre-1.4.2-gcj/bin/java
*+ 2           /usr/lib/jvm/jre-1.5.0-sun/bin/java
Enter to keep the current selection[+], or type selection number:
Make sure the Sun version [jre-1.5.0-sun in this case] is selected (marked with a '+' in the output), or select it by entering its number as prompted.
Repeat the same for javac and java_sdk_1.5.0.
[root@vsr ~]$ /usr/sbin/alternatives --config javac
There is 1 program that provides 'javac'.
	Selection   Command
-----------------------------------------------
*+ 1           /usr/lib/jvm/java-1.5.0-sun/bin/javac
Enter to keep the current selection[+], or type selection number:

[root@vsr ~]$ /usr/sbin/alternatives --config java_sdk_1.5.0
There is 1 program that provide 'java_sdk_1.5.0'.
	Selection   Command
-----------------------------------------------
*+ 1           /usr/lib/jvm/java-1.5.0-sun
Enter to keep the current selection[+], or type selection number:
You should verify that java, javac and java_sdk_1.5.0 all point to the same manufacturer and version.
Note:
You can always override this step by setting the JAVA_HOME environment variable as explained in the previous step.
Make sure that the java executable is in your path and that you are using an appropriate version. To verify your Java environment, type "java -version" at the shell prompt and you should see something like this:
[root@vsr ~]$ java -version
java version "1.5.0_11"
Java(TM) 2 Runtime Environment, Standard Edition (build 1.5.0_11-b03)
Java HotSpot(TM) Client VM (build 1.5.0_11-b03, mixed mode, sharing)
To install and configure 32-bit Sun JDK 5.0 on Microsoft Windows, follow these steps:
Download the Sun JDK 5.0 (Java 2 Development Kit) from Sun's website. Choose "JDK 5.0 Update <x>" (where "x" is the latest update number) for download and then select your Windows Platform options to perform the installation.
Create an environment variable called JAVA_HOME that points to the JDK installation directory, for example:
C:\Program Files\Java\jdk1.5.0_11\
In order to run java from the command line, add the jre\bin directory to your path, for example:
C:\Program Files\Java\jdk1.5.0_11\jre\bin
To do this, open the Control Panel from the Start menu, switch to Classic View if necessary, open the System Control Panel applet ( System ), select the Advanced Tab, and click on the Environment Variables button.
Now, when 32-bit Sun JDK 5.0 has been successfully installed, we can pass on to the next step.
This chapter will provide you with detailed information on how to install JBoss Developer Studio.
JBDS comes with a simple installer, bundled with tested/pre-configured versions of Eclipse, WTP, JBossEAP, Seam, and SpringIDE. Thus, to start perform the next steps:
First of all you need the appropriate installation file for your platform from Red Hat website.
Then run in console:
java -jar jbdevstudio-linux-gtk-2.0.0.GA.jar
Follow the instructions presented by the installation wizard:
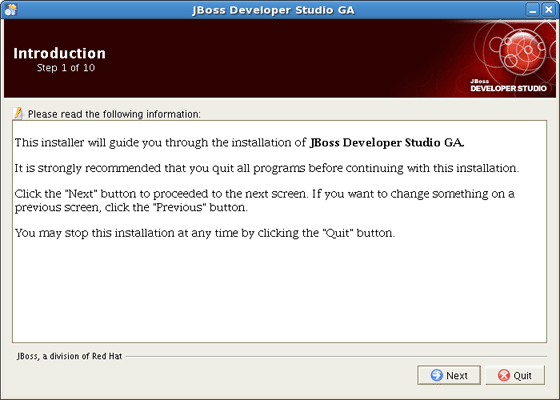
Provide the installation path
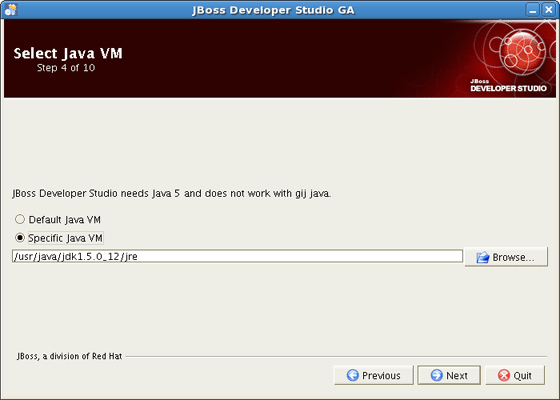
Select Java VM
Tip:
By selecting Default Java VM you set default Java VM of your system (to verify your Java environment, type "java -version" in console).
Selecting Specific Java VM you can provide the path to non-default Java VM.
Note:
JBoss Developer Studio needs Java 5 and "gij" isn't available on every platform.
Installation process includes JBoss Enterprise Application Platform. Select Yes to use it in JBoss Developer Studio. This step lets you configure locally available JBoss Application Servers:
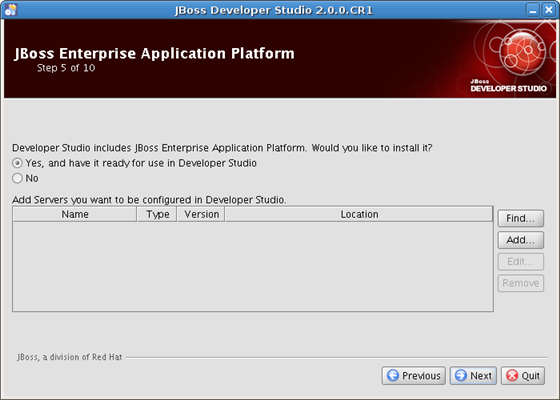
You can fill the list automatically using the Find button: click Find, select a folder where search of available JBoss Application Servers should be started and click on Ok:

All available servers in the selected directory will be added to the list with the following information specified: Name, Type, Version and Location.
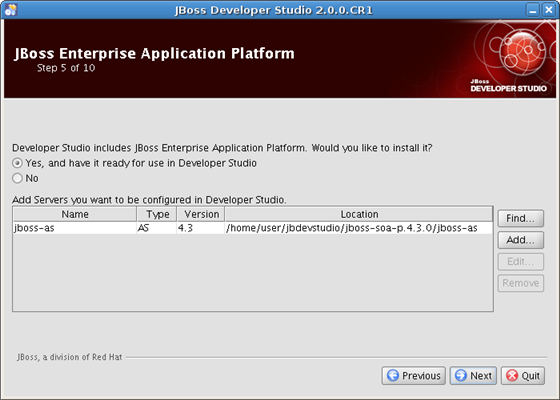
You can also add servers one by one using the Add button:
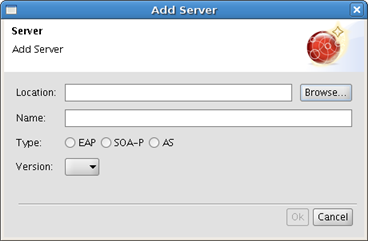
Click on Browse and select the server location. Fields Name, Type and Version will be filled in automatically:
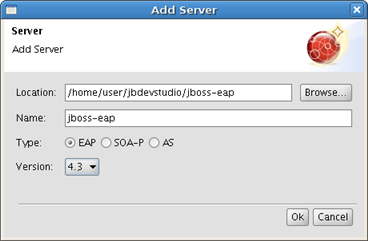
Click on Ok. The server is added to the list with the details on its type, version and location.
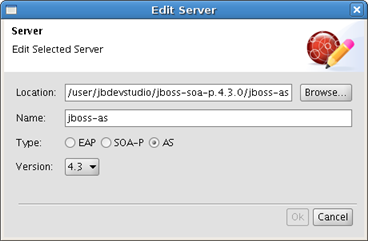
The Remove button will the remove the selected server from the list. If necessary, you can edit the server details clicking on the Edit button:
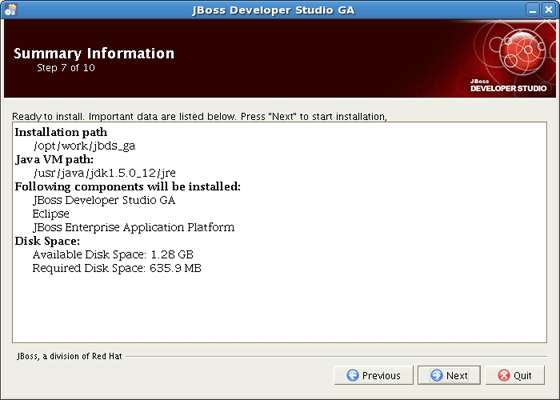
Click Next. Check your installation paths and see the components to install. If you'd like to change something, press the Previous button. Click Next to start installation.

This section uncovers the points on the differences between JBoss Developer Studio and JBoss Tools and provides the steps on JBoss Tools installation as well.
JBoss Tools is what went into our JBoss Developer Studio which comes as an easy-to-install Eclipse based IDE fully configured and ready to run with the bundled JBoss Enterprise Application Platform.
In short JBoss Tools are just a set of Eclipse plugins and JBoss Developer Studio adds:
An installer
Eclipse and Web Tools preconfigured
JBoss EAP with JBoss AS and Seam preconfigured
3rd party plugins bundled and configured
Access to RHEL and Red Hat Network
Access to the JBoss/Red Hat supported software
For additional information see JBoss.com
Here, let's consider the installation of the JBoss Tools modules.
JBoss Tools is an umbrella project for the JBoss developed plugins that will make it into JBoss Developer Studio. The JBoss Tools modules are:
JBoss AS Tools
Seam Tools
Hibernate Tools
Visual Page Editor
JST Tools
JBPM Tools
To install the JBoss Tools plugins for Eclipse, you need the following:
Get Eclipse and Web Tools
The current version of JBoss Tools (3.0.0.GA) targets at Eclipse 3.4.2/Ganymede SR2 and WTP 3.0.3+
Tip:
We recommend you do not use Eclipse.org update site to go from Eclipse 3.3 to Eclipse 3.4. Instead we suggest that you download the full binary from here.
If you can only use Eclipse 3.3 use JBoss Tools 2.1.2, but JBoss Tools 2.x will not have any of the new features.
Note:
Remember to choose the download that matches your OS and use Java 5 when you run it.
Get the latest JBoss Tools build
Some of our newer plugins, like TPTP and BIRT, need additional drivers. On the left side of the download page you can find all of the required drivers for chosen build and their versions.
Instead of downloading the nightly build version manually, it's also possible to get the latest release of JBoss Tools from one of our update sites:
Stable Updates: http://download.jboss.org/jbosstools/updates/stable
Development Updates: http://download.jboss.org/jbosstools/updates/development
Finally, install the build
Unzip the file(s) directly into your Eclipse plugins/features directory and it will be readily available. It might be necessary to start Eclipse with eclipse -clean to make sure it starts clean and rereads the new list of plugins.
If you need to install any standalone plug-in from JBoss Tools visit a JBoss Tools Wiki page to read about dependencies between standalone plug-ins.
In this section we'll show you how to work with the welcome page of the JBoss Developer Studio.
The welcome page is the first page you see when you first launch JBoss Developer Studio.

With the help of its page you will be able:
to get quick access to Getting Started Documentation (guides, tutorials and viewlets)
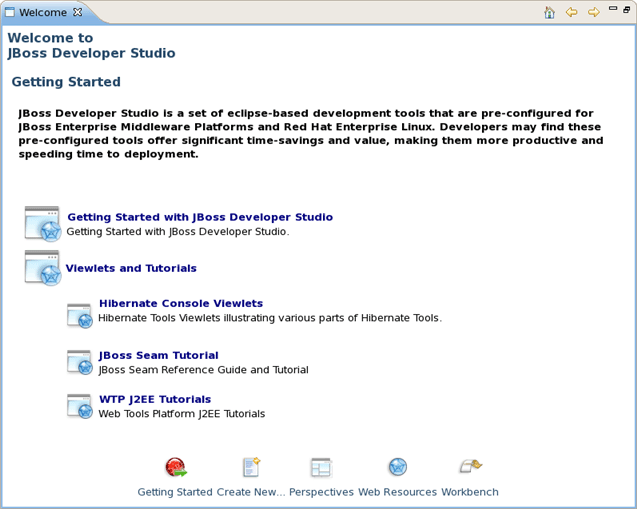
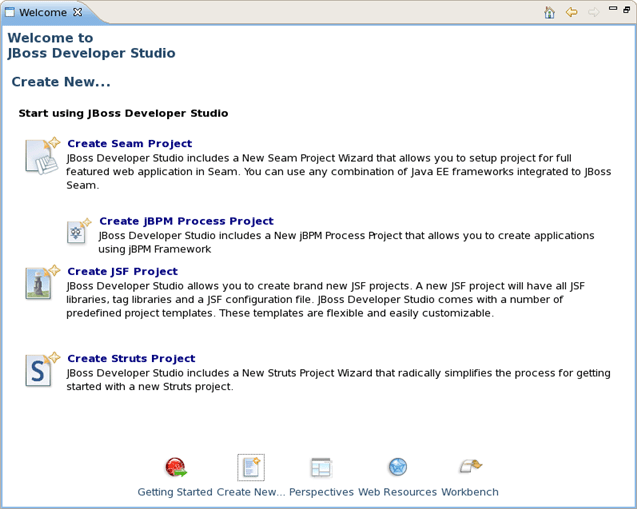
to create new Seam projects, jBPM Process, JSF or Struts projects using JBDS wizards
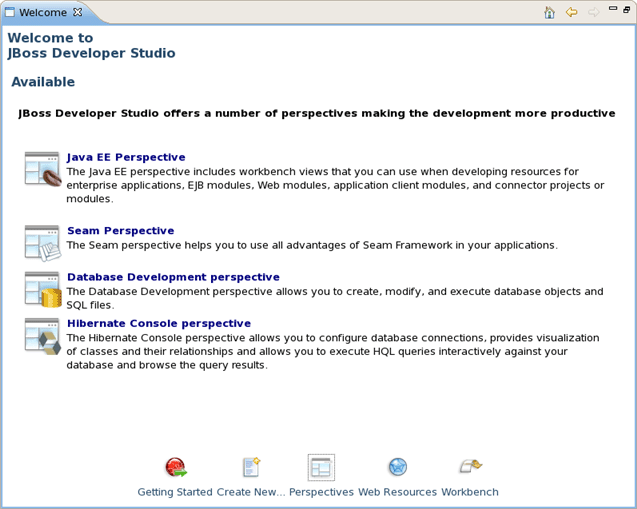
to get short description of perspectives that JBDS offers for more productive development
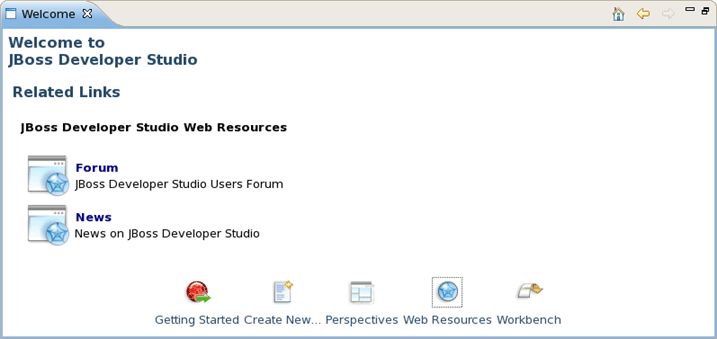
to visit JBoss Developer Studio web resources.
Start work with JBoss Developer Studio by clicking on Workbench button or simply close the Welcome page.
Make sure JBoss Developer Studio is not running
Uninstall your current version of JBoss Developer Studio by running Uninstaller
If you have comments or questions, you can discuss them at our JBoss Developer Studio Forum.
When writing to the forum for questions, please include the following information:
JBoss Developer Studio version
Exact error message
Steps to reproduce the issue
JBDS subscribers can get necessary support on our Support Portal.
JBDS on JBoss: JBoss Developer Studio
Forum: JBoss Forum
Subscription: JBDS Subscription
The latest documentation builds are available here.