In this chapter we provide you with the necessary steps to translate a Bpmn file to a JPDL file.
Before creating a Bpmn file, you should have a Project created.
Create a project by New > Project... > General > Project. Enter the following information:
Project Name: test

Click on the Finish button.
Create a BPMN diagram file by New > Others... > Bpmn Diagram . Enter the following information:
File Name: test

Click on the Finish button.
Open the test.bpmn_diagram file by double-click it.
Draw the Bpmn diagram using STP BPMN editor. If you do not know how to use STP BPMN editor, please visit BPMN project page for details.
A Bpmn file may include more than one pool. Every pool can be mapped to a corresponding Jpdl file.
Select 'test.bpmn' file and right-click it. Open the export wizard by Export... > BPMN Export > BPMN -> JPDL .
Click on the Next button.
Select the BPMN file that you want to translate.
Click on the Next button.
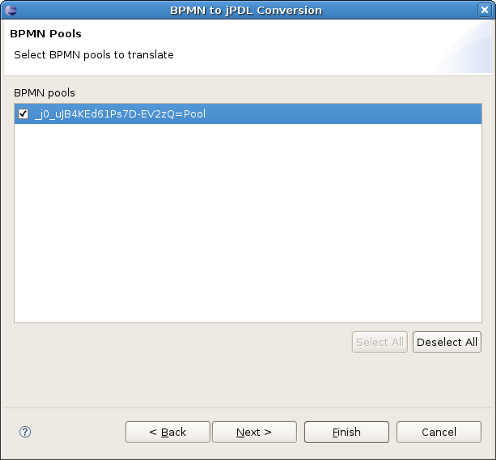
Select the Pools of BPMN that you want to translate.
Click on the Next button.
On the next page, you may get error or warning messages that occurred during the conversion. If there are no messages, this page is skipped.
Click on the Next button.
Select the target location to save the generated JPDL files.
If you'd like to overwrite existing resources,check this "Overwrite existing resources" checkbox.
Click on the Finish button.
Then the JPDL files are generated to the target location.


The generated files look like this:

We hope, this guide helped you to get started with the JBoss BPMN Convert module. Besides, for additional information you are welcome on JBoss forum.