Note:
We highly recommend developing in Seam. This chapter is for users who for some reason cannot use Seam.
In this chapter you'll find out how to create a simple JSP application using JBoss Developer Studio. The application will show a classic "Hello World!" on the page.
We'll assume that you have already launched JBoss Developer Studio and also that the Web Development perspective is the current perspective. If not, make it active by selecting → → from the menu bar or by selecting → → from the menu bar and then selecting Web Development from the Select Perspective dialog box.
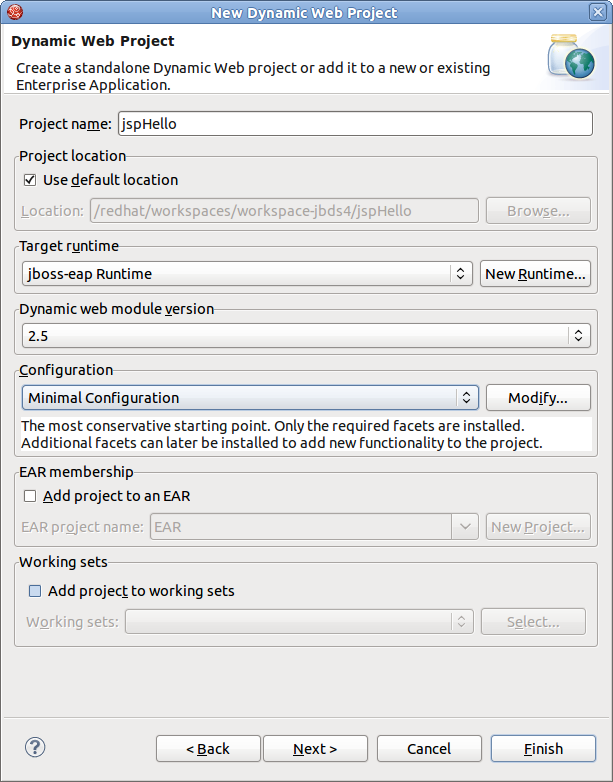
We are going to start by creating a Dynamic Web Project with a minimal structure, i.e. with just required facets. Thus this section will perform you all necessary steps on how to do this.
Go to the menu bar and select → →
Select → in the New Project dialog box
Click the button
Enter "jspHello" as a project name
Then select Minimal Configuration from the list of possible configurations and click the button.
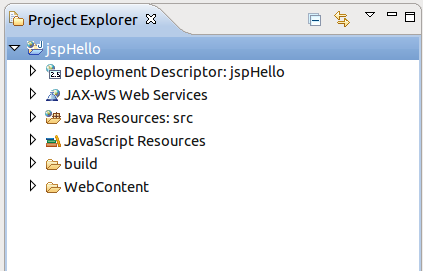
The jspHello node should appear in the upper-left Package Explorer view.
This section covers all the points how to create, edit and then preview JSP page.
In our simple application we need to create only one JSP page which displays a "Hello World!" message.
Right click the
WebContentfolder and select → .Type
hello.jspfor a file name and click the button.
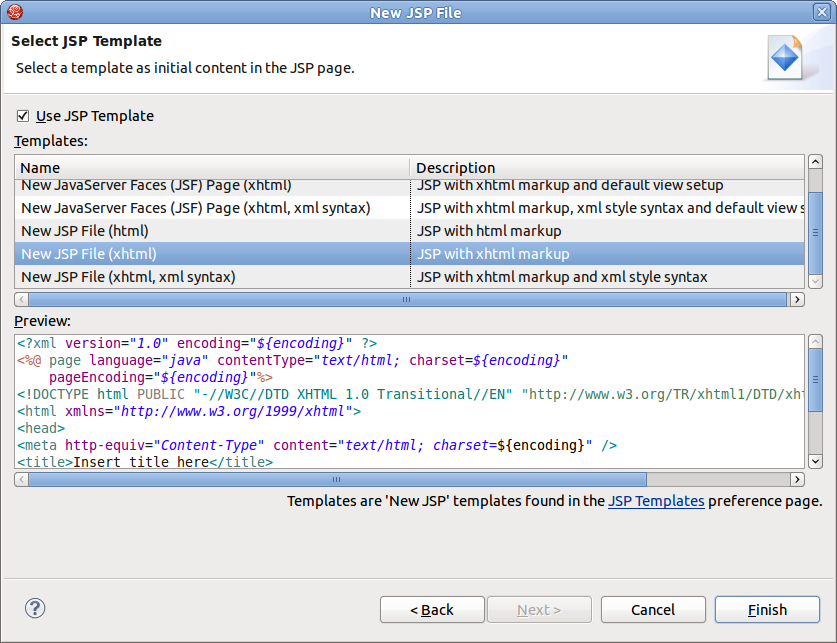
In the next window you can choose a template for your JSP page and see its preview.
Select New JSP File (xhtml) template and click the button.
Our hello.jsp page will now appear in the Project Explorer view.
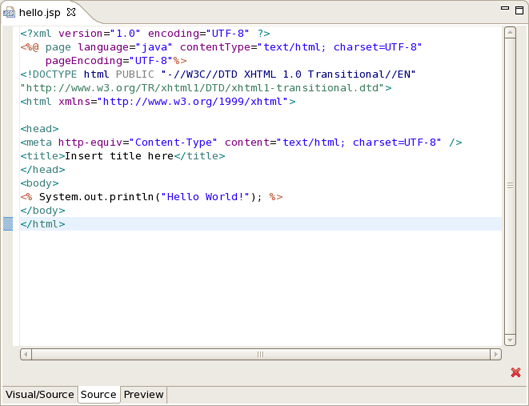
Let's now make a little change so that a JSP page displays "Hello World!" message.
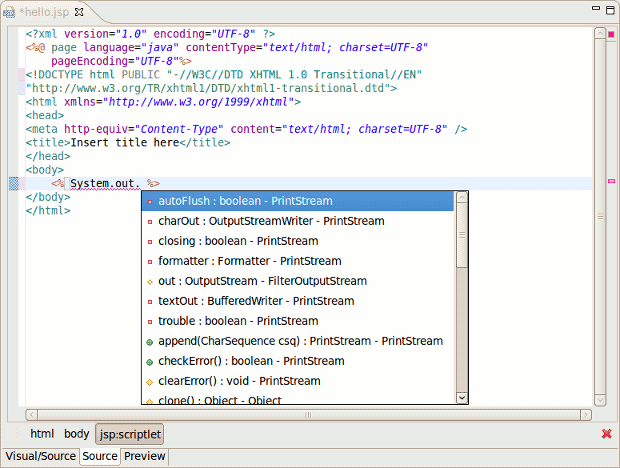
Insert this line inside the
<body> </body>tag:
<% System.out.println("Hello World!"); %>
Notice that content assist functionality is always available when you are typing:
After changes made your hello.jsp page should look like this:
This line will actually output "Hello World!" message in the Console. To make the message displayed in the Browser, just replace this line with the simple Hello World!.
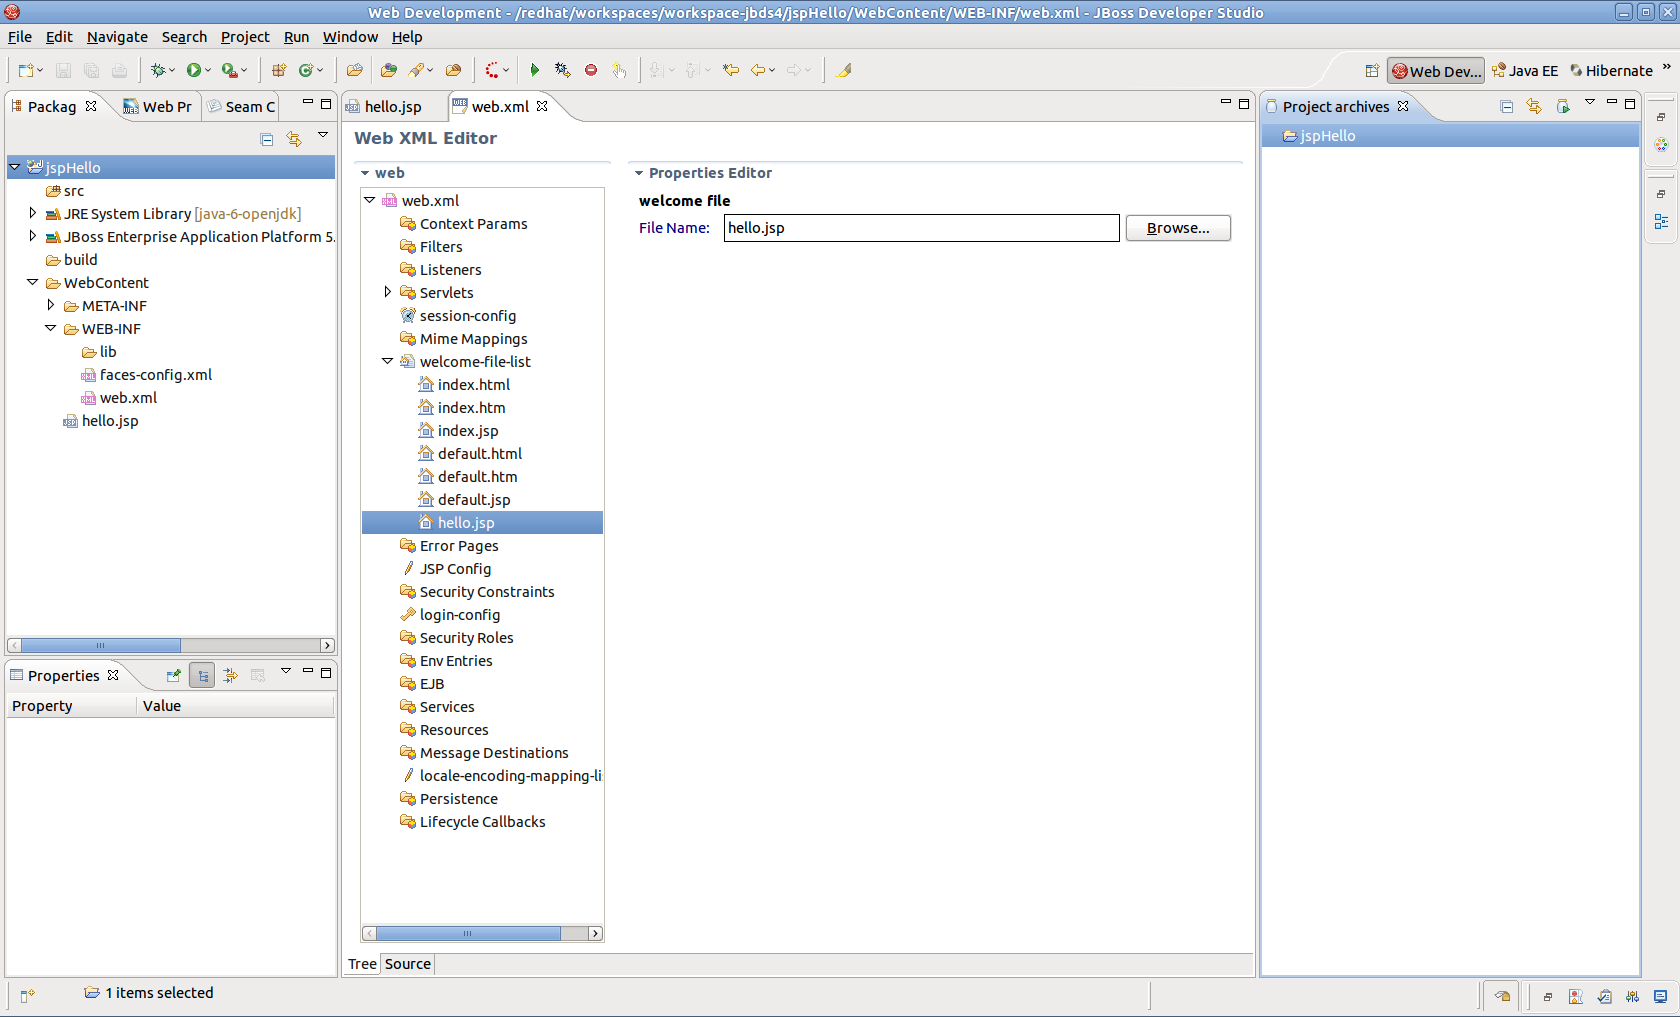
When you are creating web project the wizard creates the web.xml file for you automatically. The web.xml file editor
provided by JBoss Developer Studio is available in two modes:
Tree and Source.
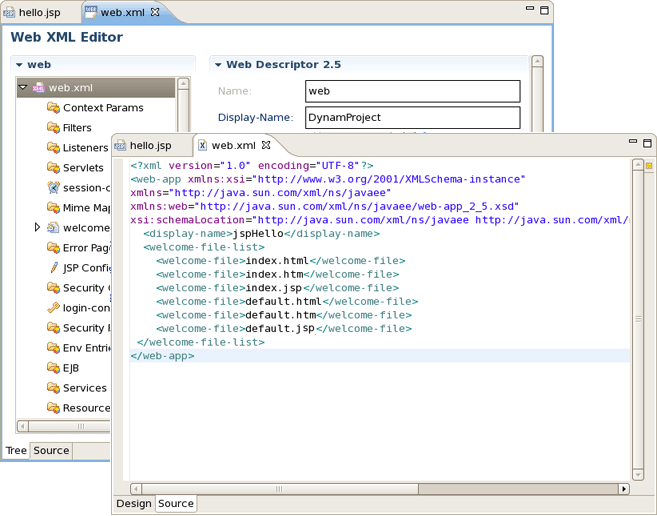
Both modes are fully synchronized. Let's add a mapping to our hello.jsp page in the web.xml file.
Switch to the Source tab.
Add the next code into
<welcome-file-list>:
<welcome-file>hello.jsp</welcome-file>
If you come back to Tree mode you will see that the changes made are automatically reflected in that mode.
Actually you don't really need to do any configurations right now.
Writing ant scripts and managing the packaging process can be quite a complicated and time consuming task for even the most trivial web applications. However, JBoss Developer Studio relieves you of this burden. All you need is to start JBoss Server and launch your application in your favorite browser.
You can also create a WAR archive with JBDS's Archive Tools and export it to any web server.
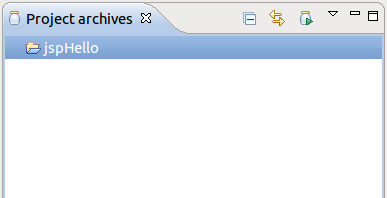
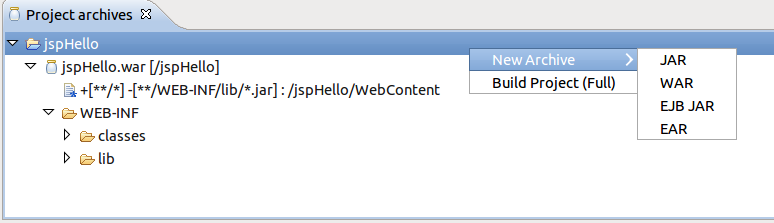
Project archives managing is available through Project Archives view.
Select → → → → from the menu bar
Select a project in Package Explorer you want to be archived
In the Project Archives view you will see the that the project is now listed:
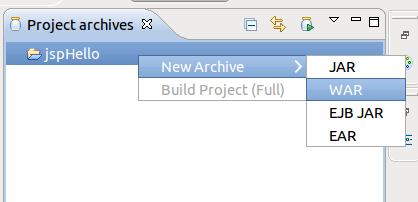
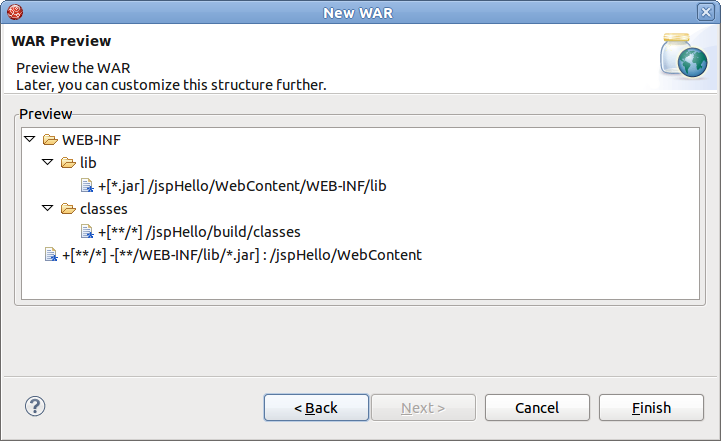
Right click on the project and select the type of archive you want to create. In this case we will create a WAR archive.
In the New WAR dialog you can see automatically selected default values.
Click the button to see a stub archive configuration for your project:
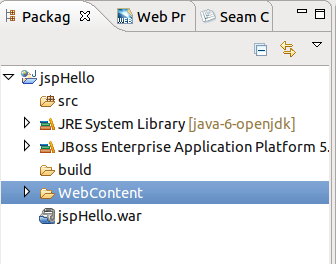
Click the button. The .WAR file will appear in Package Explorer and also in Project Archives view as structure tree:
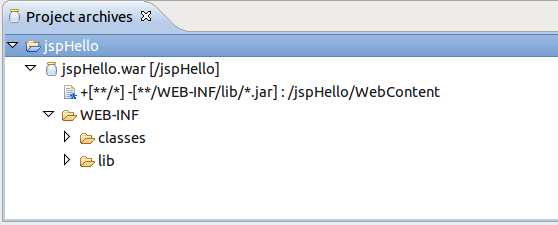
Using the Project Archives view you can rebuild the archive:
When you are creating a web application and register it on JBoss
Server it is automatically deployed into the
/deploy directory of the server. JBDS comes with the
feature of auto-redeploy. It means that you don't need to restart
JBoss Server. Any changes made in the application in
exploded format will trigger a redeployment on the server.
You can also use the "Finger touch" button for a quick restart of the project without restarting the server:

The "Finger" touches descriptors dependent on project (i.e. web.xml for WAR, application.xml for EAR, jboss-esb.xml in ESB projects).
JBDS comes with JSP design-time preview features. When designing JSP pages you can easily preview how they will look during runtime. You can even attach your stylesheet to the Preview.
Make a little change to
hello.jsppage, e.g. put this code snippet:
<%= new java.util.Date() %>
Click the button.
Switch to Preview page by clicking the Preview tab at the bottom of the page. You will see how the page will look at runtime.
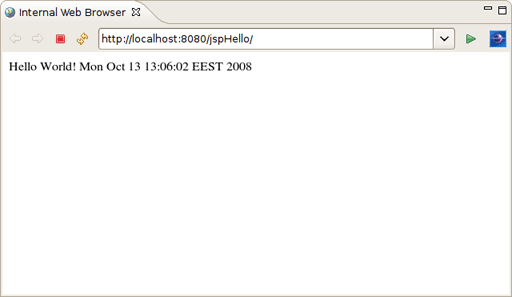
Let's now launch our project on server. We'll use JBoss Server that is shipped with JBoss Developer Studio. You can do it by performing one of the following actions:
Start JBoss Server from Servers view by clicking the Start the server icon (
 ) .
) .
Click the icon or right click your project folder and select → . If you haven't made any changes in the
web.xmlfile or cleared it out you can launch the application by right clicking thehello.jsppage and selecting ( ).
).
You should see the next page in a Browser :
Thus with the help of this chapter you've learnt how to organize a Dynamic Web Project with a minimal configuration, add new elements to it (in our case it's just one JSP page) and deploy and run it on the JBoss Server shipped with JBDS.