One of the most important advantages of JBoss jBPM's lightweight approach to BPM and workflow management is that developers can easily leverage their usual programming skills and techniques. One of these well-known techniques is Unit Testing and Test Driven Development.
In this chapter we will show how developers, making use of the JBoss jBPM GPD, can use a technique we have baptized Test Driven Process Development to create process definitions and test their correctness.
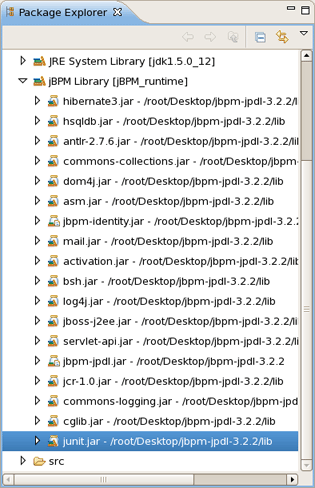
When creating the HellojBPM project the Project Creation wizard has already put in place all the library requirements we need to start writing the jBPM unit tests. They are contained in the jBPM Library container and the most important of them is the .jar file containing the core jBPM classes. While working on the project you could find them all in the Package Explorer.
It must be noted that it is possible to change the location of the core jBPM installation by changing the preference settings. More on this see later in this book.
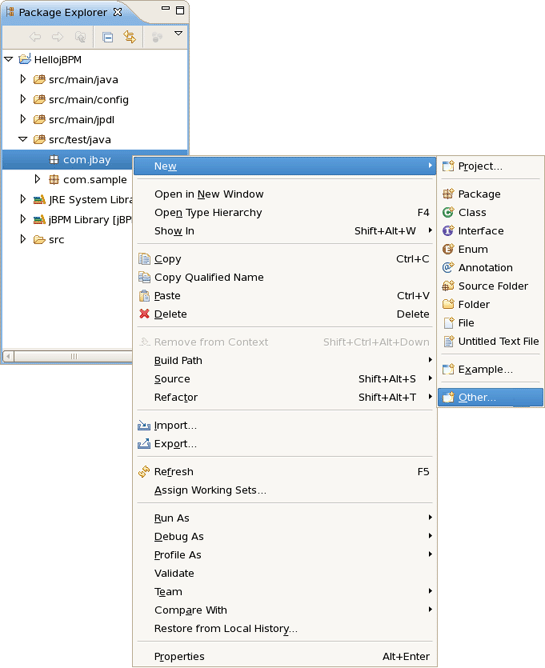
With that extra knowledge on the project settings, you can create your first test. To do this, we create the com.jbay package in the test/java source folder. Then we bring up the context menu on this package and select New > Other...
And then Java > JUnit > JUnit Test Case to call the specialized JUnite Test case creation wizard.
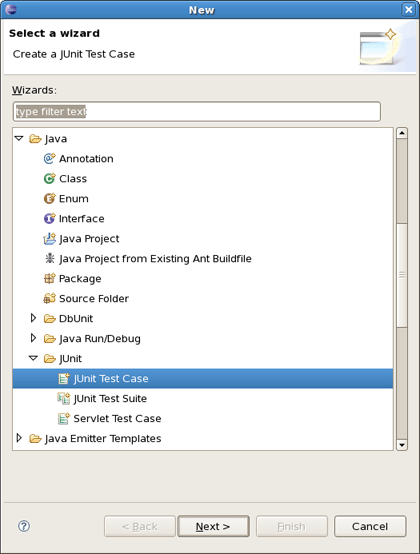
The wizard looks as follows:
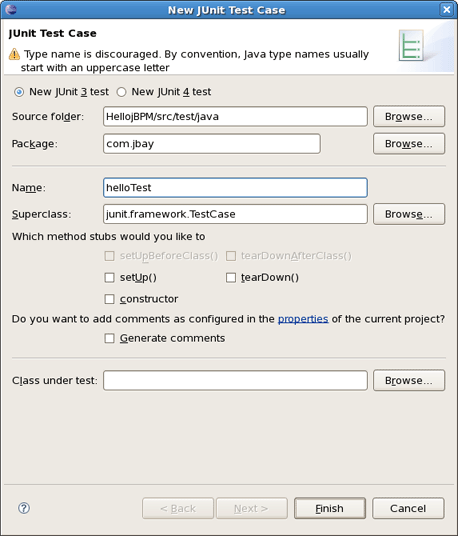
By default JUnite 3 version of testing framework is selected. Of course, you can choose new advanced JUnit 4 version. In this case you'll be prompted to add new JUnit Library to your build path. To add it automatically just click on the appropriate link. In the Class under test section you can specify the class to test.
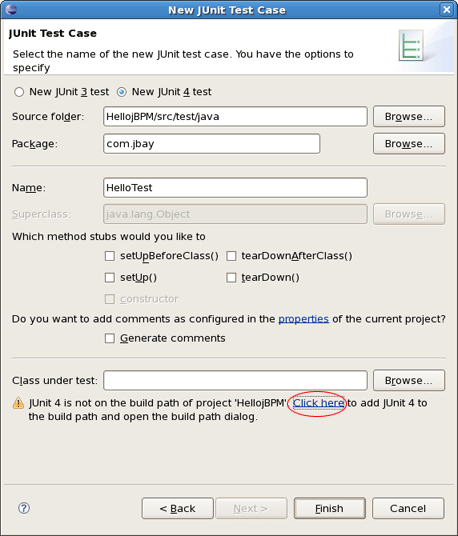
Then, we call the test class HelloTest and press Finish button to complete.
Next, we should write a simple test scenario as shown on the next figure. Let's study the code of this test case.
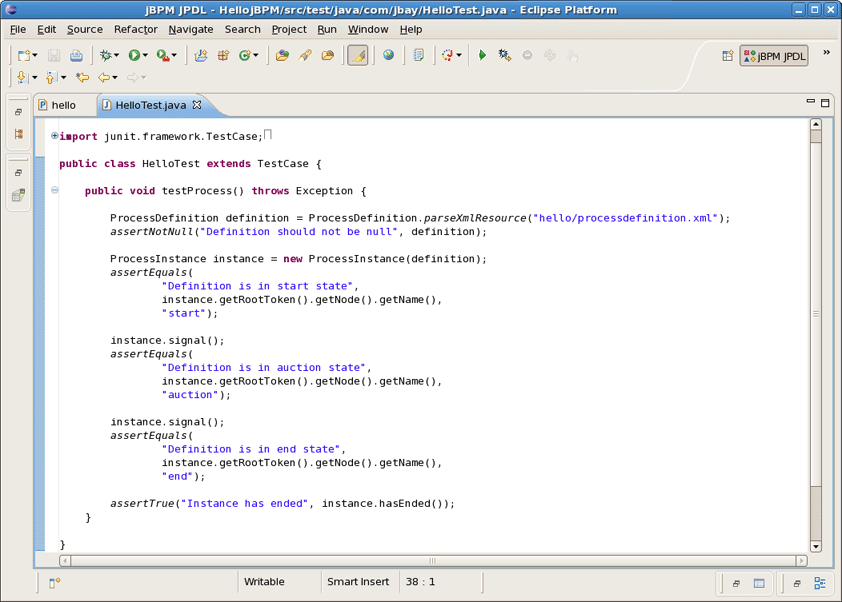
In the first line of the method, a jBPM process archive object is created. We use a constructor accepting the filename of the archive. In our case it is the hello file we created earlier and which lives in the src/main/jpdl folder of our project. After asserting that this object is really created, we extract a process definition object from it. This object is fed to the constructor of a process instance object. We have a process instance object, but this process is not yet started, so we can safely assert that its root token still resides in the start node. After signalling the token will move to the next state and the process will be in the auction state. Finally another signal will end the process.
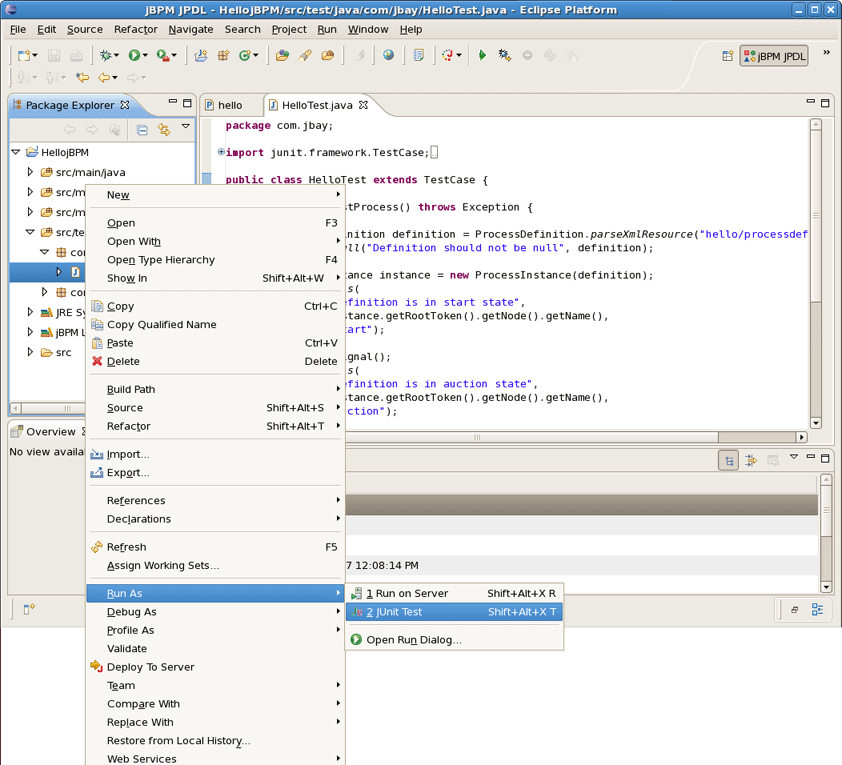
After writing this test we can check whether it works as expected by running it .
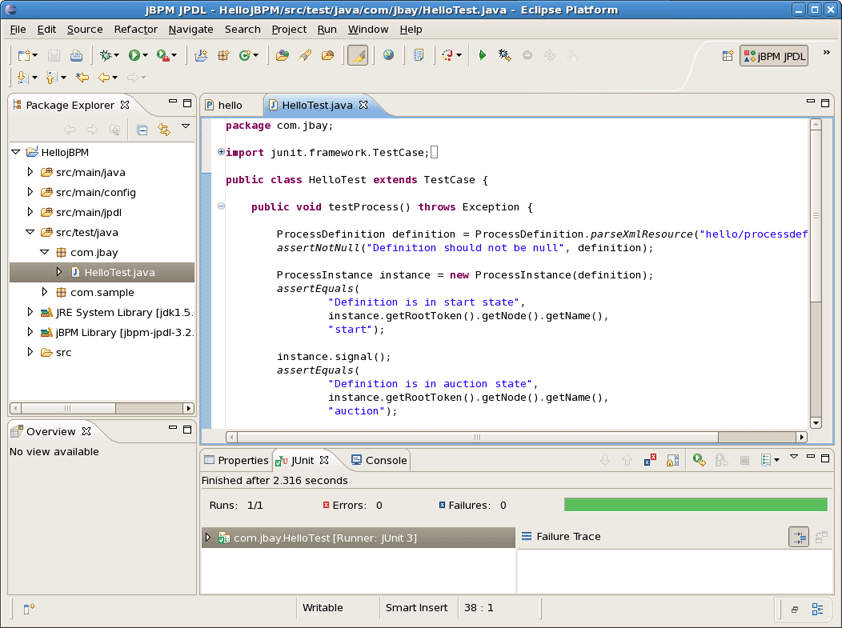
All went well as we have a green light:
Of course, this simple scenario was not very interesting, but the purpose of it was to show how you can reuse your development skills in a very straightforward way when doing process development. To see how more interesting processes and process test scenario's can be developed, we suggest you to read the JBoss jBPM User Guide and to study the API reference. You can find it in the jBPM download folder. (To get started we downloaded jbpm-jpdl-3.2.2 in the second chapter. You should just remember where you extracted it.) All we've mentioned are in the 'javadoc- *' subfolders of the 'doc' folder. Moreover, some more examples will be given later in this book.