
To get started with JBoss Portal and JBoss Tools, you should first have a Web Project pointed to the JBoss Portal Runtime. Thus, in this chapter we are going to show you how to create a Dynamic Web Project, add Java Portlet to it and deploy it to the JBoss Portal.
To create a Dynamic Web Project, go to File > New > Dynamic Web Project if you are in the Web Perspective or File > New > Other > Web > Dynamic Web Project in any other Perspective. The first page of the New Dynamic Web Project wizard looks as follows.
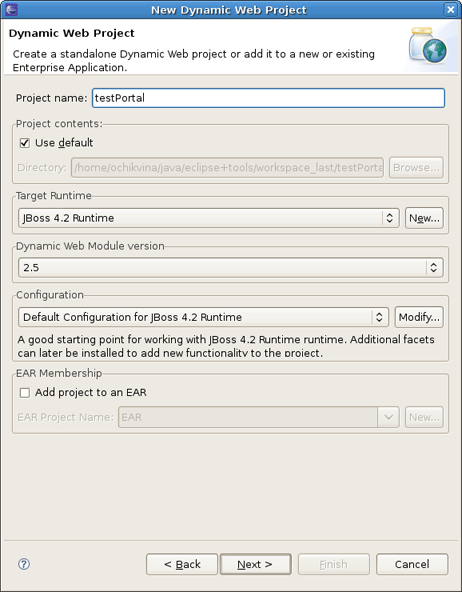
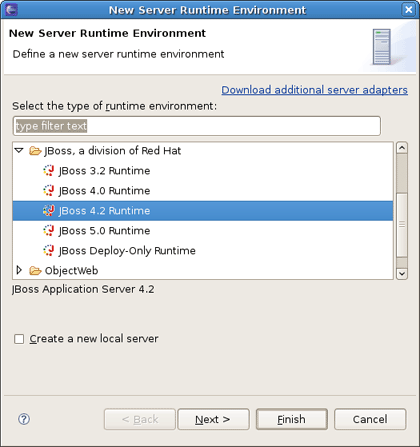
Fill out the name of your project. Next, click the New button in the Target Runtime section to specify a new Target Runtime. Click JBoss 4.2 Runtime and press Next.
On the next page you should give a name to the runtime. Let's call it JBoss Portal 2.7 Runtime , and then point it to the location of your JBoss AS + Portal installation.
Note:
The JBoss Tools Portlet feature has been tested using 2.6.5 and 2.7.0.ALPHA versions of JBoss Portal. Remember, if you want to use Portlet version 2.0 (JSR-268), you have to choose JBoss Portal 2.7.
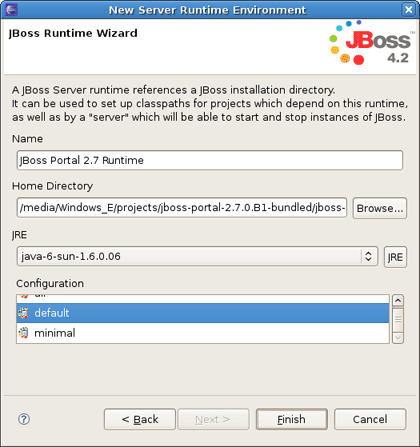
Click Finish.
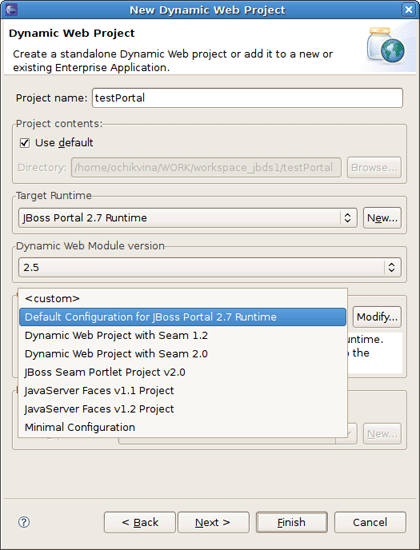
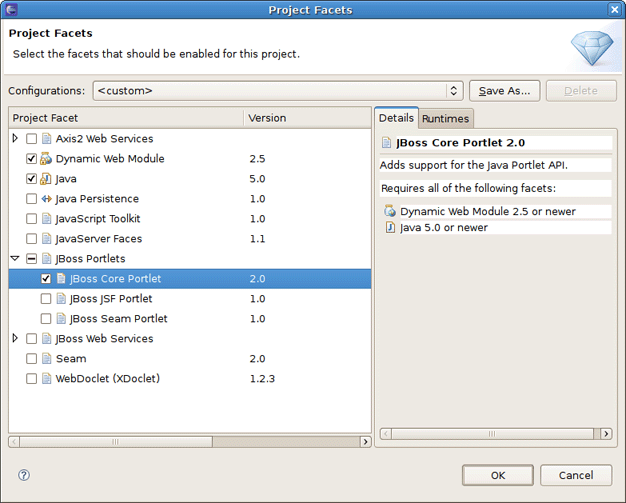
On the next step you should click the Modify button next to the Configuration section to enable Portlet Facets for the project.
On this page you should check the JBoss Core Portlet and press OK .
The last wizard page is for configuring web modules. Here all values are set, so you can leave everything as it is.
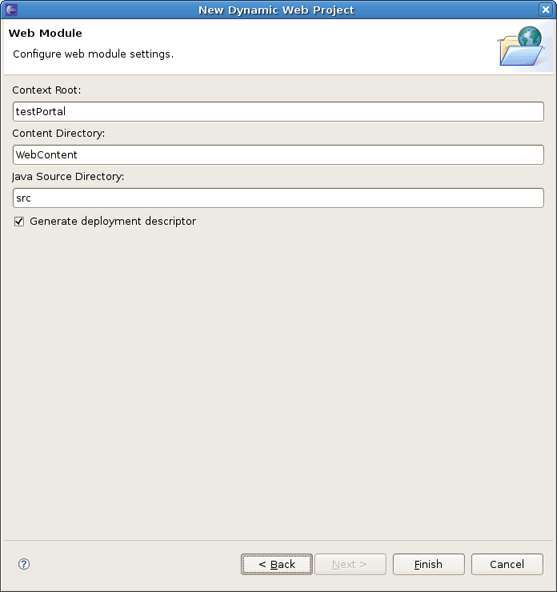
Press Finish.
That's it! Our base project is done.
Now, let's look at the structure of the just created project.
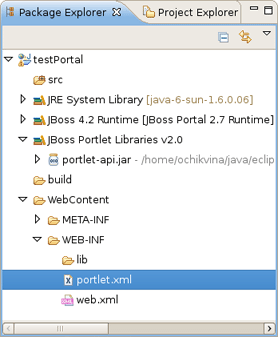
Here JBoos Tools added JBoss Portlet facet to the project, created an empty portlet.xml file and added the Portlet library to the project classpath.
At this point we'll show what the steps you need to proceed to add a new Java Portlet to the project.
Call the Create Portlet wizard by selecting New > Other > JBoss Tools Web > Portlet > Java Portlet.

The wizard fills in the Web Project and Source Folder fields for you. Then you need to specify the Java package and the Class name and click Next .

On the other page you will be able to set the display name of the Portlet, a title, a description, the supported modes and init parameters.

On the next screen you can define which methods from GenericPortlet you want to override.

The last screen lets you build JBoss Portal specific descriptors to create an instance during the deployment and place it directly on the Portal.

Tip:
If you uncheck the Create Portlet Instance checkbox, JBoss Tools won't create the deployment elements in the default-object.xml and portlet-instances.xml files.
Once Java Portlet is created, new resources have been added to the project structure. As you can see on the figure below, it adds a Java Portlet class ( TestPortlet.java in our case), default-object.xml and portlet-instances.xml files and updates portlet.xml as well.

Thus, now the Project is ready to be built and deployed.
You can deploy the created project in the way you deploy any other Web Application. Right click on the project and do Run As > Run On Server and accept the defaults. On the Add and Remove Projects page move the created Project to the right and click Finish.

It will deploy the Portlet Web Application and start JBoss AS.
Tip:
You should use http://localhost:8080/portal URL to see your Portlet in the Browser.
In the Browser the Portlet looks as follows:

Consequently, here you learnt how to create a Dynamic Web Project, add Java Portlet to it and deploy the project to JBoss Portal.