It's also possible to create a custom Converter in order to specify your own converting rules. Let's look at how you can do this.
To create and register a custom converter it is necessary perform the following steps:
In the Project Explorer view open the
faces-config.xmlfile and select Tree tab.
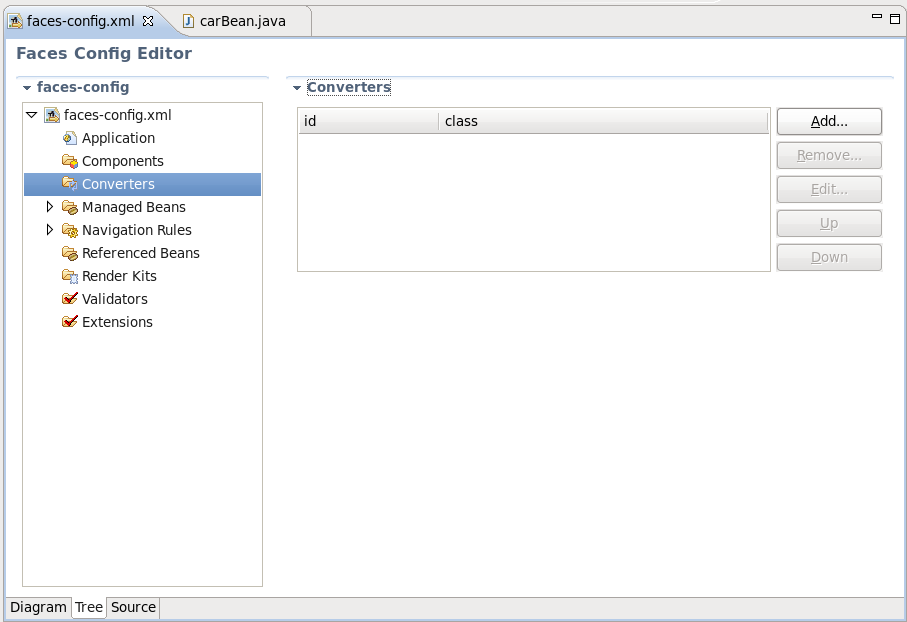
Select Converters and click the button.
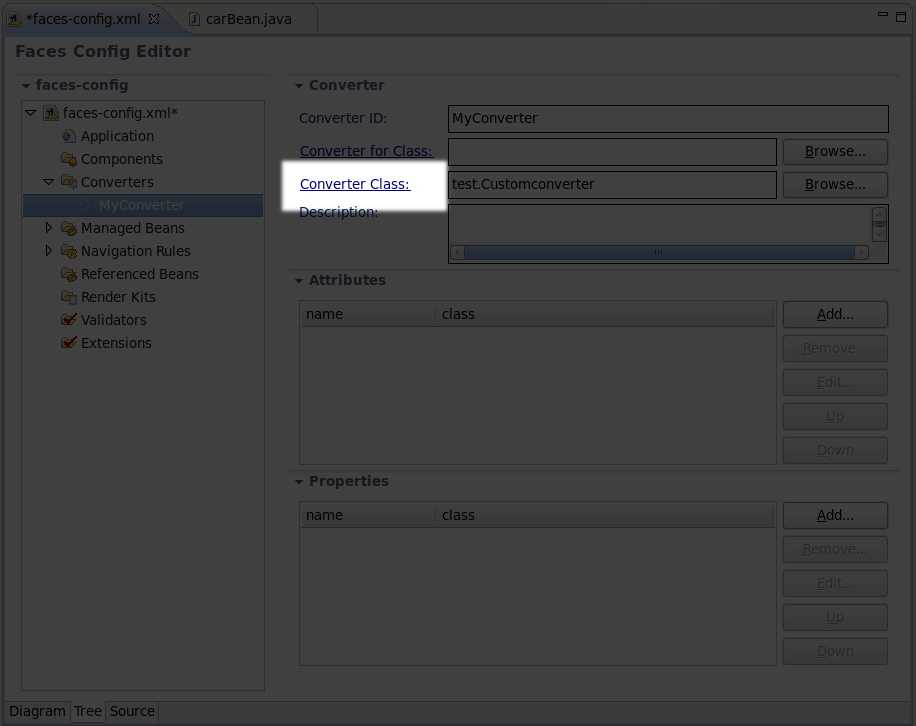
On the form type the name of your converter in the Converter-id field and name of the class for converters. After clicking button your custom converter is registered under the entered name.

Now you can create a "converter" class. In the Converter section you should see your Converter-id and Converter-class. Click on the Converter-Class link to generate the source code.
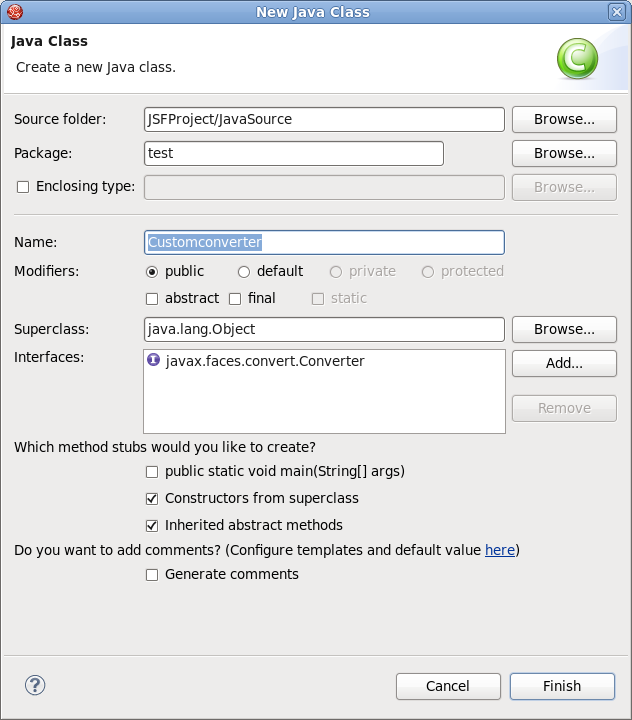
A usual wizard for creating a Java class will appear. All needed fields here will be adjusted automatically. Just leave everything without changes and click the button.
To open a converter class click again on the Converter-Class link in the Converter section.
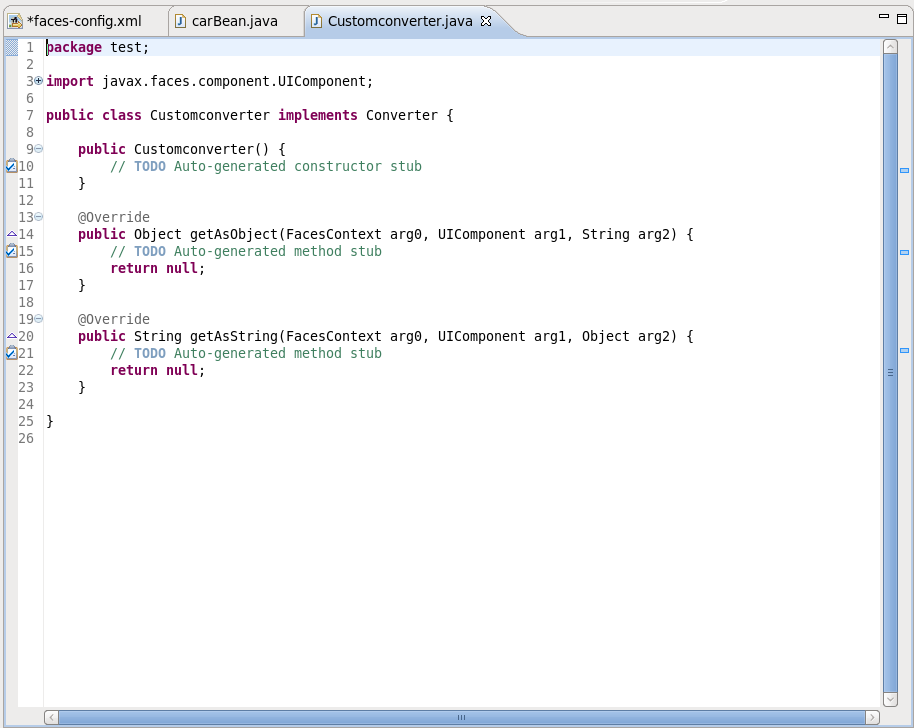
Now you are able to add a business logic of converter in the Java editor.
It is also quite easy to develop your own custom Validators. The required steps are similar to those shown previously:
In the Project Explorer view open the
faces-config.xmland select the Tree tab.
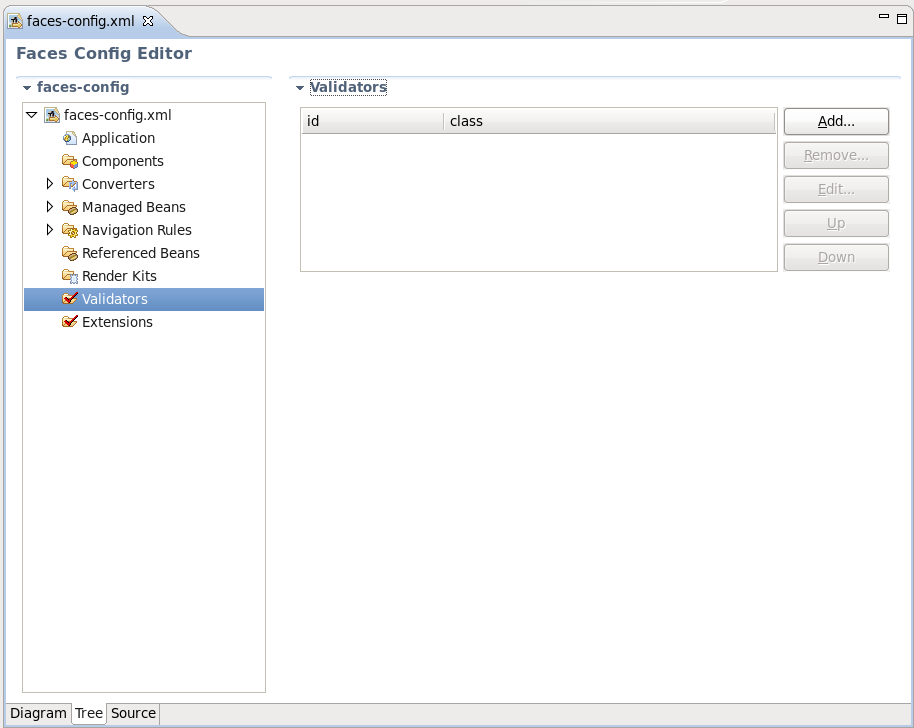
Select the Validators option and click the button.
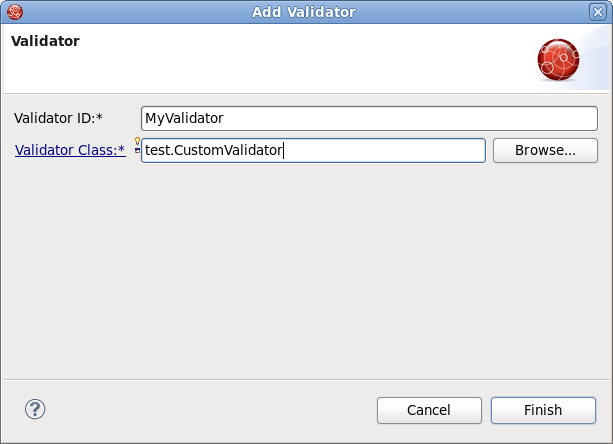
Type the name of your validator in the field and name of the class for validators. After clicking the button your custom validator is registered under the entered name.
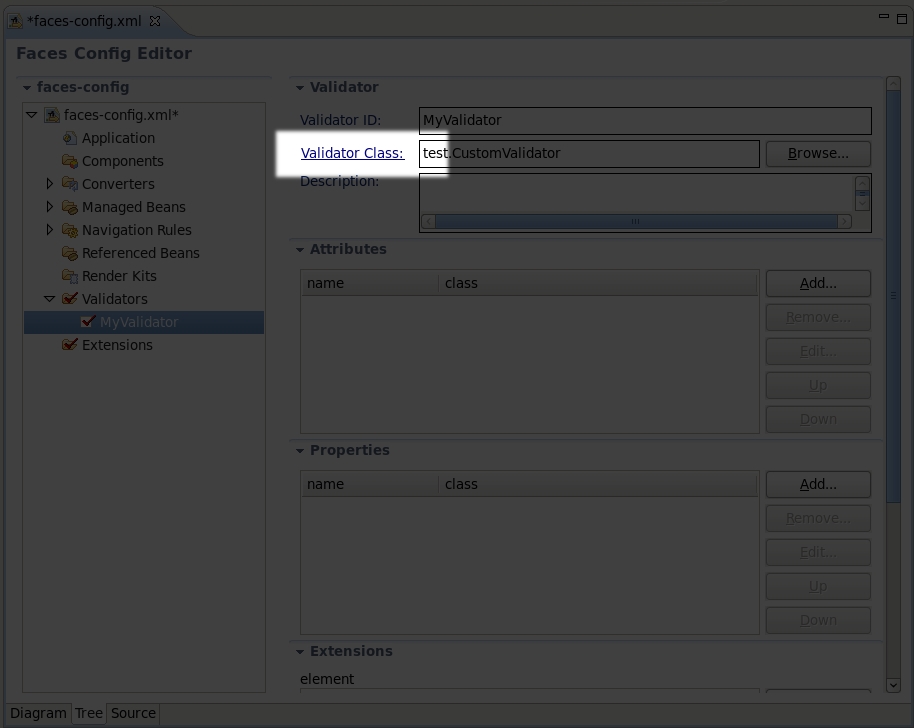
Now you can create the "validator" class.
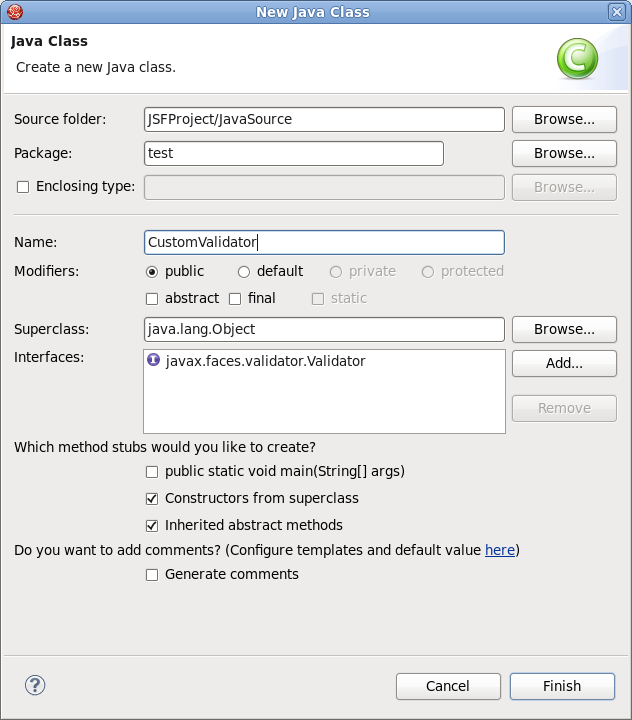
In the Validator section you can see your Validator-id and Validator-class. To generate the source code click on Validator-class.
Java class will be created automatically. Leave everything without changes and click the .
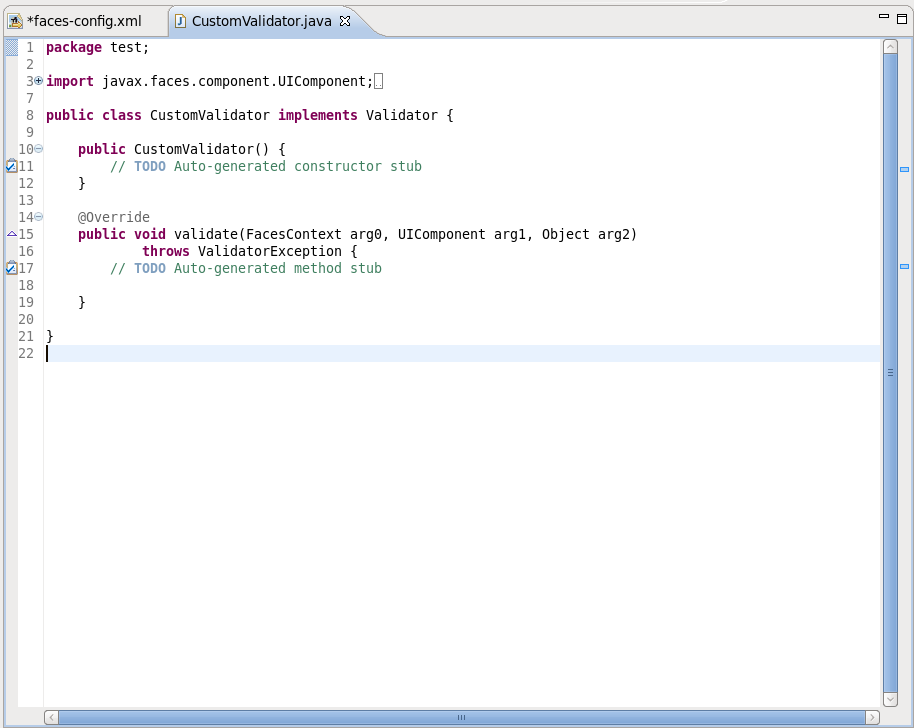
To open the validator class click on the Validator-Class link in the Validator section. Now you are able to write a business logic of validator in the Java editor.
The creation of Referenced Beans is similar to the creation of Custom Validators. The steps below show you the steps required to create Referenced Beans.
In the Project Explorer view open the
faces-config.xmland select the Tree tab.

Select the Referenced Beans option and click on the button.
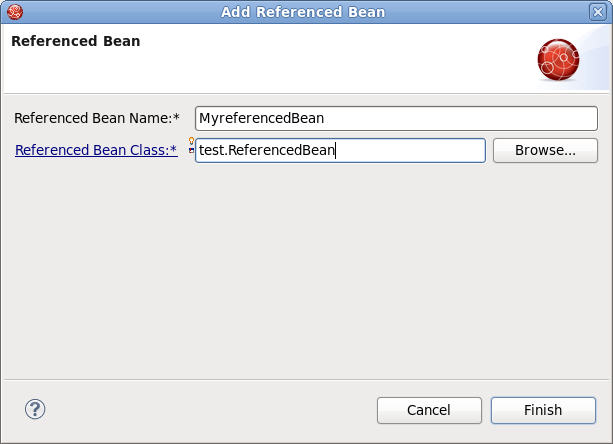
Type in the name of your Referenced Bean and type in or select the Referenced-Bean-Class value by clicking the button.
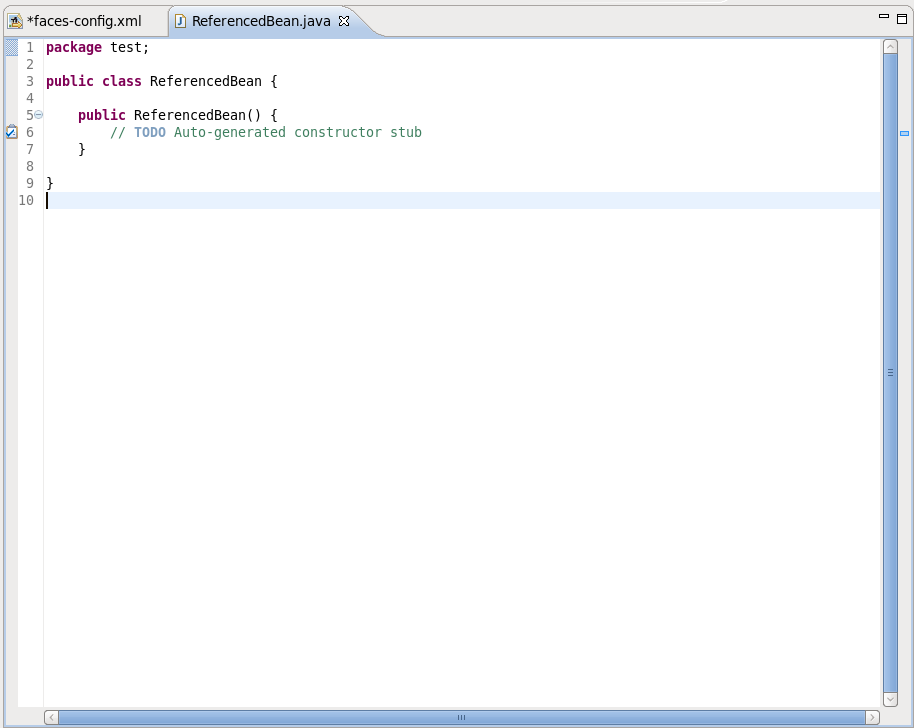
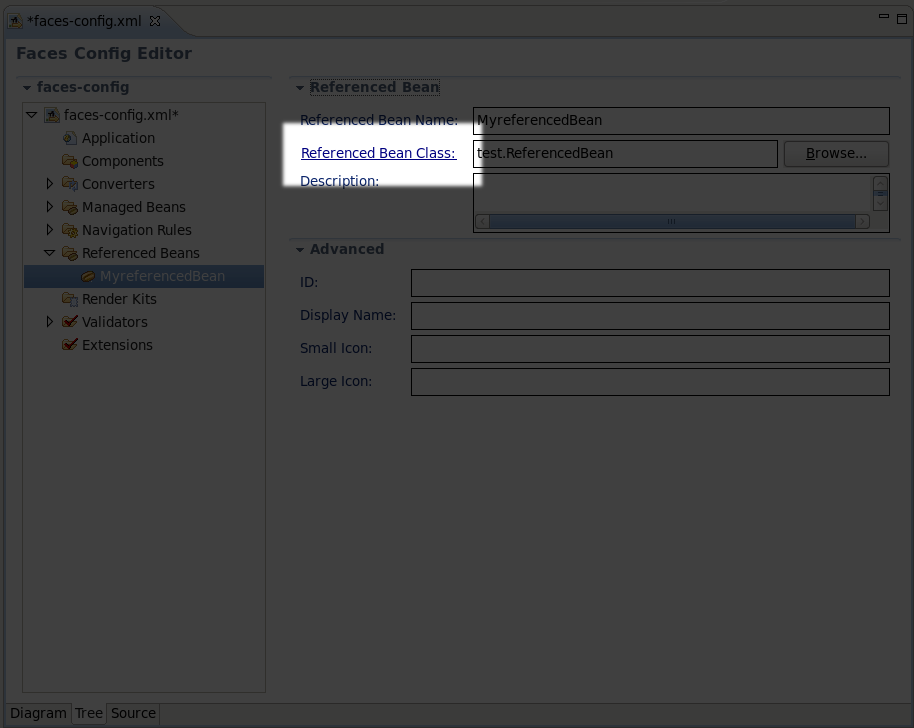
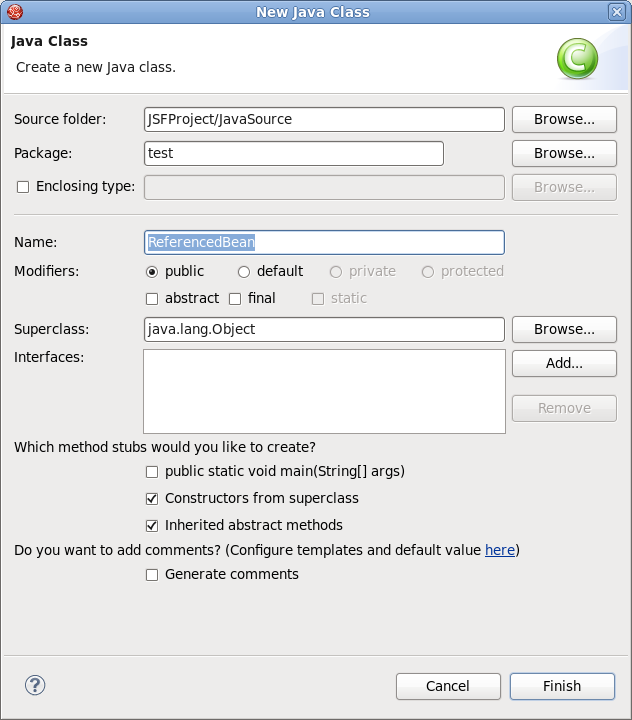
In the Referenced Bean section you should see your Referenced-Bean-Name and Referenced-Bean-Class. Click on the link to open the Java creation wizard.
The Java class will be created automatically. Leave everything with their default values and click the button.
To open a Referenced Bean class click the Referenced-Bean-Class in the Referenced Bean section. Now you are able to write business logic of Referenced Bean in the Java editor.