JBoss Central is a core IDE tab, providing access to JBoss information and assistance in one centralized location. It offers features for first time users of JBoss Tools, as well as those with more experience.
The JBoss Central tab comprises resources and actions for creating new projects, learning about the tools and installing software updates:
Project wizards create new projects based on sample applications and different technologies.
The TicketMonster tutorial, part of JBoss Java Developer Framework, demonstrates how to use the IDE to best advantage in developing a complex web application that utilizes JBoss technologies.
Links to JBoss blog posts give timely insight into JBoss developments and the links to JBoss resources, such as documentation and forums, provide easy access to key information sources.
Software installation and update information assist in the easy management of IDE plug-ins.
JBoss is a key IDE perspective, giving easy access to useful tabs and actions when developing applications with JBoss technologies. The perspective consists of a default set of tabs, menus and toolbars.
- Tabs
The default tabs of the JBoss perspective are OpenShift Explorer, Outline, Package Explorer, Palette, Problems, Project Explorer, Properties, and Servers. These tabs are vital when developing with JBoss technologies.
- Menus
The default menus of the JBoss perspective are File, Edit, Navigate, Search, Project, Run, Window, Help. These are shared with other perspectives but contain unique menu items for actions such as starting project wizards, converting line delimiters, showing items in JBoss perspective tabs, generating Javadoc, building packages, accessing JBoss Central and cheat sheets, and reporting problems with tools.
- Toolbars
The default toolbars that compose the global toolbar of the JBoss perspective are BrowserSim, Debug, File, Help, Java EE, Java Element Creation, JBoss Tools WTP Server Actions, JPA Element Creation, Launch, Navigate, Search, Select Maven Profiles, and Web Browser. The global toolbar provides access to frequently used actions.
The aim of this section is to guide you in using JBoss Central and the JBoss perspective:
View JBoss Central to access project wizards and information resources
Install and update software with JBoss Central
Open the JBoss perspective for easy access to key tabs, menus and toolbars
Access cheat sheets that assist in project development
The JBoss Central tab provides resources for getting started and updating software.
To open the JBoss Central tab, click the icon
 . Alternatively, click →.
To maximize the JBoss Central tab, double-click the name of the tab. The JBoss Central tab fills the whole IDE window. Double-click the name of the tab to reduce the size of the tab again. These actions work for all IDE tabs.
JBoss Central provides access to wizards for generating projects. There are two types of project wizards available in JBoss Central:
The Start from scratch wizards create the same project using different underlying technology, as started in the project name. To view a project summary, hover the cursor over a project wizard. If you do not have the necessary plug-in installed to use a wizard, you will be prompted to install it when you select the wizard.
The Start from a sample wizards create sample web, mobile, back-end and portal applications. To view a project summary, hover the cursor over a project wizard.

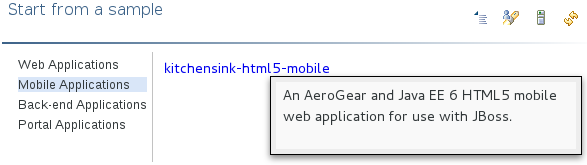
To create a project from one of the wizards, in the JBoss Central tab select the Getting Started page. Click on one of the links below Start from scratch or Start from a sample. Alternatively, click → and select a project from the list. A wizard opens to guide you through the process of creating the project.
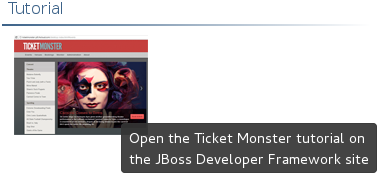
Additionally, access is provided to the comprehensive TicketMonster tutorial, part of JBoss Developer Framework, that guides you through developing a complex web application utilizing JBoss technologies from within the IDE. To view the tutorial, in the JBoss Central tab select the Getting Started page and click the button. The JBoss Developer Framework website will open in the default browser of the IDE.
JBoss Central provides easy access to JBoss and developer information. Each of the information sources listed below are web-based and, depending on the web browser preferences you have set for the IDE, clicking on links results in an internal or external browser window opening.
- View JBoss Tools website
In the JBoss Central tab, click the icon
 .
.
- View the latest JBoss developments
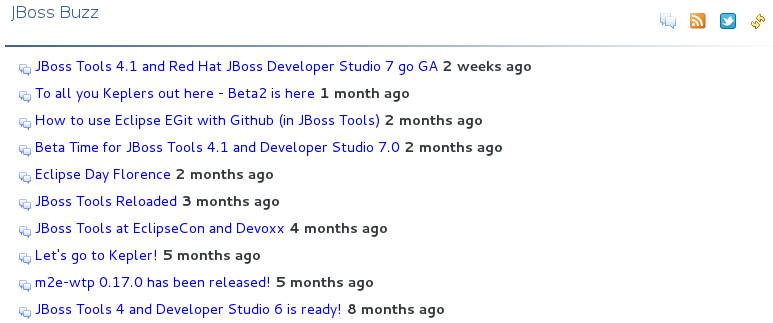
In the JBoss Central tab, select the Getting Started page and click the links under JBoss Buzz. To see previews of the blog posts, hover the cursor over these links. To view a complete list of JBoss blog posts, click the button. JBoss blog posts are available to follow as RSS feeds or with Twitter. To review these options, click the or icons.
- View JBoss developer information sources
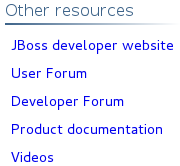
In the JBoss Central tab, select the Getting Started page and click the links under Other resources. These links provide access to videos, documentation and forums.
- Search JBoss Community website
In the JBoss Central tab, click the arrow next to the search box and select Search JBoss Community. In the search field, enter the search terms.

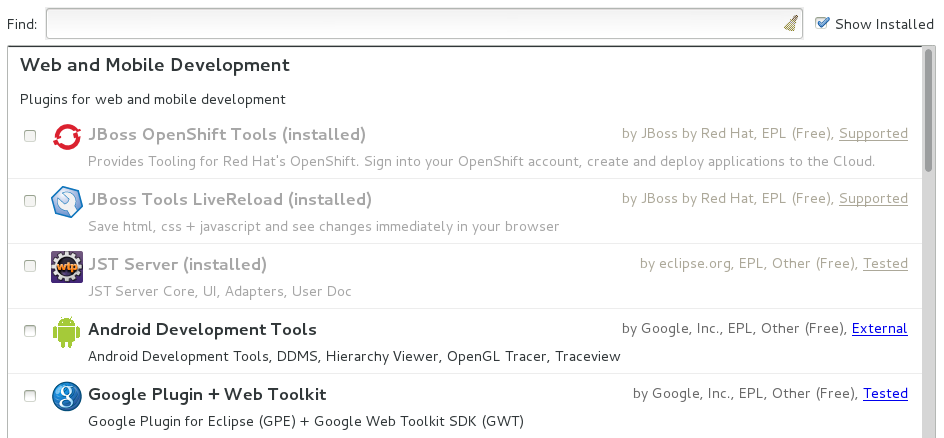
JBoss Central enables you to install and update a range of IDE plug-ins. The available plug-ins comprise JBoss and third party plug-ins that have been specifically tested for use with the IDE. These plug-ins include ones for web and mobile development, source control management, testing and Maven.
For all actions listed below, open the JBoss Central tab and select the Software/Update page.
- View available software
The available software is listed in the table. To refresh the list of available plug-ins, click the icon
 .
.
- View installed plug-ins
Select the Show Installed check box. The installed plug-ins are listed in the table as disabled.
- Install available software
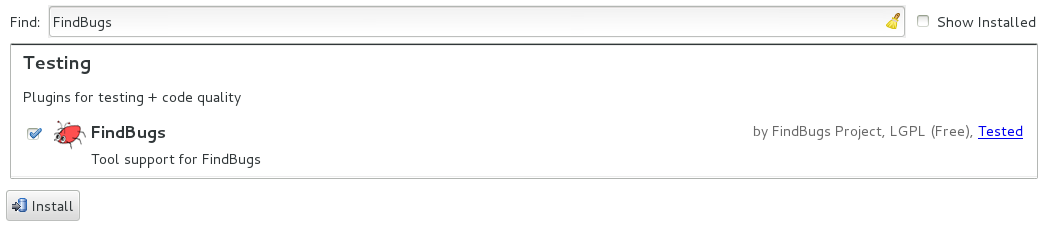
In the Find field, type the name of the software or scroll through the list to locate it. Select the check box corresponding to the software you want to install and click or click the icon
 .
.
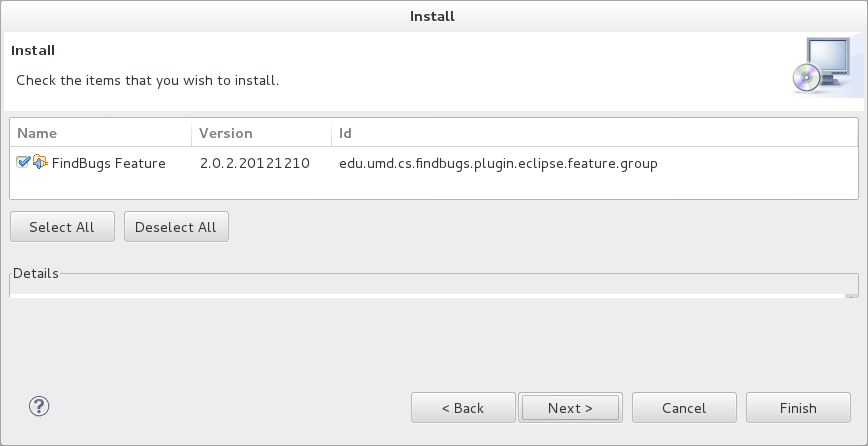
In the Install wizard, ensure the check boxes are selected for the software you want to install and click .
Review the details of the items listed for install and click . After reading and agreeing to the license(s), click I accept the terms of the license agreement(s) and click . The Installing Software window opens and reports the progress of the installation.
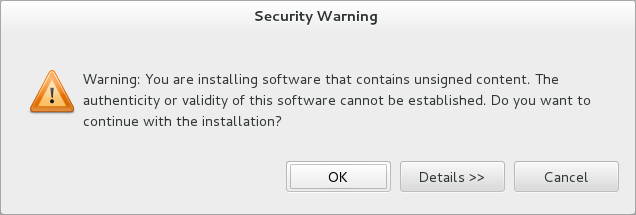
During the installation process you may receive warnings about installing unsigned content. If this is the case, check the details of the content and if satisfied click to continue with the installation.
Once installing is complete, you are prompted to restart the IDE. Click to restart now and if you need to save any unsaved changes to open projects. Note that changes do not take effect until the IDE is restarted.
- Check for software updates
Click the icon
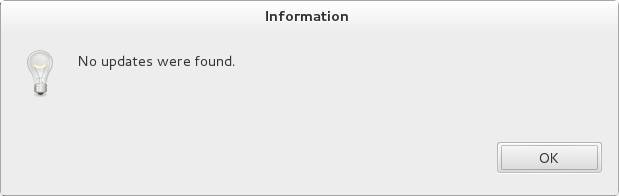
 . The Contacting Software Sites window opens and reports the progress of checking. Once checking is complete, a prompt informs you of any new software found. Click to close the prompt.
The JBoss perspective provides a default set of tabs, menus and toolbars to assist with common tasks associated with developing applications that use JBoss technologies.
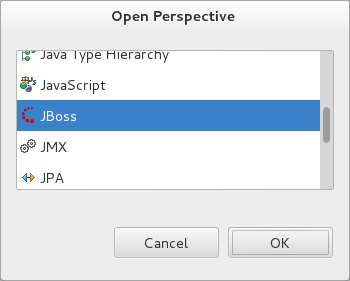
To open the JBoss perspective, click →→. From the list of available perspectives, select JBoss and click . The tabs associated with the JBoss perspective open and menus and toolbars change as appropriate.
There are a number of actions provided by the IDE for managing perspectives, including the JBoss perspective.
- Reset the JBoss perspective
You may want to reset the JBoss perspective to its default settings after opening and closing tabs. Click →. At the prompt asking if you want to reset the current JBoss perspective to its default settings, click .
- Switch to the JBoss perspective
You can have multiple perspectives open at one time. To switch to the JBoss perspective, click the icon
 . Alternatively, click →→ or press Ctrl+F8 and repeat until the JBoss perspective is the current perspective.
- Close the JBoss perspective
Click →.
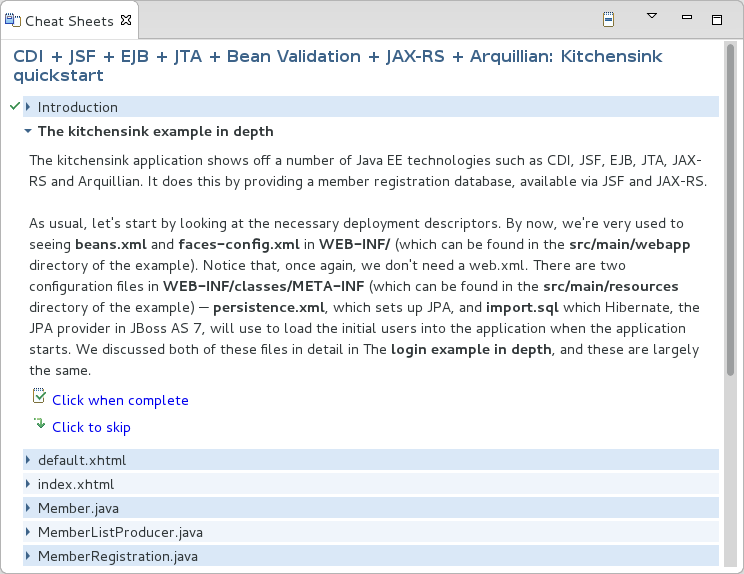
Typically, cheat sheets contain detailed information about projects, with step by step guidance and explanations for how to create and deploy applications. JBoss Central and the JBoss perspective provide actions to make the cheat sheets that accompany projects easier to access and view.
A cheat sheet contained in a project is automatically opened in the Cheat Sheets tab when the project is imported into the workspace with →.
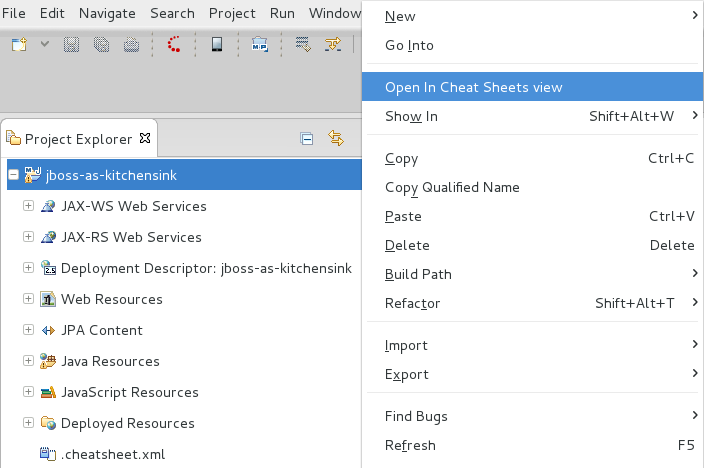
To open a cheat sheet manually, in the Project Explorer tab right-click the project name or a cheat sheet file and click .
Alternatively, click →, click Select a cheat sheet from a file and type the location of the file in the field or click to navigate to the file. Click to close the window. The cheat sheet opens in the Cheat Sheets tab.
Note
If the cheat sheet file name begins with dot, it may not be automatically visible in the Project Explorer tab. To change the viewing preferences of the Project Explorer tab, click the icon and click . In the Filters tab, clear the .* resources check box and click .
The aim of this section is to guide you in customizing JBoss Central and the JBoss perspective:
Make JBoss Central visible when the IDE starts
Customize the menu and toolbar items of the JBoss perspective
Enable project examples for use when you are offline
Specify the default IDE behavior for cheat sheets
JBoss Central is set by default to show when the IDE starts but you can customize this behavior.
To change the behavior, in the JBoss Central tab select or clear the Show on Startup check box as appropriate.

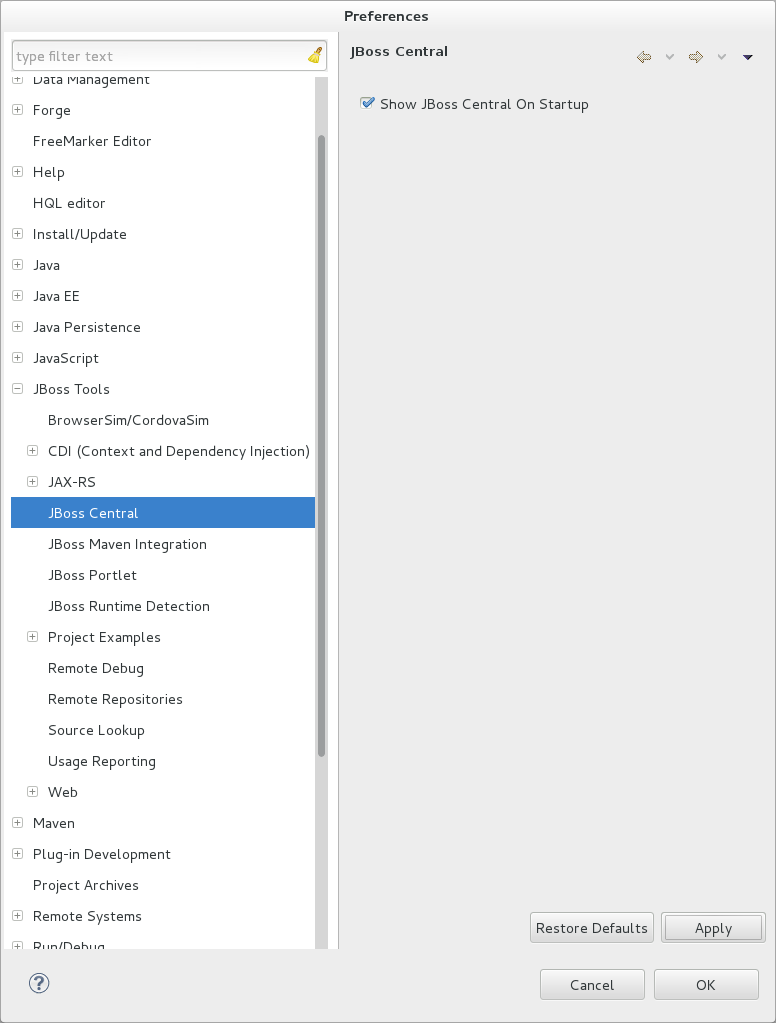
Alternatively, in the JBoss Central tab click the icon
 or click →. In both cases, expand JBoss Tools and select JBoss Central. Select or clear the Show JBoss Central on Startup check box as appropriate. Click and click to close the Preferences window.
You can customize the menus and toolbars displayed by the JBoss perspective, as with any perspective.
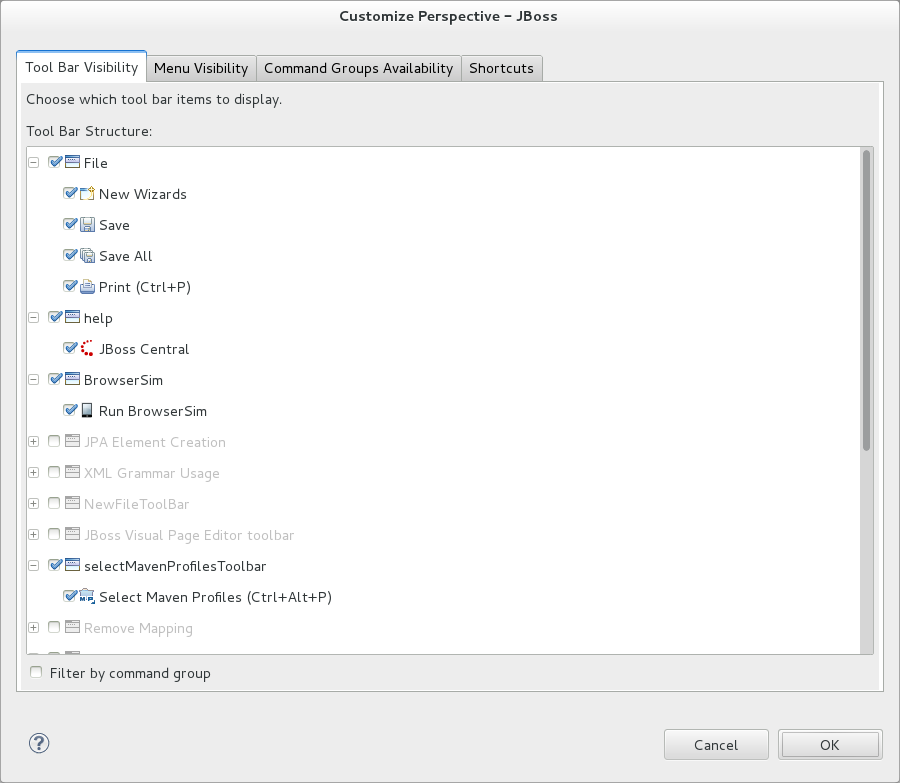
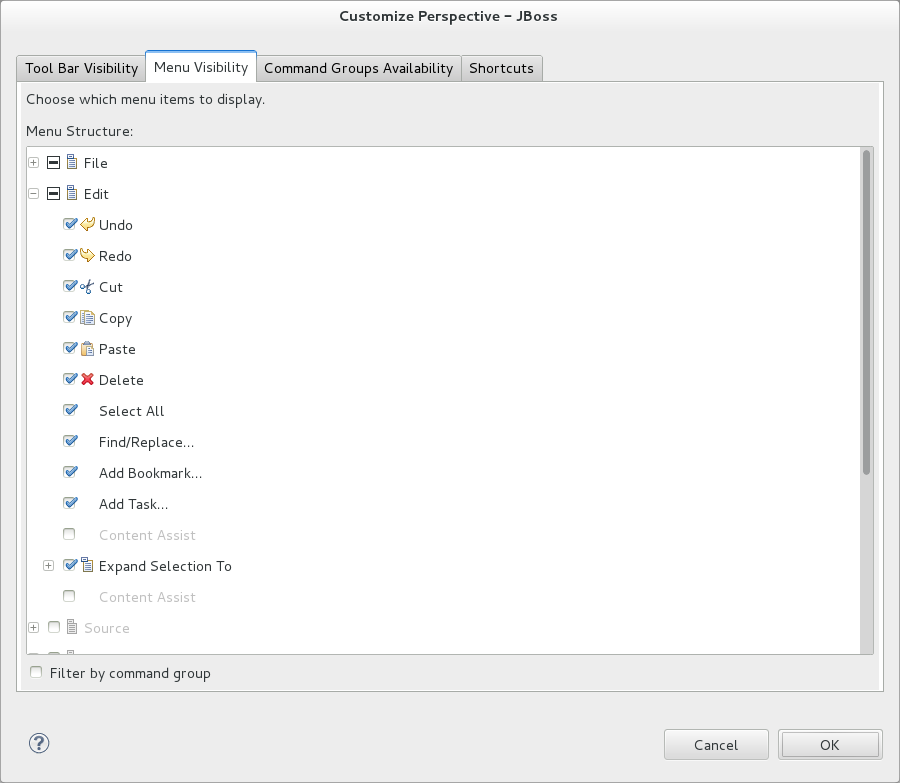
To customize the JBoss perspective, ensure it is the current perspective and click →. In the Tool Bar Visibility tab, select or clear the check boxes corresponding to the individual toolbars and icons visible in the global toolbar of the JBoss perspective as appropriate. In the Menu Visibility tab, select or clear the check boxes corresponding to the menus and menu items visible in the JBoss perspective as appropriate. Disabled items in the Tool Bar Visibility or Menu Visibility tab can be activated in the Command Groups Availability tab. Click to close the window.
You can reorder the individual toolbars comprising the global toolbar in the JBoss perspective. To reorder, click the vertical line indicating the beginning of a toolbar and drag the toolbar to its new location in the global toolbar.

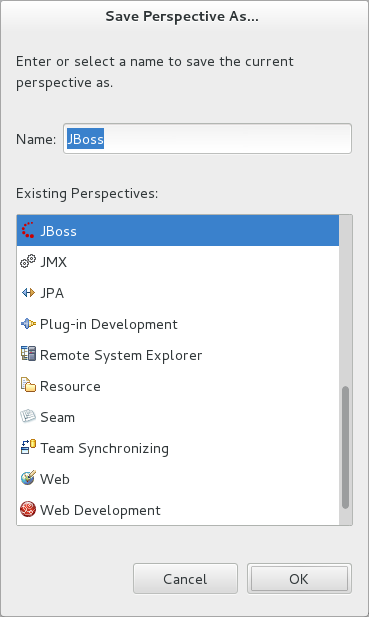
Additionally, you can customize which tabs are part of the JBoss perspective. To customize the tabs, ensure the JBoss perspective is the current perspective. Open or close tabs as desired and click →. From the Existing Perspectives list, select JBoss and click . At the prompt asking if you want to overwrite the existing JBoss perspective, click .
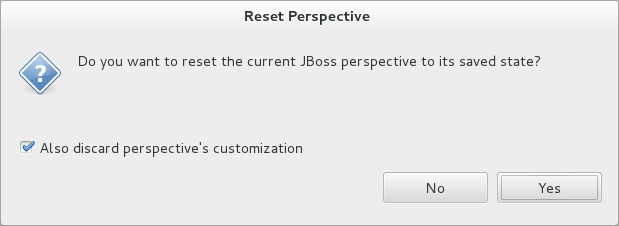
To revert all customization of the JBoss perspective, ensure it is the current perspective and click →. At the prompt asking if you want to reset the JBoss perspective to its saved state, select the Also discard perspective's customization check box and click .
When a project wizard in JBoss Central is used, the IDE searches online respositories for the most recent versions of project dependencies. JBoss Central provides a feature that enables you to create a cache of the necessary project dependencies when you are online so that you can still use the project wizards offline. As detailed below, this is achieved by first creating the cache and then informing the IDE to use that cache.
Important
Groovy must be installed and configured as stated in the Groovy documentation. For more information, see http://groovy.codehaus.org/Installing+Groovy at the Groovy website.
Important
Maven must be correctly configured for all of the project wizards before the cache script is run. Red Hat JBoss Enterprise Application Platform and Red Hat JBoss Web Framework Kit Maven repositories must be specified in settings.xml.
To create the cache, click →. Expand JBoss Tools→Project Examples and select Offline Support. To run the cache generating script, click and paste the selected text on a command line outside the IDE. The script will download and build all of the project examples in a new directory offline. The script may take some time to complete.
Once the cache is generated, copy offline/.jbosstools/cache to the directory where you want to keep the project examples. Copy the contents of offline/.m2/repository to your local maven repository.
To inform the IDE to use the cache for the project example wizards, click →. Expand JBoss Tools→Project Examples and select Offline Support. Select the Enable offline mode for project examples check box. Ensure the correct cache location is specified in the Offline directory field. Click and click to close the Preferences window.
You can specify the default action the IDE should take when finding cheat sheets in projects that it is importing. The available options include always or never showing cheat sheets or the IDE prompting for which action to take for each import.
To customize the action, click →. Expand JBoss Tools and select Project Examples. From the Show included cheat sheet(s) when importing a project list, click one of the options. Click and click to close the window.
