In this chapter we'll focus more on how to operate the JBoss AS from JBoss Developer Studio.
JBoss Developer Studio 4.0.0.GA ships with JBoss EAP 5.1. When you followed the default installation of JBoss Developer Studio, you should already have a JBoss EAP 5.1 Server installed and defined. To run JBoss AS you need you will need to have JDK 6 installed.
Note:
You can leave JDK 1.5 configuration for JBDS and set JDK 6 as JRE only for JBoss EAP Server. For this you need to select → , and then click → . On the opened preference page you should select JBoss EAP Runtime and clicking the button. In Edit Server Runtime Environment dialog you can configure Jave Runtime Environment by clicking the button.
This section covers the basics of working with the JBoss Server supported directly by JBDS via bundled AS plug-in. The server points to the JBoss Enterprise Application Platform 5.1 Runtime shipped with JBDS.
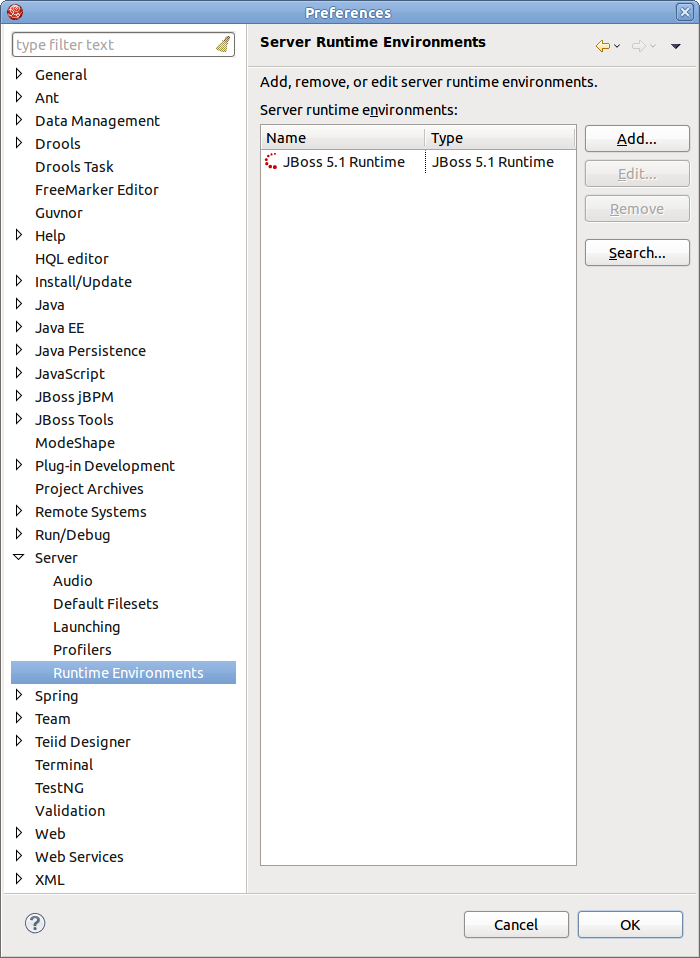
To read more about AS plug-in, refer to the Server Manager guide.
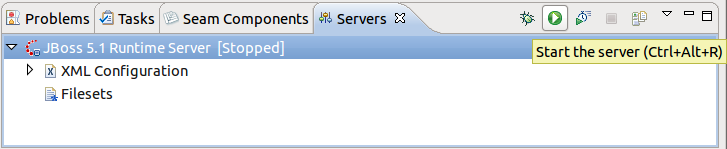
Starting JBoss Server is quite simple. JBoss Developer Studio allows you to control its behavior with the help of a special toolbar, where you could start it in a regular or debug mode, stop it or restart it.
To launch the server click the green-with-white-arrow icon in the Servers view or right click server name in this view and click the button. If this view is not open, select → → → →
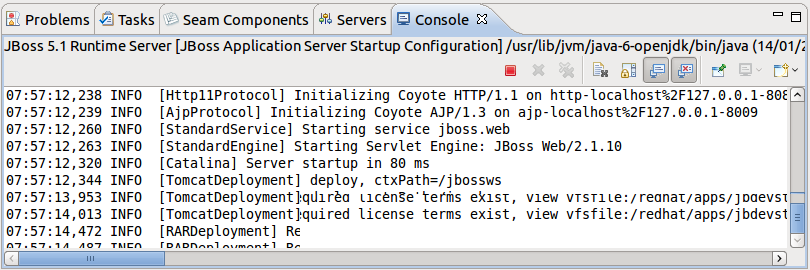
While launching, server output is written to the Console view:
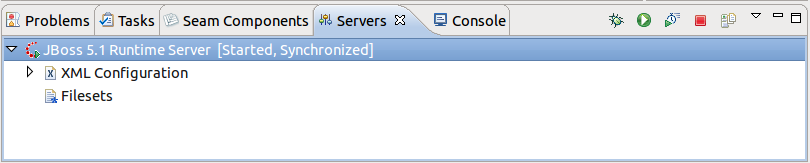
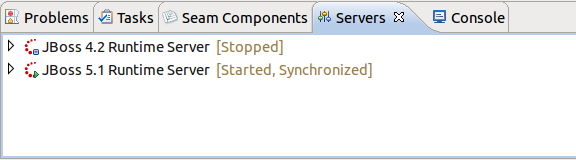
When the server is started you should see Started in the square brackets right next its name in the Servers view.
To stop the server, click the button icon in Servers or right click the server name and press .

When the server is stopped you will see Stopped in the square brackets next to its name.
You can control how JBoss Developer Studio interacts with server containers in the Server editor. Double-click the server to open it in the editor.
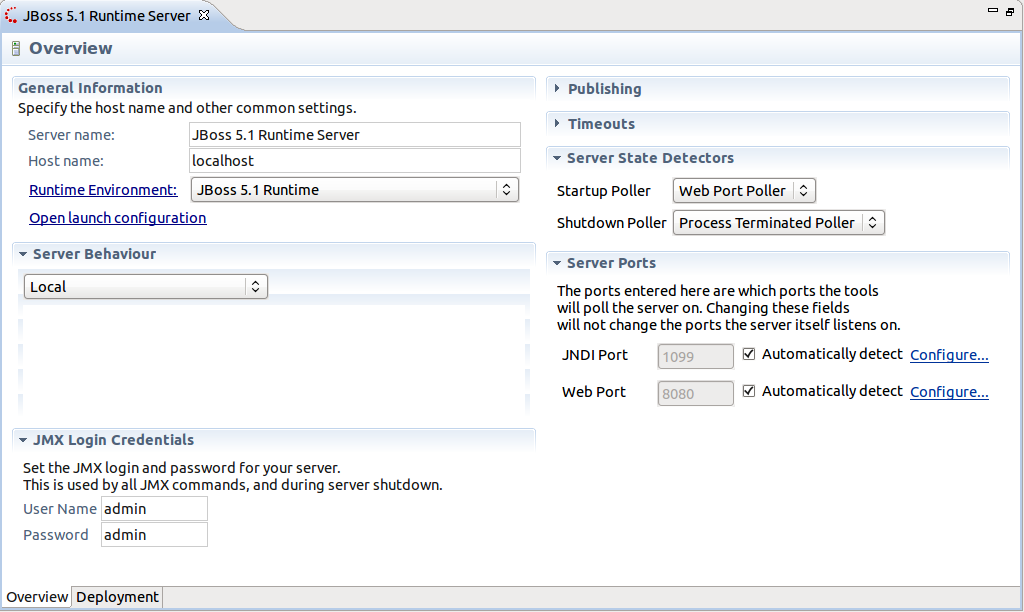
Here you can specify some common settings: host name, server name, runtime as well as settings related to publishing, timeouts and server ports.
Although JBoss Developer Studio works closely with JBoss EAP 5 we do not ultimately tie you to any particular server for deployment. There are some servers that Studio supports directly (via the bundled Eclipse WTP plug-ins). In this section we discuss how to manage self-installed JBoss AS. Suppose you want to deploy the application to JBoss 4.2.3 server. First of all you need to install it.
Download the binary package of JBoss AS, e.g. JBoss 4.2.3 and save it on your computer: http://labs.jboss.com/jbossas/downloads
It does not matter where on your system you install JBoss server.
Note:
The installation of JBoss server into a directory that has a name containing spaces provokes problems in some situations with Sun-based VMs. Try to avoid using installation folders that contain spaces in their names.
There is no requirement for root access to run JBoss Server on UNIX/Linux systems because none of the default ports are within the 0-1023 privileged port range.
After you have the binary archive you want to install, use the JDK jar tool (or any other ZIP extraction tool) to extract the
jboss-4.2.3.GA.ziparchive contents into a location of your choice. Thejboss-4.2.3.GA.tgzarchive is a gzipped tar file that requires a gnutar compatible tar which can handle the long pathnames in the archive. The extraction process will create ajboss-4.2.3.GAdirectory.
Now we should add the just installed server into server manager in JBoss Developer Studio.
Select the Servers view by selecting → → → → .
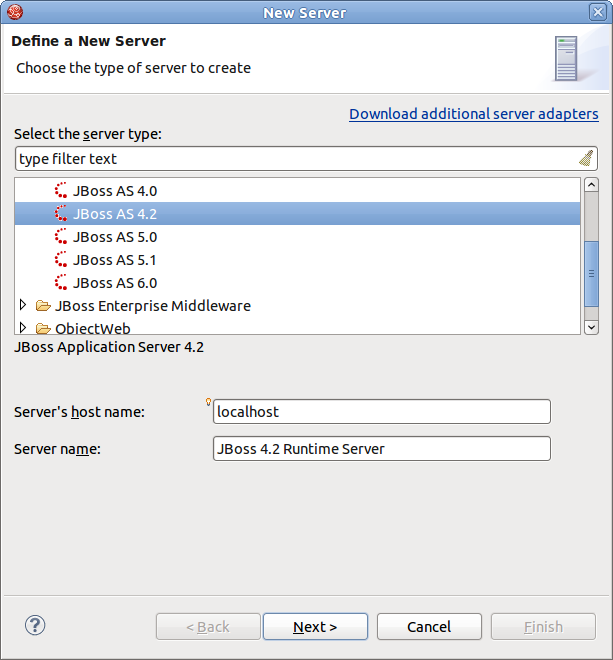
Right click anywhere in this view and select → .
Select →
Note:
Now in the New Server wizard there is a separation between the .org servers (the JBoss Community category) and product server that comes bundled with JBoss EAP (the JBoss Enterprise Middleware category).
To create a new runtime, which Jboss AS 4.2 matches to, click the button
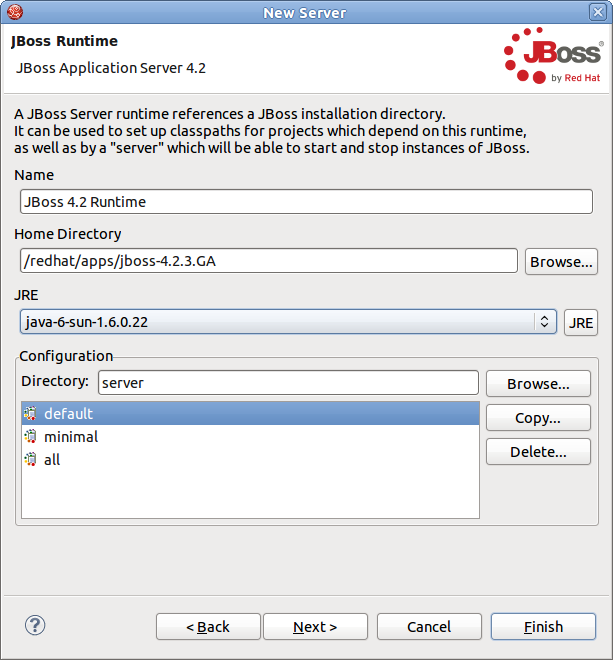
In the next step you need to specify the location of the Server and define JRE to be used.
Note:
When adding a new server you will need to specify what JRE to use. It is important to set this value to a full JDK, not JRE. Again, you need a full JDK to run Web applications, JRE will not be enough.
In the next dialog verify the specified information and if something is unfair go back and correct it
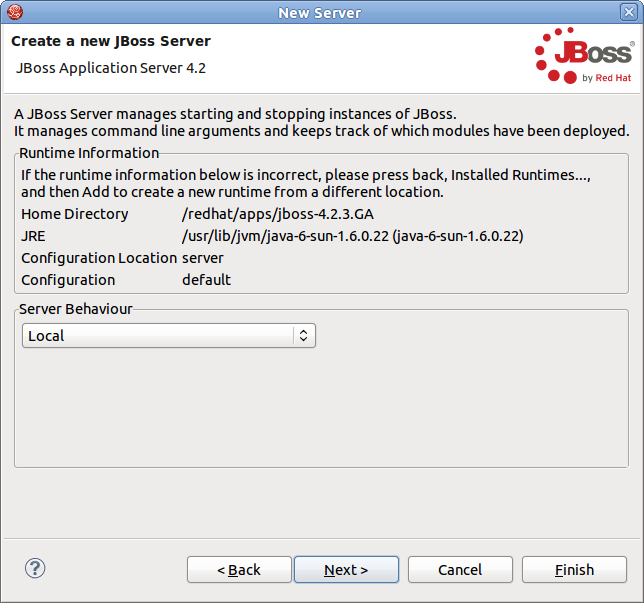
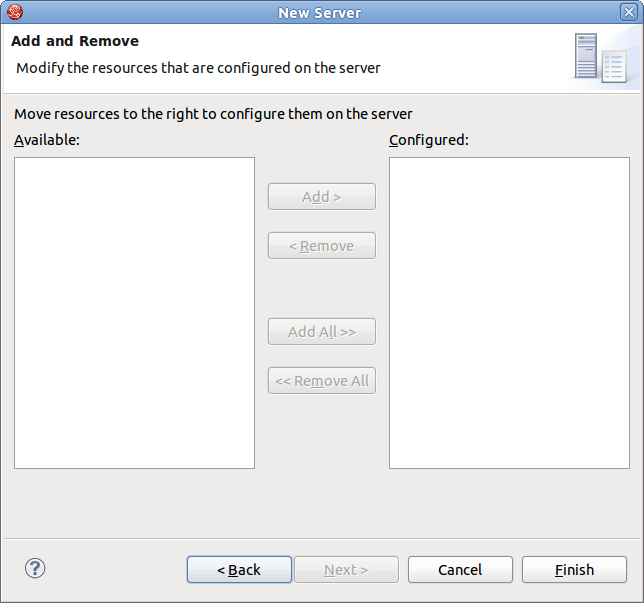
In the last wizard's dialog modify the projects that are configured on the server and click the button.
A new JBoss Server should now appear in the Servers view.
Now, we are ready to create the first web application.